A post by Andy.
{Note: The work detailed in this post was completed over the summer of 2015, before we moved into the Turtle. I am just getting the time to write the post now.}
We wanted a little more ground clearance, fender and frame spacing for the taller tires, and a good, safe ride. We initially hoped to find an off-the-shelf lift kit. . . no soap. People make them for Ford trucks and Broncos, nothing for 80’s vans. I suppose that makes sense; the van market must be pretty small. So I guess we’ll just have to design and install a complete suspension overhaul and customization ourselves. This is where we started…
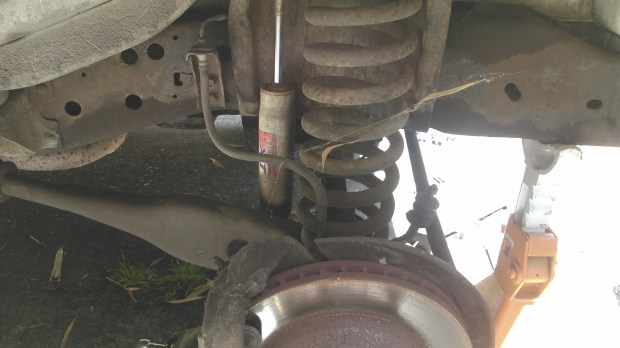
In the front we have what Ford calls a twin I-beam suspension with what I infer is an aftermarket sway bar, and the rear is just a simple leaf spring configuration, though there are functional aftermarket Firestone airbags that have been added.
Let’s address the rear first; that is comparatively easy. We found some 2″ lift blocks from Action Van (http://www.actionvansuspension.com), that fit between the axle and leaf spring. Action Van actually makes full lift kits, but only for ’92 and newer Ford vans. Lucky, the rear suspension was the same, so we were able to use their blocks for the back.
With some breaker bars on the end of the socket wrench and a little groaning, the blocks were pretty easy to install. Lots of jacks and heavy-duty jack stands were employed in this step! Here is a poor photo of the suspension when I was starting the modification.

Here is a photo of the installed blocks. Always remember that it is a good idea to drive a bit and then retorque all the bolts for suspension components after making changes- things can settle under the vibration.

After adding the lift blocks, the rear airbags were adjusted by cutting, drilling, and painting 2″spacers from hollow square tubing and bolting into place between the axle and bottom of the air bags with new grade 8 hardware. Sorry for the bad photos (at the time, the important thing was to get stuff done, so the documentation suffered), but what you can see in the following is the original airbags and the blocks and hardware cut, drilled, and painted.


And a current photo of the final installed version- a little dirty, as we have been trekking about for a little over a year now.


Pretty straight-forward modification, and after a few thousand of miles everything is very solid.
Now the front suspension. The modifications needed were: 1) taller coil springs 2) adding air bags 3) fitting the new shocks 4) dropping the sway bar 5) dropping all 4 I-beam pivot points 6) replacing all the suspension bushings in the process.
I was able to find taller MOOG coil springs and front airbags, cranked everything apart, and got those pieces installed.


You can see that at this point with the added spring height but no change to any of the I-beam pivot points, the camber is extreme.

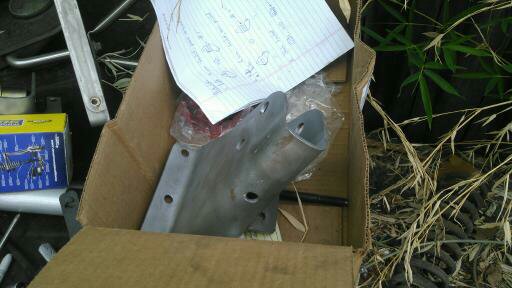
The next step was to remove the suspension mounts. This was a true pain, as there were many frame rivets to remove. Depending on the accessability, I would drill, grind, hammer, cold chisel, or simply swear at for long enough to remove. I would consider it a solid success if I came home from work, spent all evening, and got only one removed. I blocked it out, but there were somewhere between 16 and 20. Anyway, after getting the pivot points removed, I made some drawings describing the desired changes needed to drop the pivot points 2″ lower, then took the parts to a fabricator. I weld myself, and made the grill guard, and all other metal modifications on the Turtle, but I wanted really great welds on these parts, so we paid to have someone with more skills do the modification. Plus, it was pretty darn magical to just drop the parts off and pick up the finished pieces a few weeks later. So, some of the suspension pieces back from the welder:


Painting, almost ready to install. I had ordered new MOOG bushings for all the pivot points, so these were installed at this point too.

Except for reusing a few special Ford bolts, the bolts and frame rivet locations were replaced with 1/2″ grade 8 hardware. Some current pictures of the completed front suspension.


Here is a photo of the dropped sway bar pivots with the new greasable bushings installed, again, everything is grade 8 hardware. I never buy anything else (except maybe stainless for chassis fixturing or the interior).

New Bilstein shocks were ordered for all four corners. The stock fit for the rear has enough travel to handle the 2″ lift, so we got the heavy-duty RV ones, and that was easy. We had to calculate the new front geometry to size the front, and went extra fancy with the front shocks and got an external reservoir setup. They look cool! (I ordered them from shockwarehouse.com, part number 25-177480 and 24-184663.)


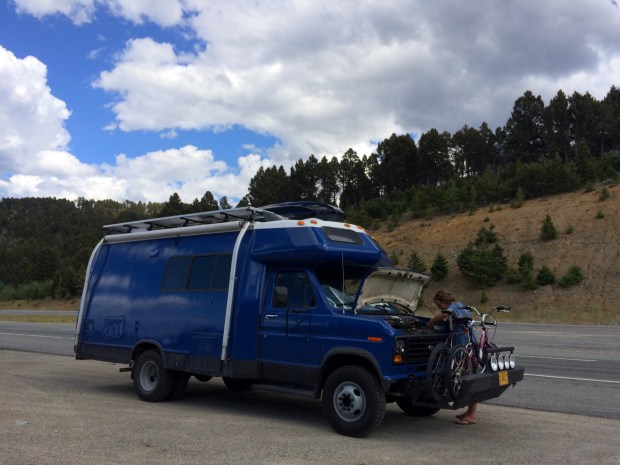
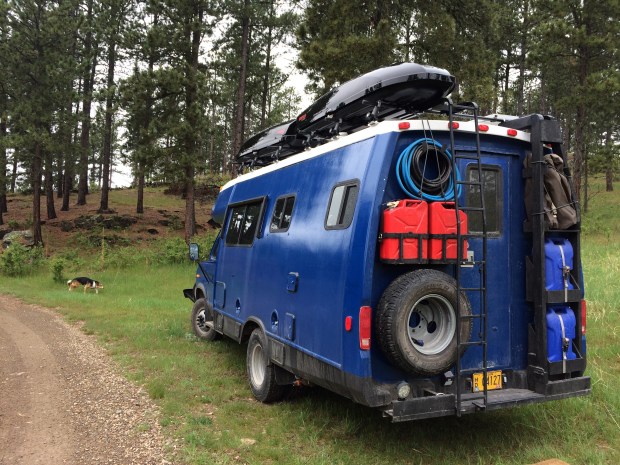
Here is the front suspension a year into our travels. I was replacing the brake pads, so I took the opportunity to clean everything up, and also paint the hub with Rustoleum. We have had no problems with the suspension thus far.

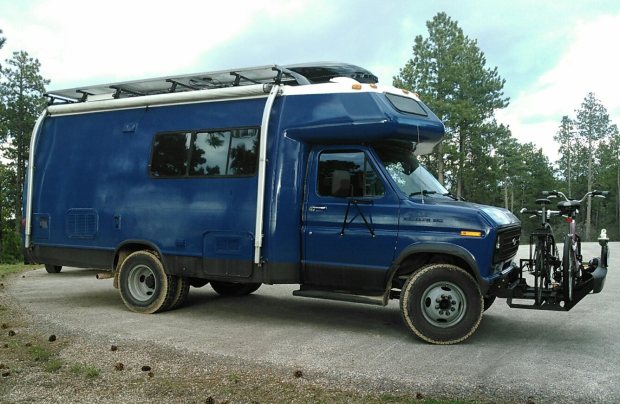
The lift was added to enable us to have the taller tires, and to have more ground clearance. There have already been a number of cases where we figure we would have likely damaged something on the underside if we did not have the clearance we have. Additionally, with the clearance and narrow tires, we have made it through some pretty deep snow without problems. It has proven to be a successful modification. Plus, it makes the Turtle look cool!
 This picture was literally taken from the Home Depot parking lot.


 A portion of the list.
  The quality of this photo is terrible, but the cuteness is top shelf.
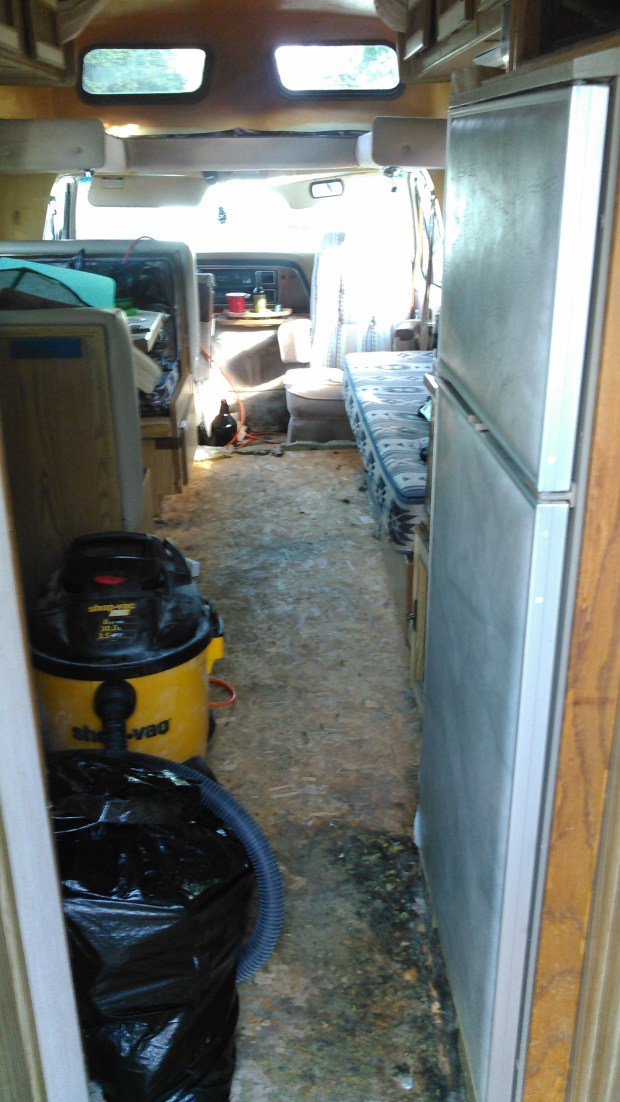
 This is one of the only photos we have of the carpet before Andy pulled it out – just a teeny slice visible in the bottom left corner. But you get the idea.
  A bit more carpet shown here. We just got so excited to get started, we didn’t get a whole lot of “before” photos before things started changing!


 Halfway epoxied. (Guess which half!)
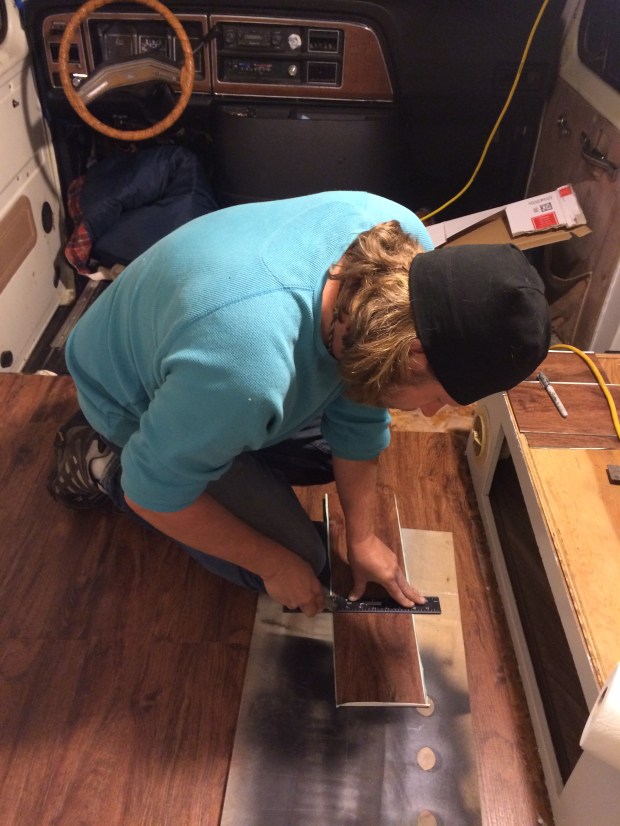


 It kind of feels like a boat. I like that.
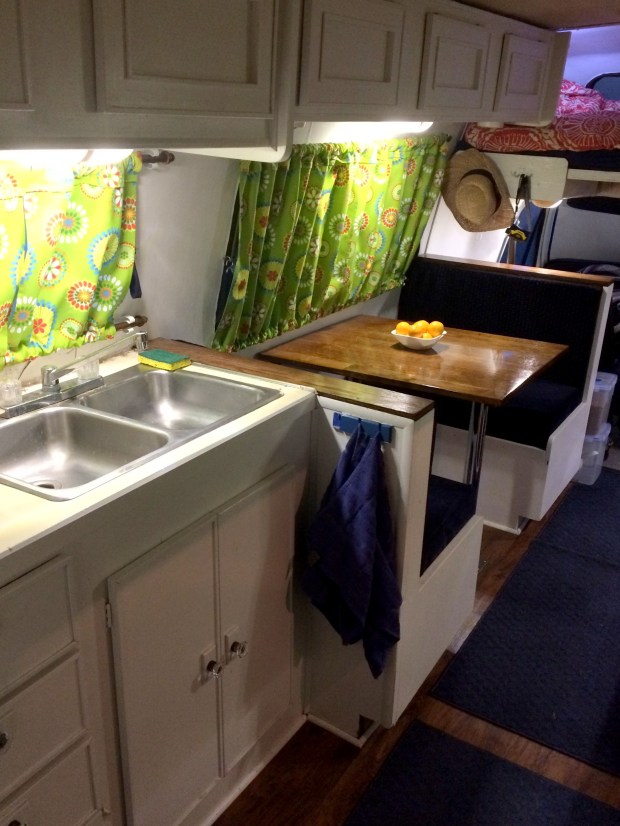 Kitchen and Dining Room
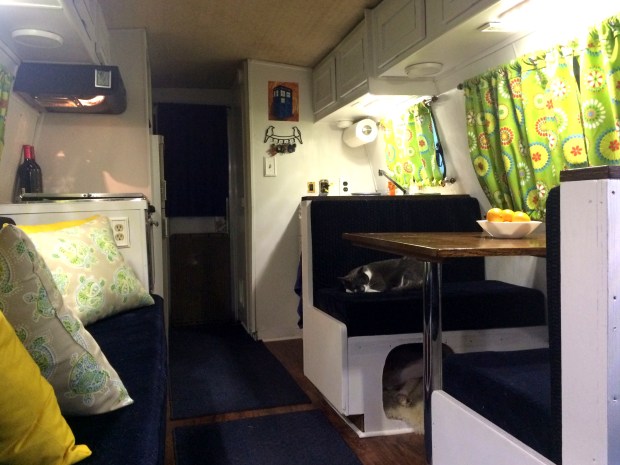
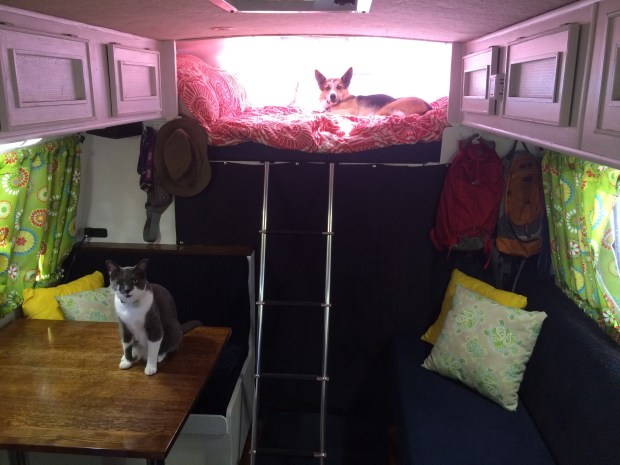
 Bunk beds!
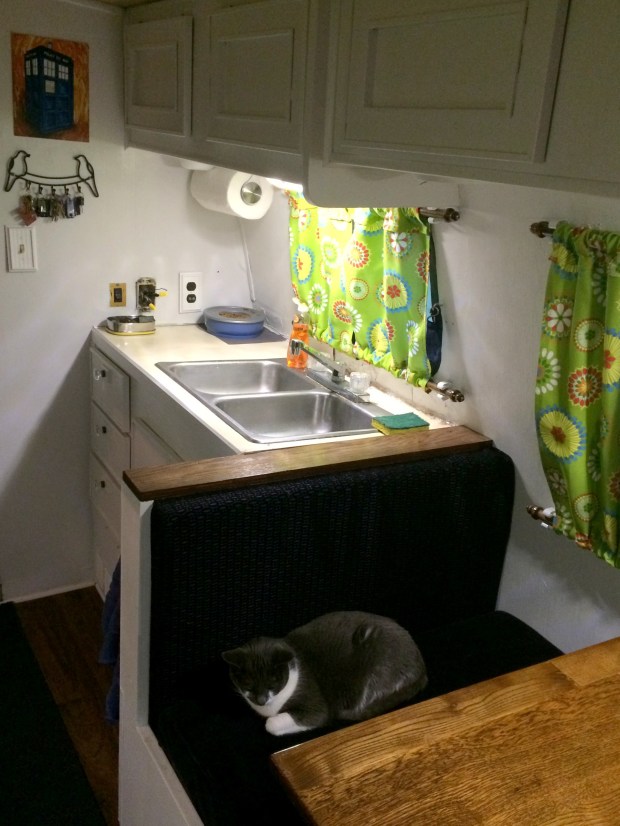 Love the Tardis painting by my talented brother-in-law David
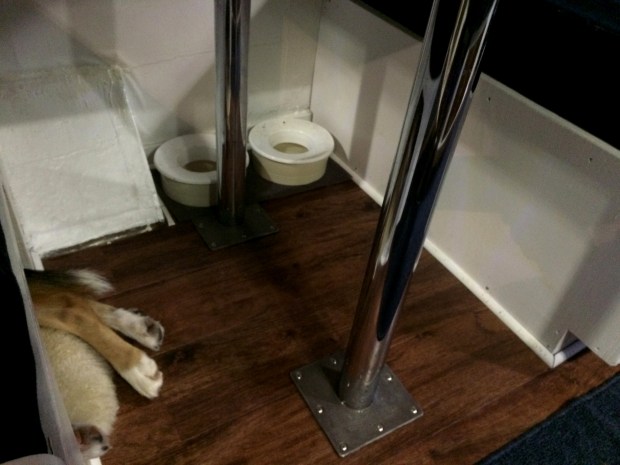 We love the no-spill bowls for the pets
 Andy picked this fabric! We promise not to over-do the turtle references, but it was super cute and coordinated nicely with the other prints
 Maximizing the limited closet space
 Nothing we own can be larger than 10″H x 9″D
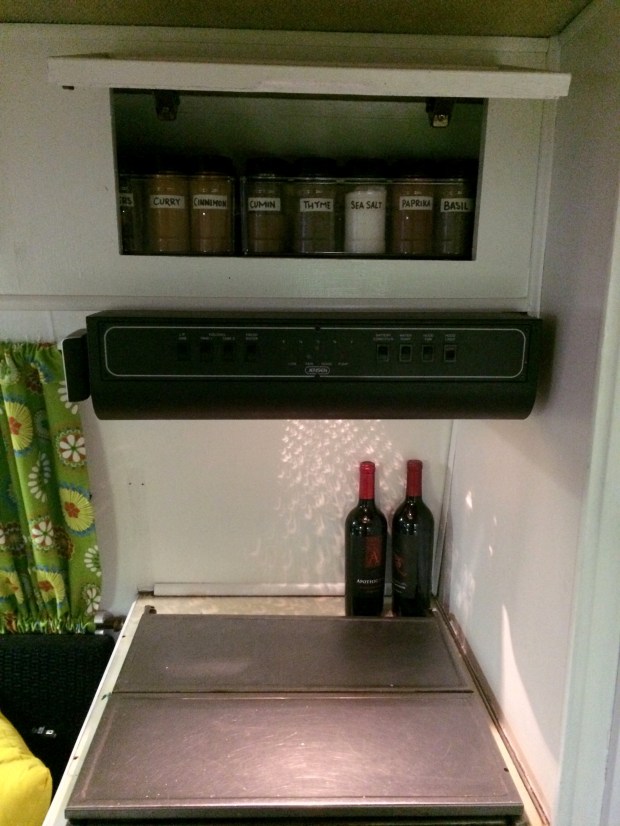

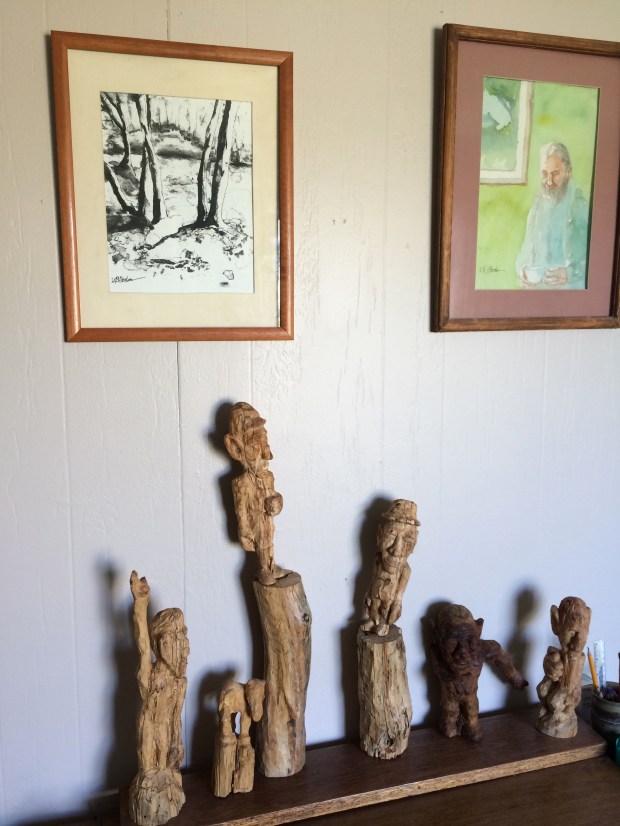
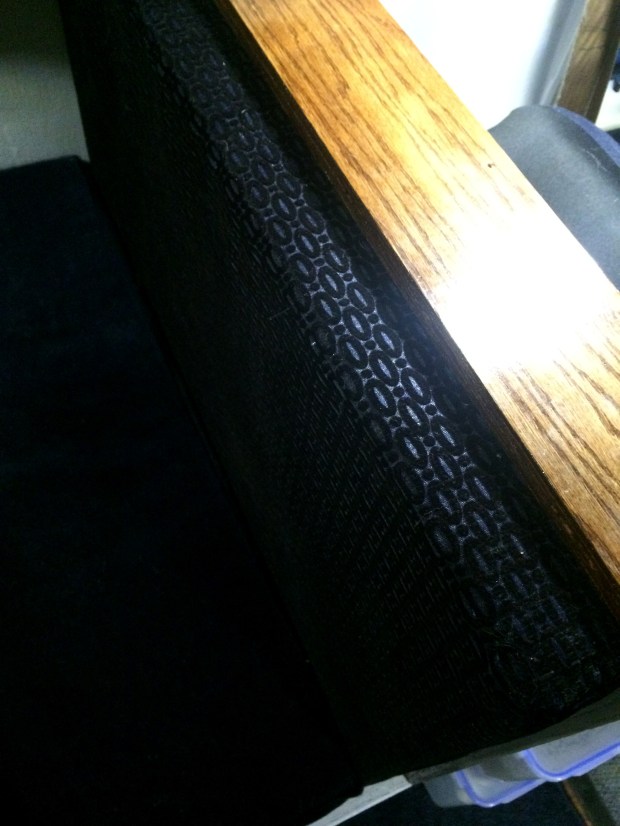 I love the wood Andy installed next to the new upholstery pattern.

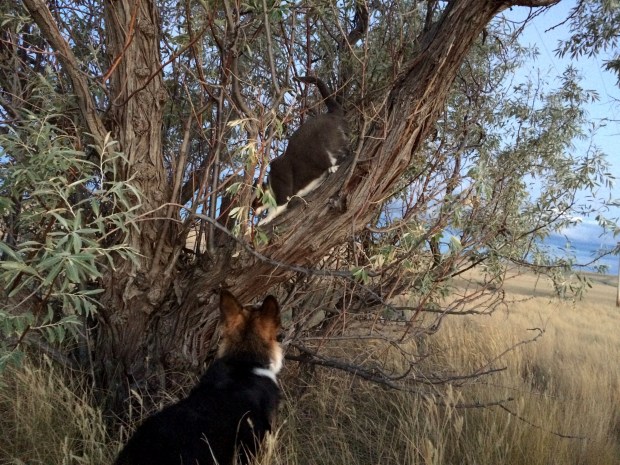
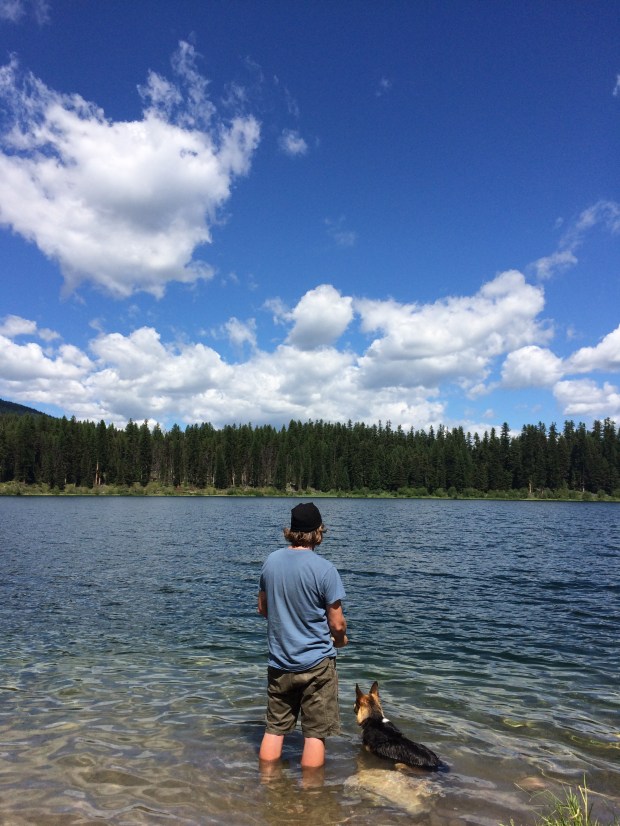
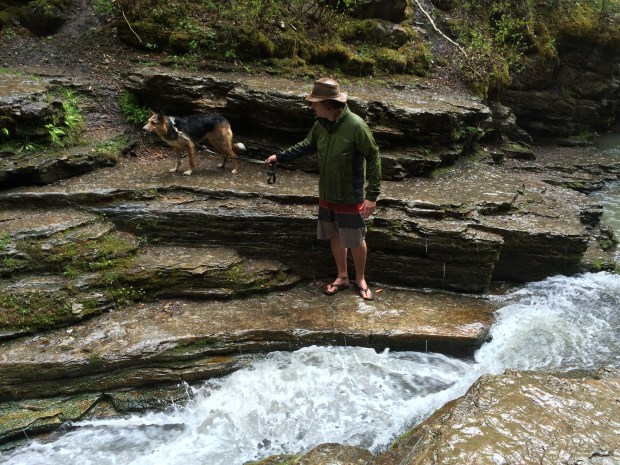
 Gracie adventuring.
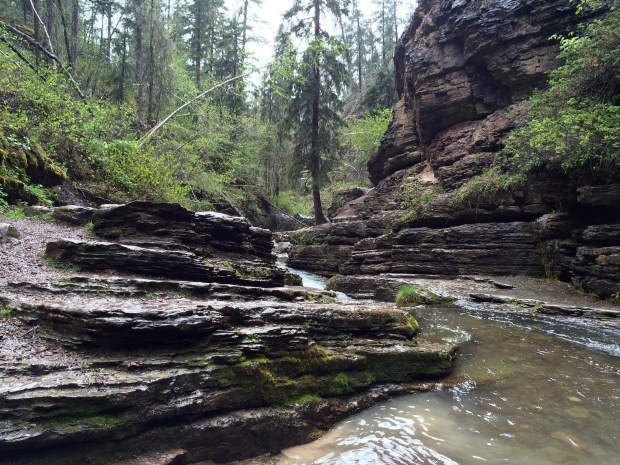
 Scout adventuring.
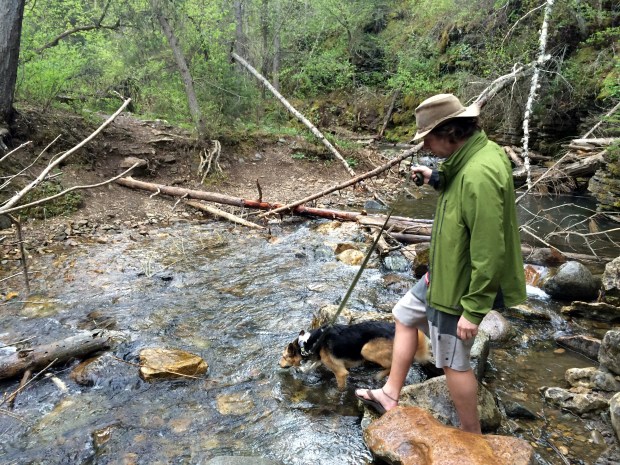
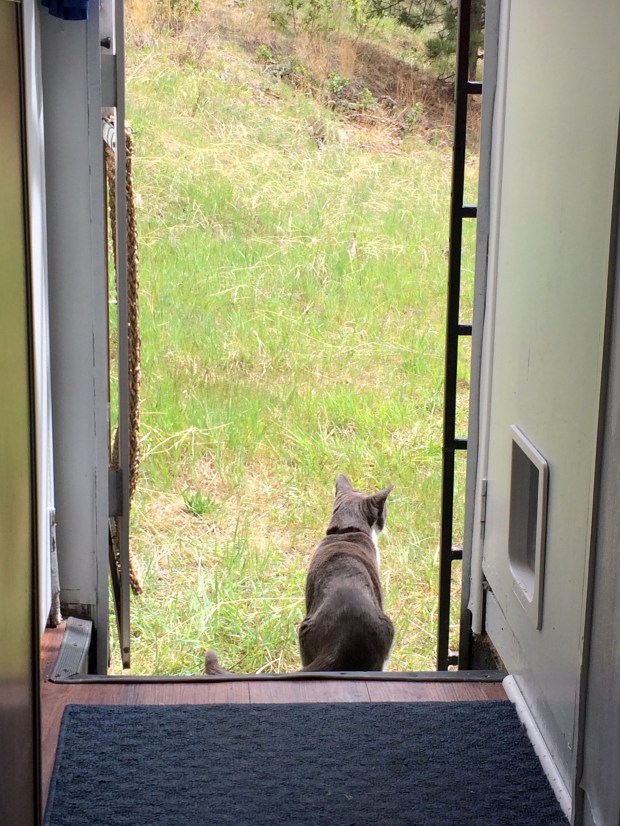
 Amy adventuring.
