full river

The Road to Alaska – Part 2: British Columbia, Eh?

Greetings from Beautiful British Columbia!

IMG_6107

It’s been an exciting first few weeks in Canada as we make our way north to Alaska. We’ve covered some ground and have been really enjoying watching the landscape change and become less and less familiar. The road signs are more frequently featuring moose, and though we haven’t yet spotted one yet, we did see a sleek little silver fox slinking around a park as we pulled in for the evening in Prince George! So that will tide me over for quite some time.

Our first adventure over the border began in Vancouver, BC. I briefly mentioned our stay in Vancouver in my last post, but now that I have all the photos uploaded I thought I’d fill you in further on the fun we had while we were there. Especially since, despite the fact that both of us have lived in Seattle, neither had ever been to nearby Vancouver so we were really looking forward to seeing the city.

IMG_5964

One of my favorite resources as we visit new cities has been the online Atlas Obscura site, which suggests interesting attractions that aren’t found on most other “Things To Do In _______” sites. This time I told Andy that I was going to take him on a surprise tour of Vancouver and lead him to all the spots I thought sounded fun without telling him what they would be. He’s a good sport and agreed!

Our first stop was the VanDusen Botanical Gardens, which was one of the loveliest botanical gardens I’ve ever visited. The grounds are enormous, and the circuitous layout lends itself to a full day of wandering through paths and gardens reminiscent of Alice’s Wonderland.

IMG_5885 (1).jpg

Check out this delphinium garden:

IMG_5917

IMG_5919.jpg

Ok so if I’m being honest, the gardens were lovely, but the real reason for going here was something that’s been on my to-do list for as long as I can remember:

IMG_5953

A hedge maze!

It’s one of only six Elizabethan hedge mazes in North America, and it was so much fun and more challenging than we gave it credit for going in.

Afterwards we went to the Granville Island Market, which my uncles in Seattle had highly recommended to us. It took us some time to find a spot to park, and it came in handy that Andy is a wizard. Look at this park job!

IMG_5960

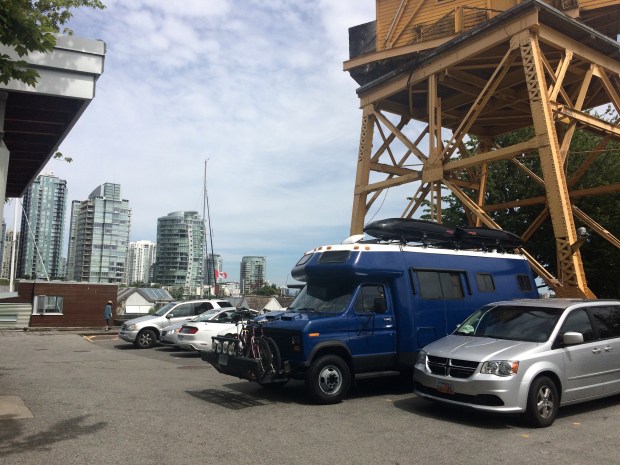
We wandered around the market and were totally in love. It was a bustling throng of people and the wonderful smells of hot espresso, cooking meats, fresh flowers and herby soaps. After picking up some darling wood map pins, we had lunch at a tiny Chinese restaurant downtown and then hit the road for the next stop on the secret tour . . .

IMG_5983

The Steam Clock in Gastown. It’s a working steam clock built in 1977, which you can look inside and see the gears and levers moving. We were even there to hear the hourly musical whistles blow. In honor of the clock, we popped into nearby Steamworks Brewing Company for a beer.

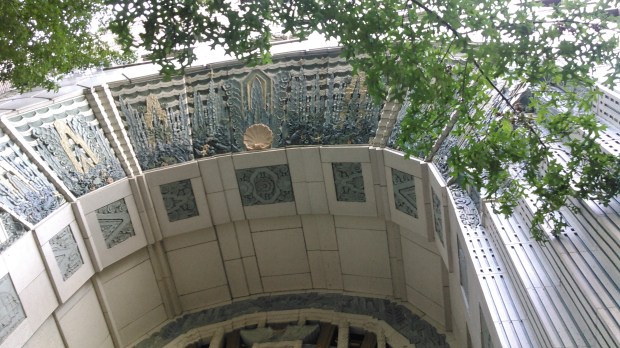
Next we walked a number of blocks to the Marine Building, a remarkable Art Deco building that was conceived to look like it had risen from the sea, and it truly does. I mean it looks like something from a movie . . . oh wait, it is! To my fellow nerds out there, it’s also been featured in a number of movies, as the Baxter Building in Fantastic Four and for The Daily Planet in Smallville. Fun!

KIMG0583.jpg

KIMG0584.jpg

Afterwards we walked to see the Digital Orca sculpture, which we weren’t able to see up close due to an event that had the terrace roped off. (If you look closely, you can see empty glassware at the tail.)

KIMG0587.jpg

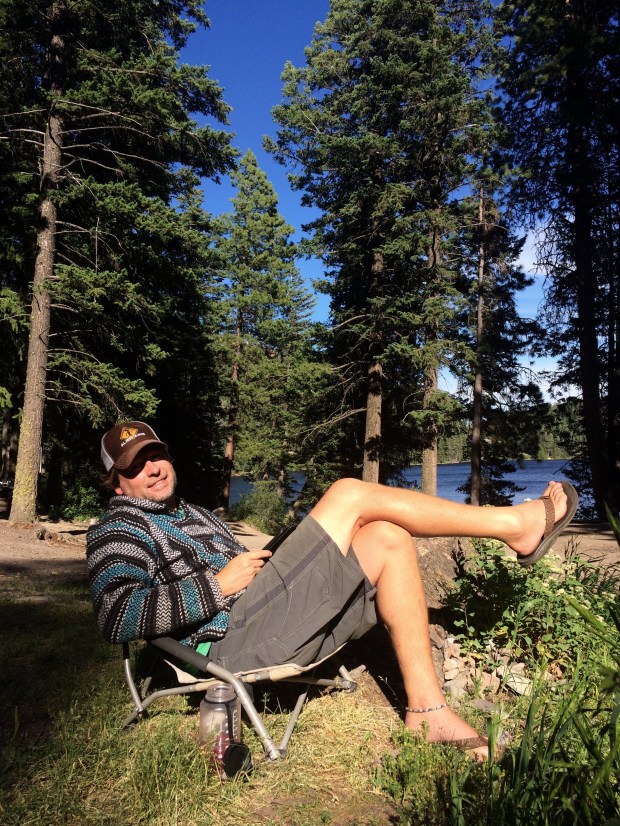
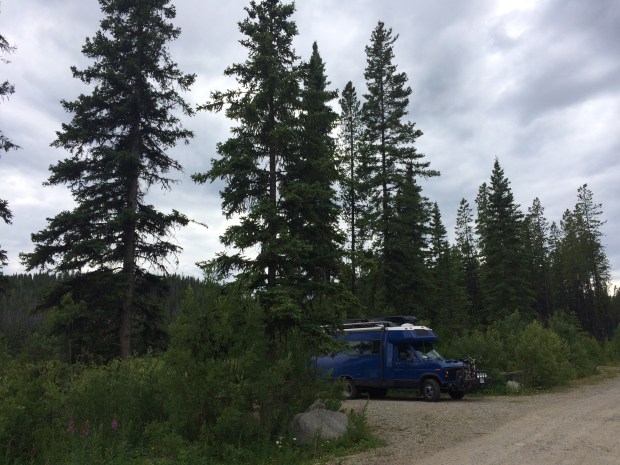
It was a full day in Vancouver, and we left very satisfied. But after over a month staying in cities, I’d been so looking forward to getting back outside, and was happy to arrive at our next campsite at Gillis Lake. We stayed two nights, and got plenty of reading and swimming done.

IMG_6067

IMG_6039

IMG_6059

IMG_6014

IMG_6053

IMG_6004

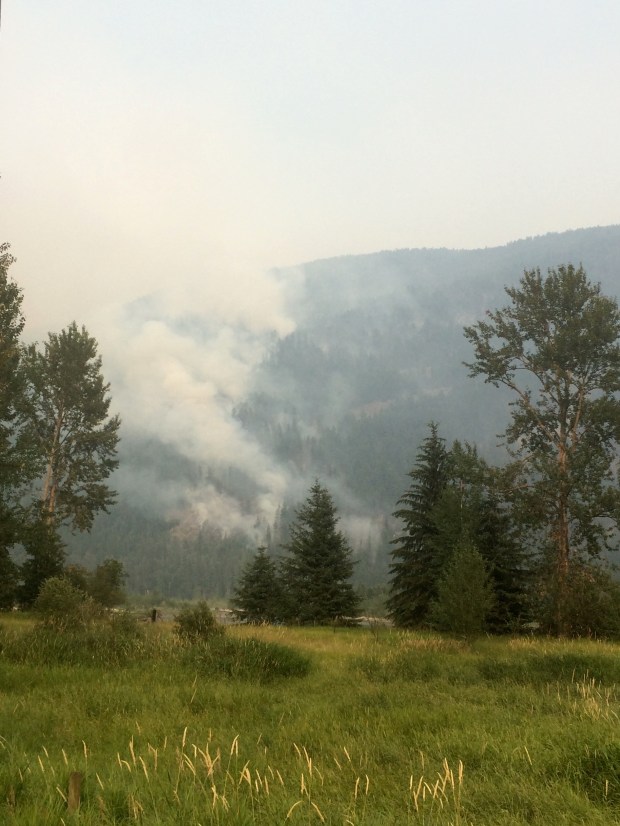
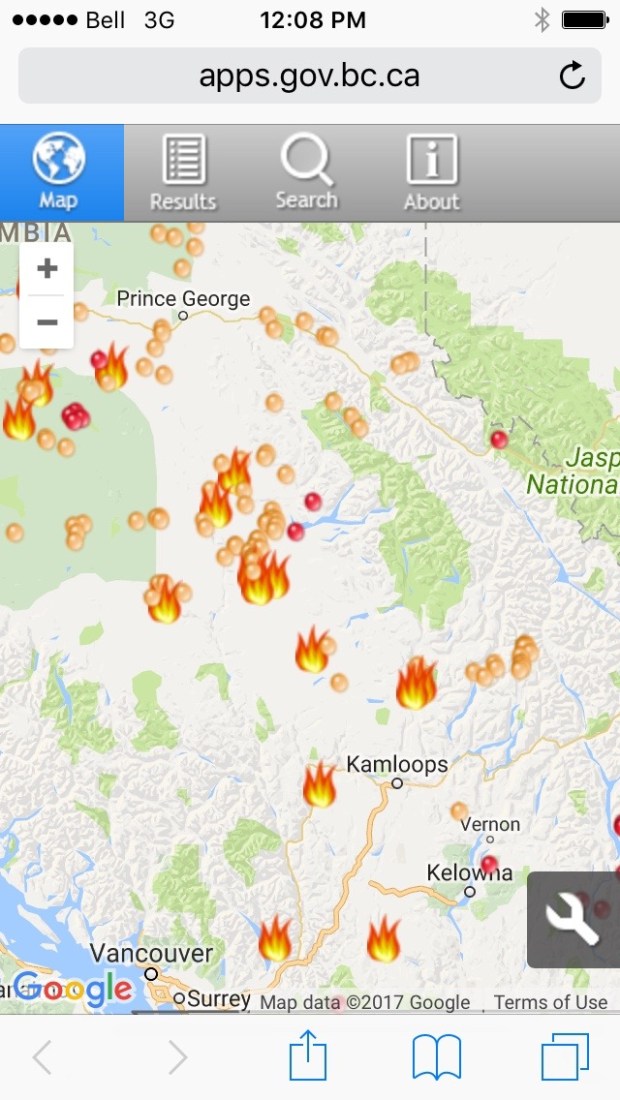
When we woke up the morning of third day, the entire forest was flooded with smoke, which we later found out was due to dozens of forest fires throughout BC. A handful of towns had been evacuated, and the road we’d planned to take was closed. So we rerouted and drove through Kamloops to Prince George, windows rolled up to minimize our smoke inhalation. It was so thick my eyes watered, and you couldn’t even see the mountains beyond the freeway through the grey. And in the areas that we could see a fair distance, we saw fires licking the mountainsides. It was unreal.

IMG_6091

IMG_6076

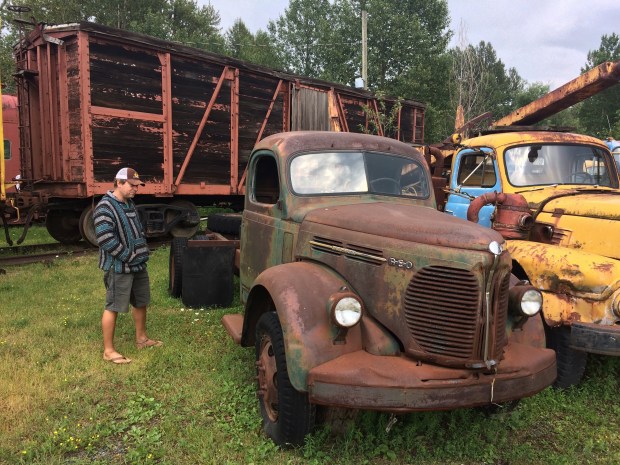
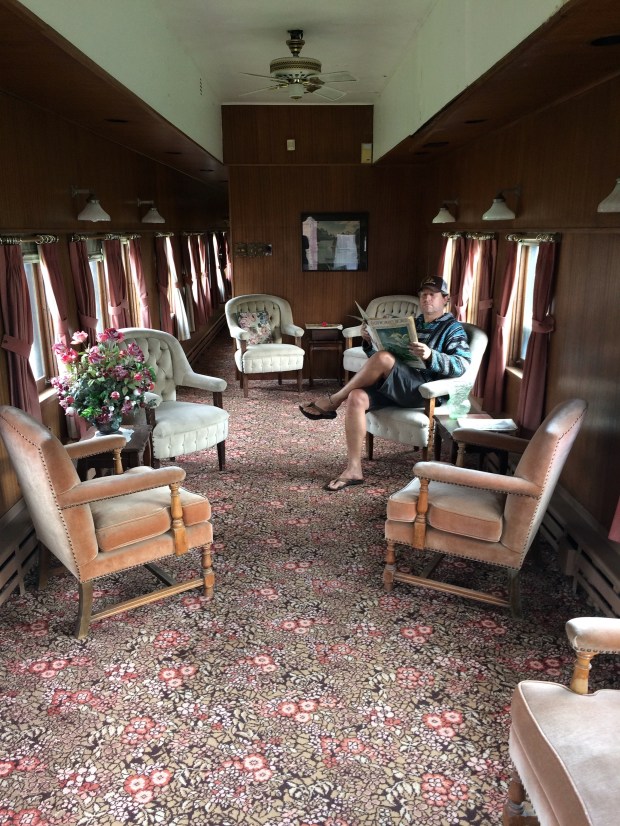
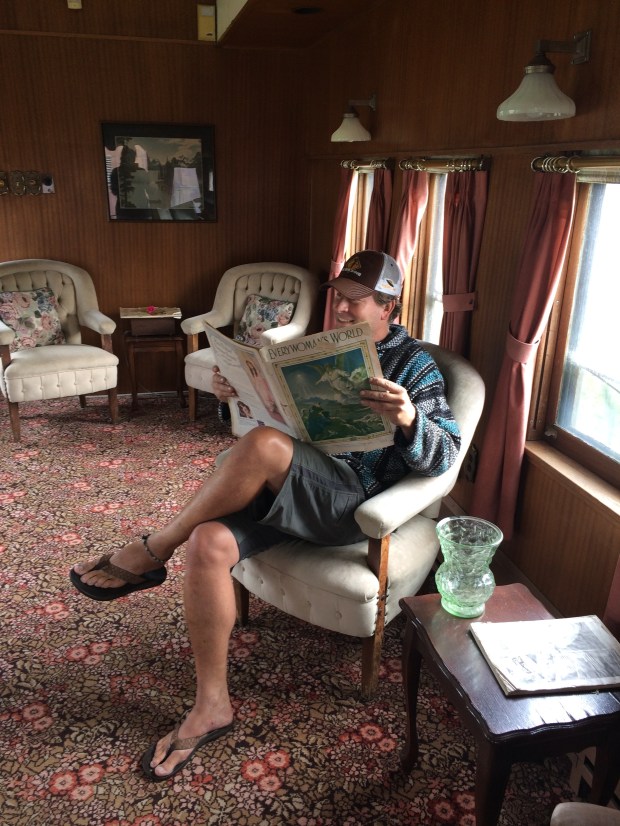
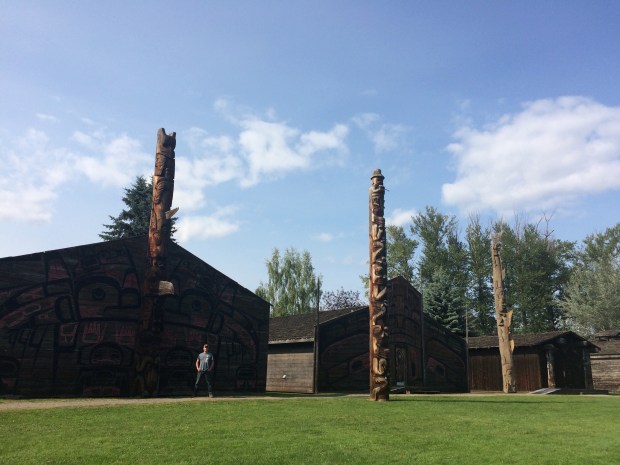
We spent a two days in Prince George, or “PG” as the locals call it. (Which is pretty cute for a city in Canada, where everything is sweet and friendly and very “rated PG”.) When we got to town, we went to one of the best Railway Museums we’ve been to so far, and that’s saying something! We go to a lot of railroad museums, apparently.

IMG_6181

IMG_6196

IMG_6205

IMG_6214

IMG_6230

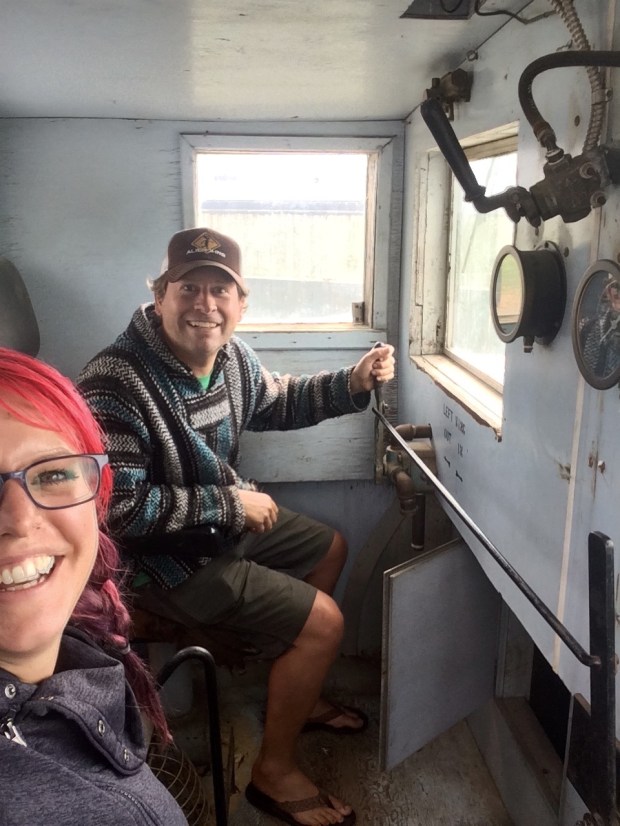
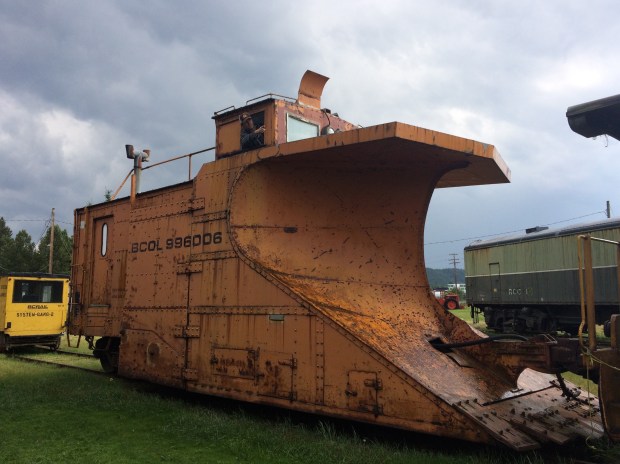
We rode the little train around the grounds, and got to go inside most of the cars and engines. Andy had more fun than all the other museum-goers combined.

IMG_6234

IMG_6251

IMG_6256

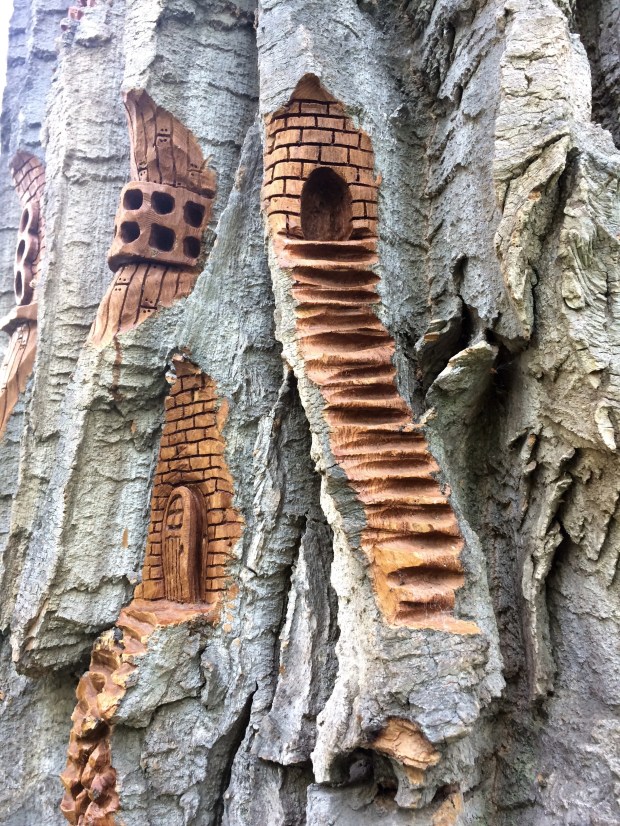
We stayed until they closed, then walked right next door to Cottonwood Island Park. I’d read that a local artist sculpted little pieces right into the trees, and as you walk through you can treasure hunt for them.

IMG_6320

IMG_6267

IMG_6274

IMG_6280

IMG_6282

IMG_6296

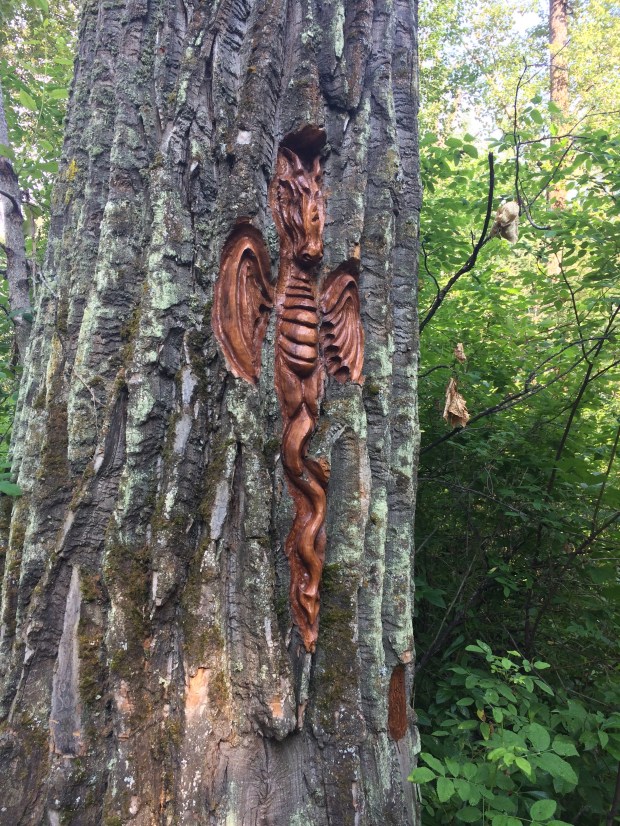
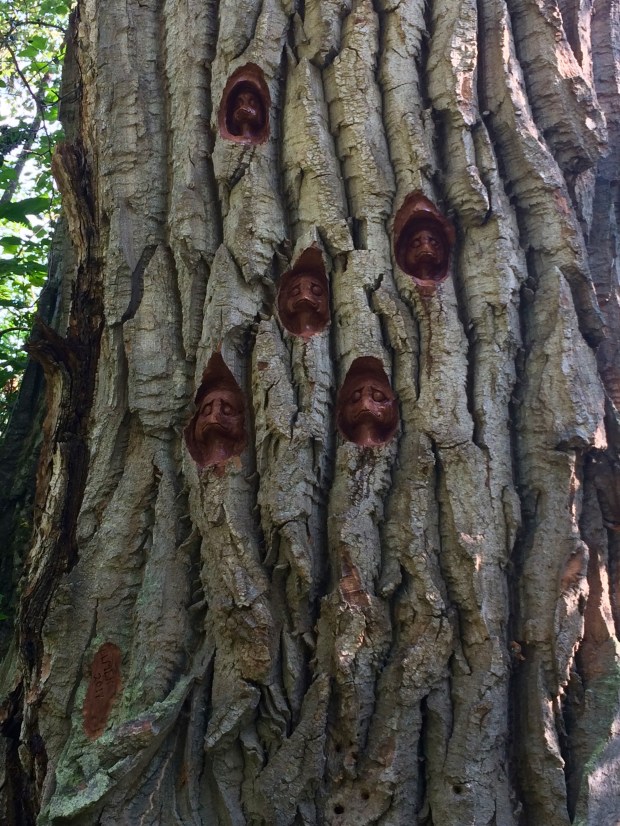
It likely comes as a huge surprise to nobody that my favorite was the gnome houses.

IMG_6308

We stayed the night at the park’s lot and that’s where we saw the silver fox!

IMG_6346

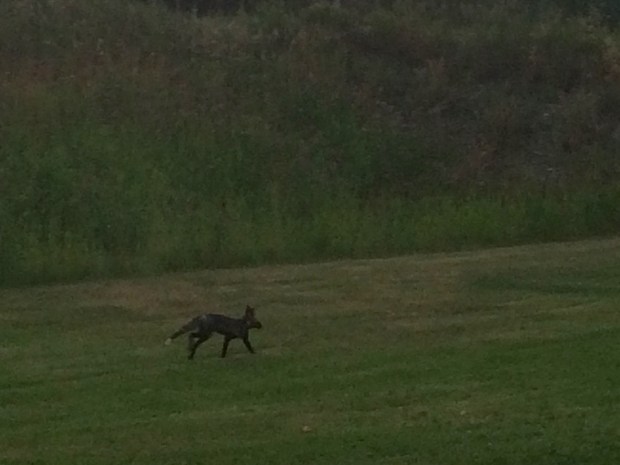
It’s a poor picture, but it was the best I could do at twilight while squealing with joy.

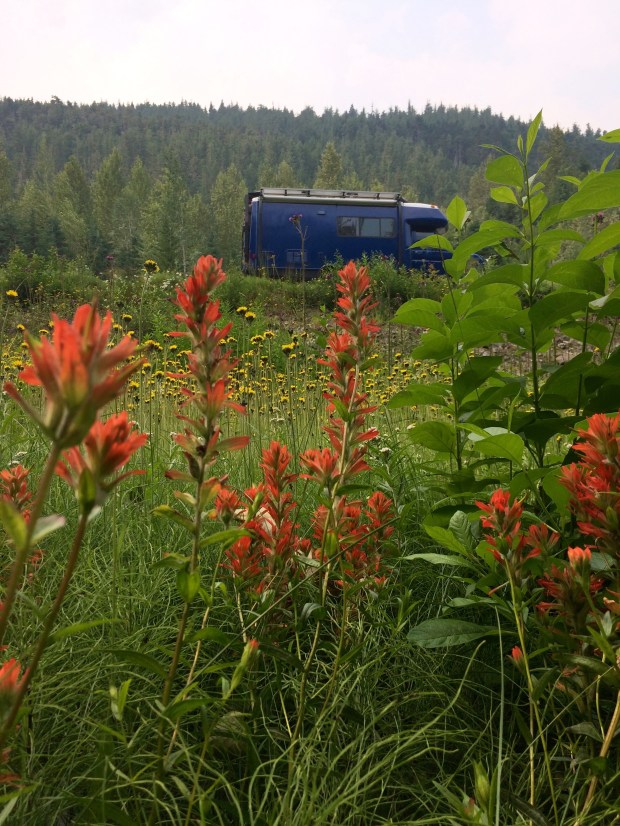
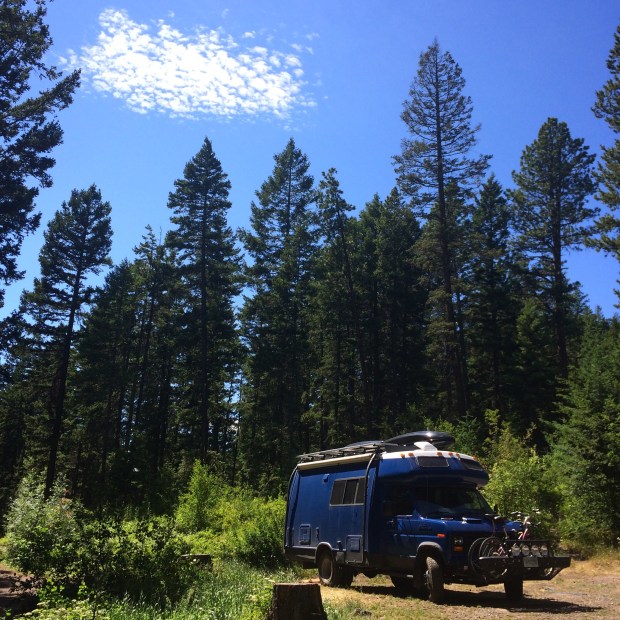
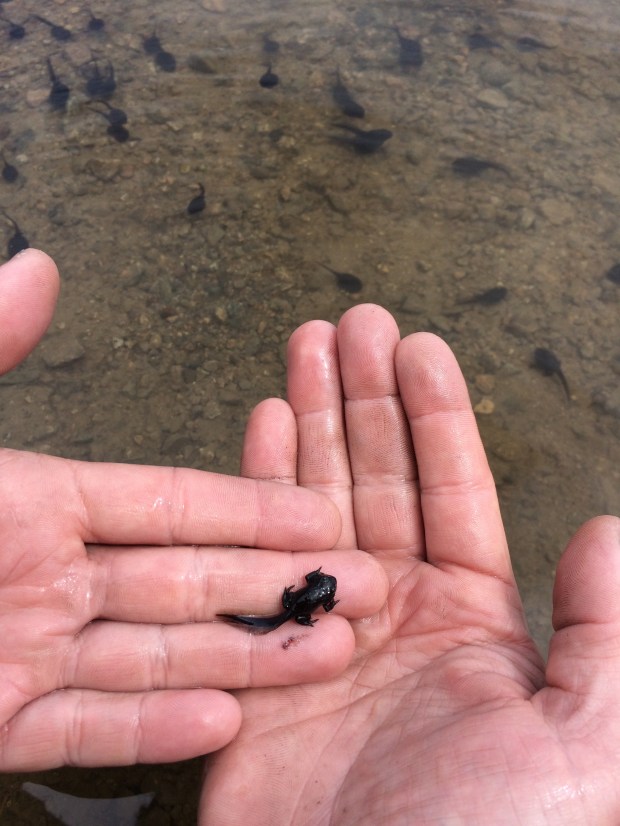
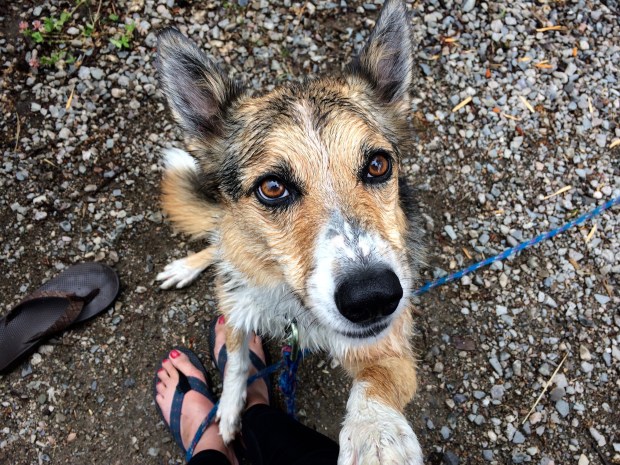
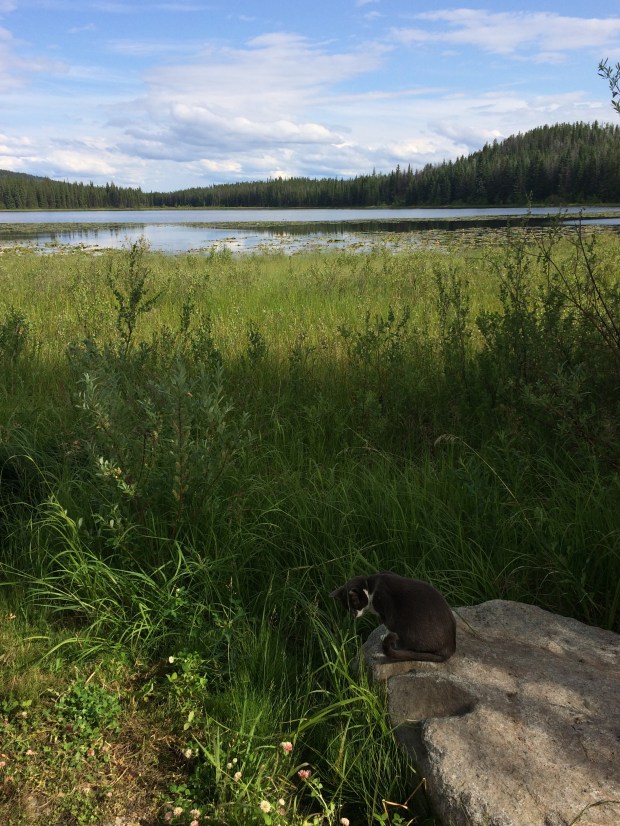
Over the next few days, we found ourselves in more picture-perfect campsites, all of which are free! We stayed a few nights at Co-op Lake, where we noticed a strange bubbling at the shoreline. As we got nearer to investigate, we saw that it was a massive mob of tadpoles!

IMG_6457

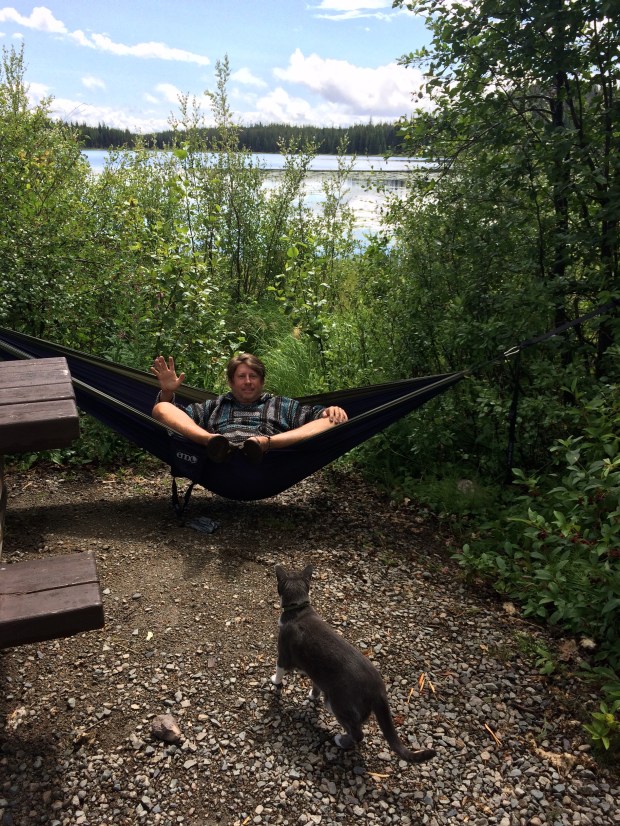
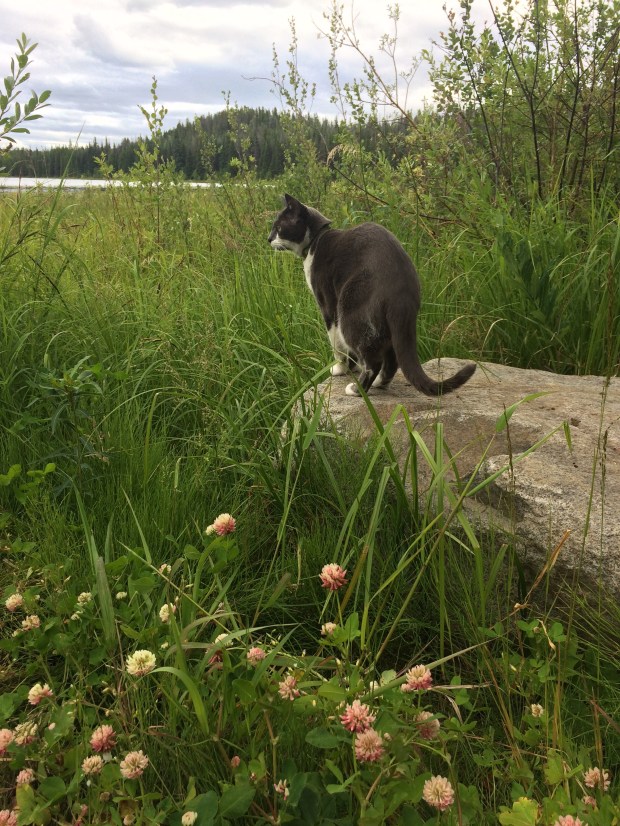
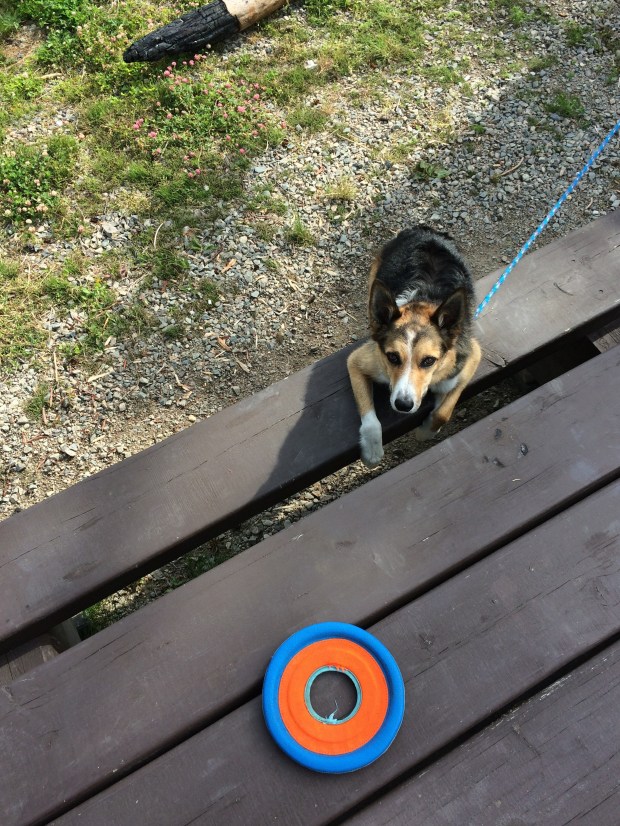
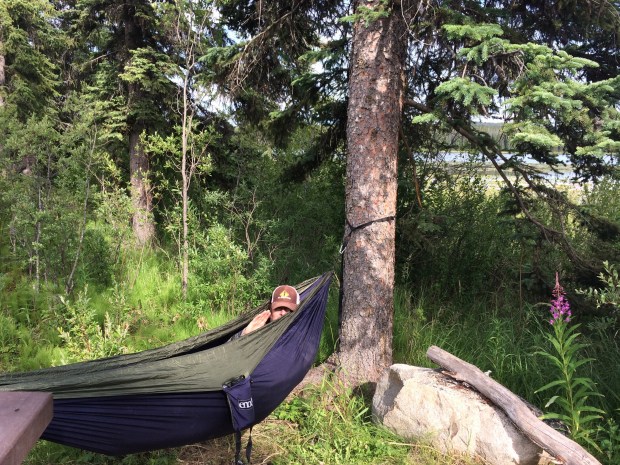
We all had a wonderful time there, reading, hammock-ing, swimming, fetching frisbees in the lake, pouncing on bugs, paddling out to the middle of the lake in our floaties and watching the clouds roll by.

IMG_6452

IMG_6449

IMG_6401

IMG_6424

IMG_6421

IMG_6461

IMG_6418

IMG_6417

IMG_6379

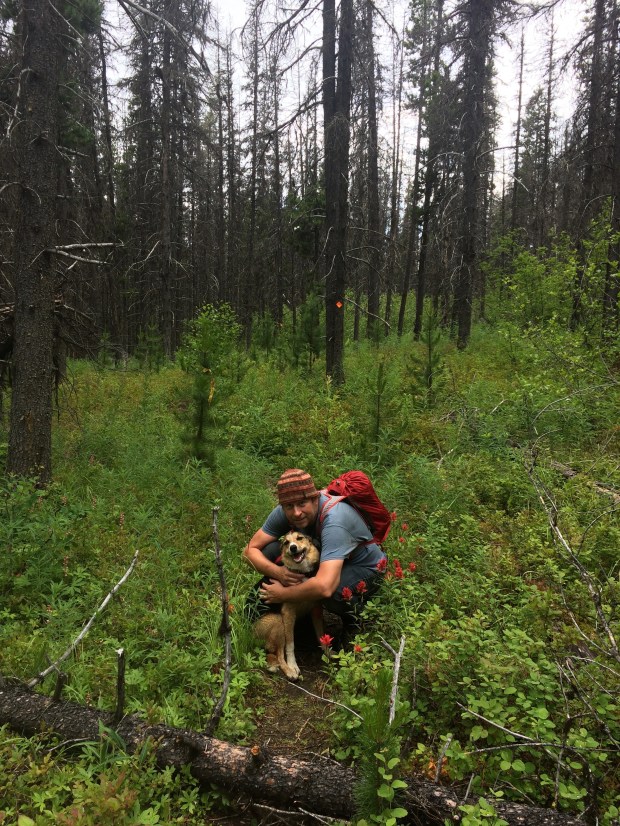
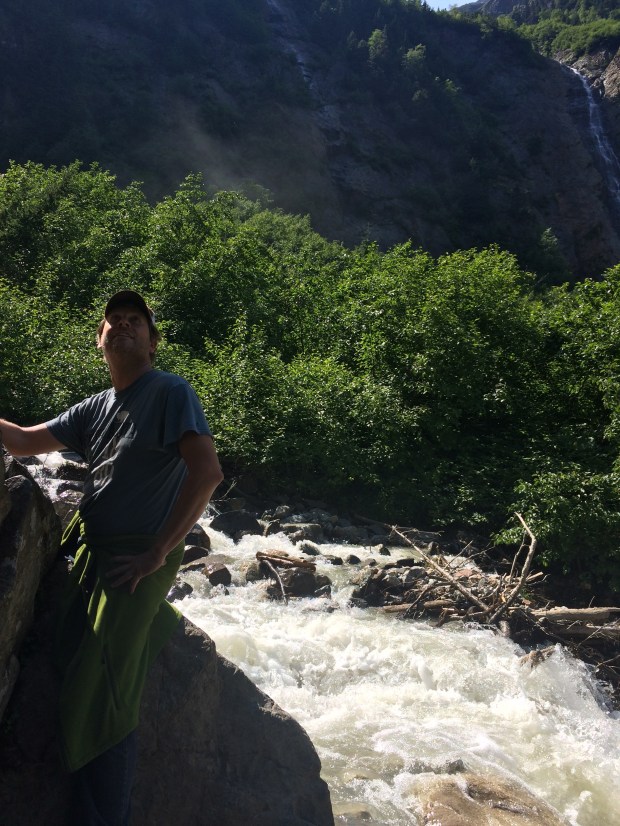
We then moved to another great campsite at the Eagle Creek Opal Beds, where we went on a gorgeous hike, hunted for—and found!—raw opals, discovered and ate the huckleberries along the path, and then hiked up a hill at midnight where we saw the Northern Lights flickering on the horizon. It was a pretty magical spot.

IMG_6492

IMG_6501

IMG_6530

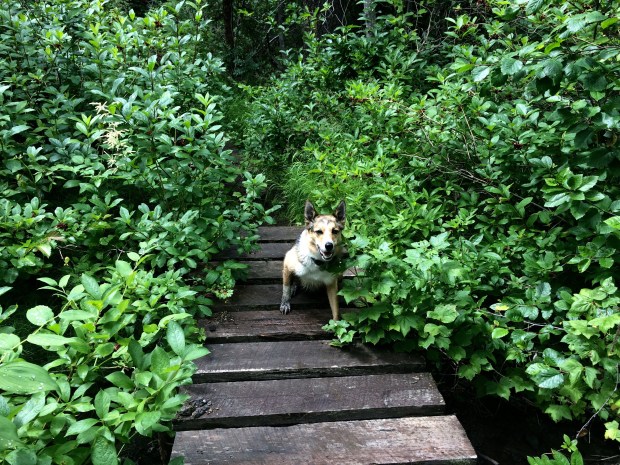
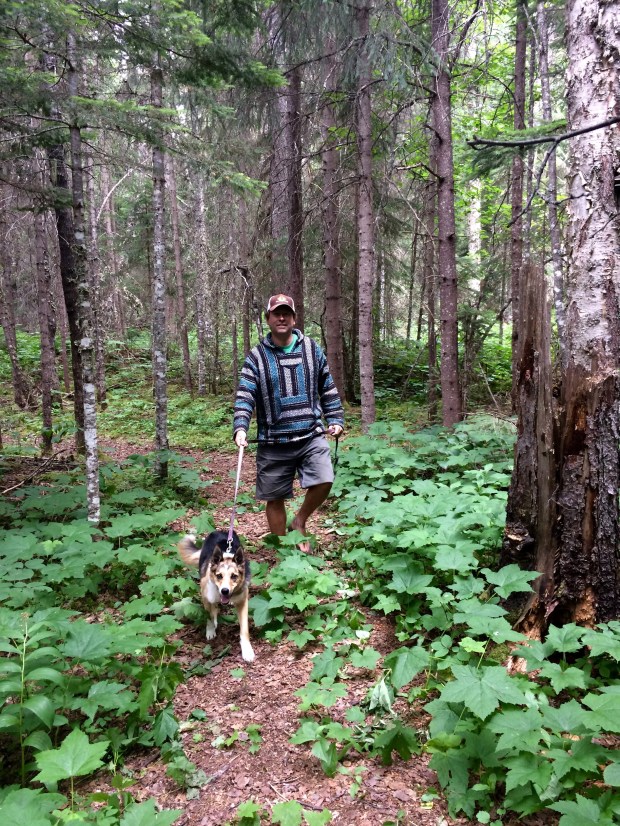
Scout even remembered how to pick huckleberries!


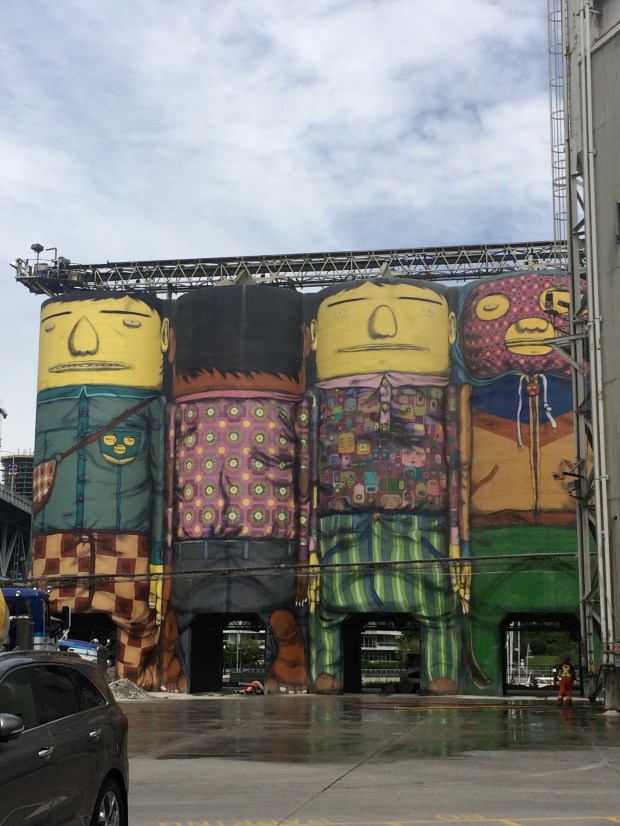
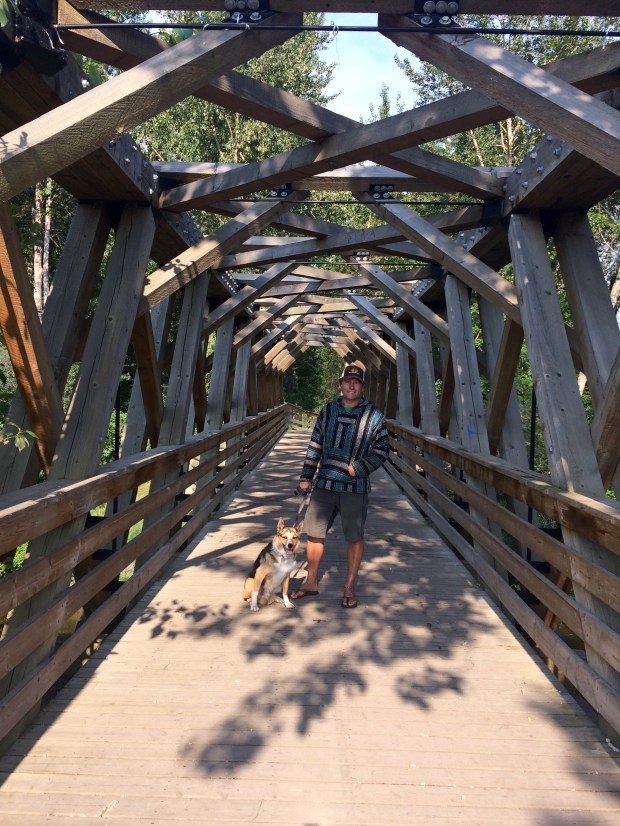
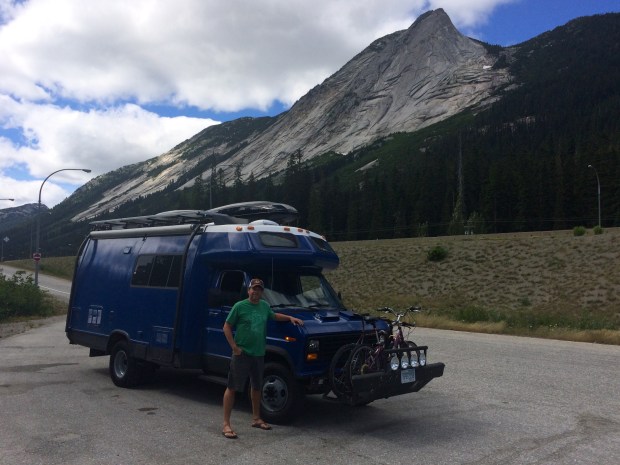
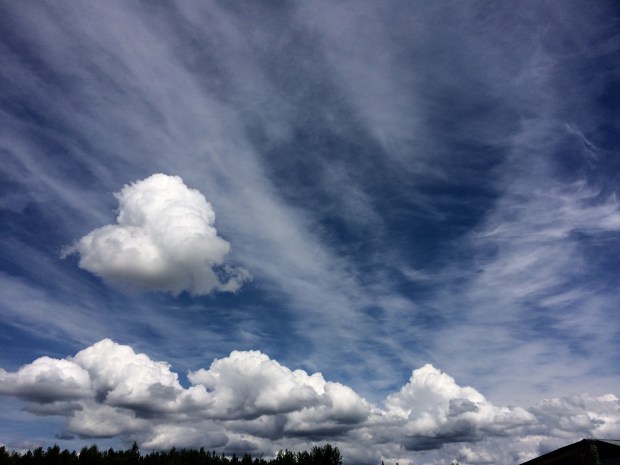
I could have stayed in any one of those campsites for weeks, but there is much to see in these parts, so we pressed on. We wanted to see Prince Rupert, a darling coastal town in northwestern BC, even though it was a few hours out of the way. On our way there, other things happened and they looked like this:

IMG_5971

IMG_6158

IMG_6149

IMG_5994

IMG_6326

IMG_6358

IMG_6467

IMG_6536

IMG_6583

IMG_6608

IMG_6616

IMG_6666

When we got to Prince Rupert it was a brilliant sunny day, which—we were informed by the locals—is not usually the case. We walked all around town, in and out of cute little shops, through the Museum of Northern British Columbia, and ended up on a bright patio overlooking the ocean.

IMG_6695

IMG_6688

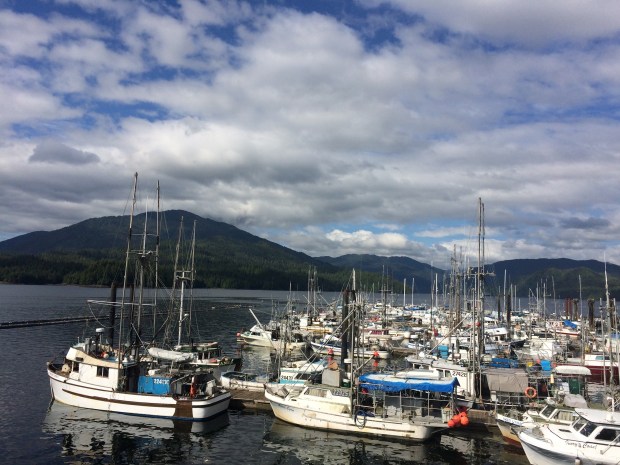
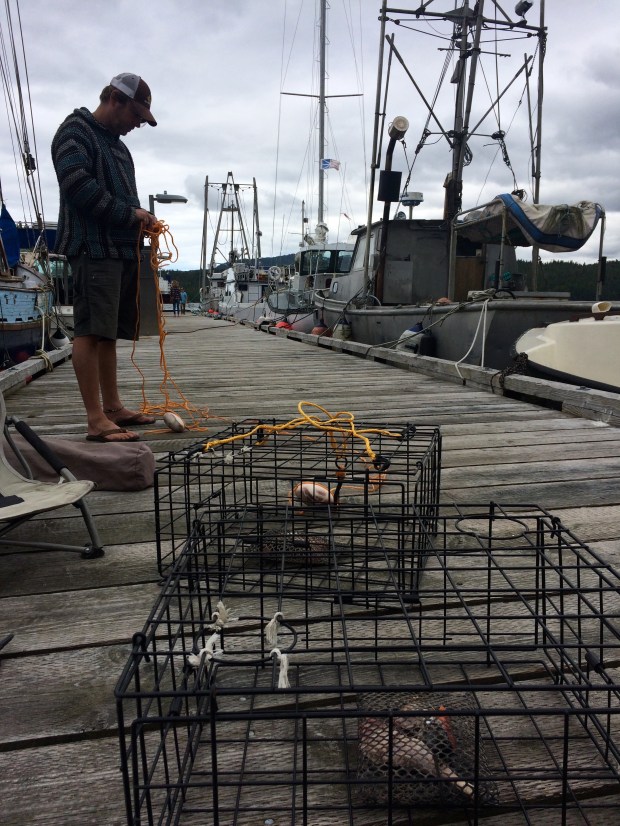
We looked down and noticed crabs walking along the ocean floor, and the next day’s plan was born. After all, we’ve been carrying our crab traps around for over a year!

IMG_6705

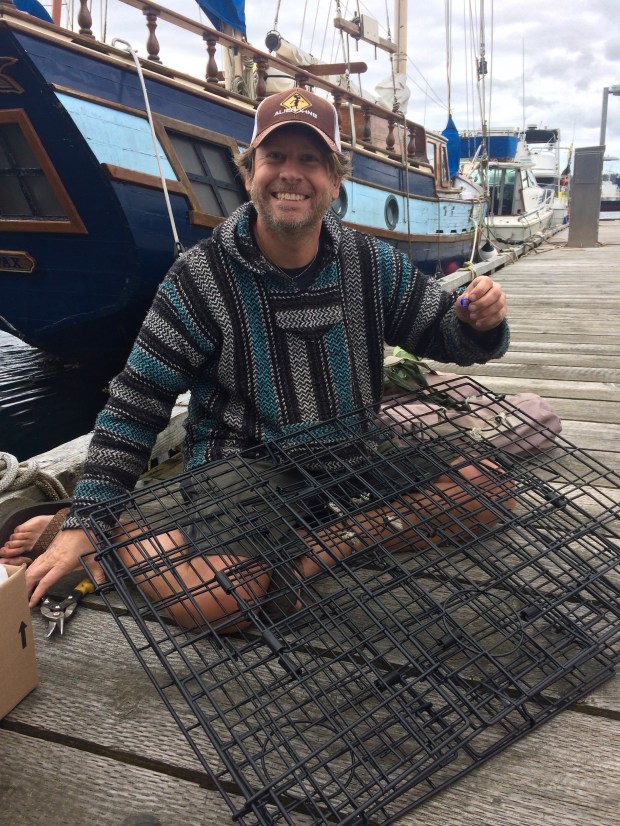
The next day we got our licenses and some bait, and headed down to the docks, where we discovered the depth off the edge was around 80 feet! We spent the entire afternoon into the evening sitting on the dock, chatting with locals, fishing, and reading books. We caught three crabs, one was a keeper, and Andy caught a small flounder.

IMG_6709

IMG_6764

IMG_6805

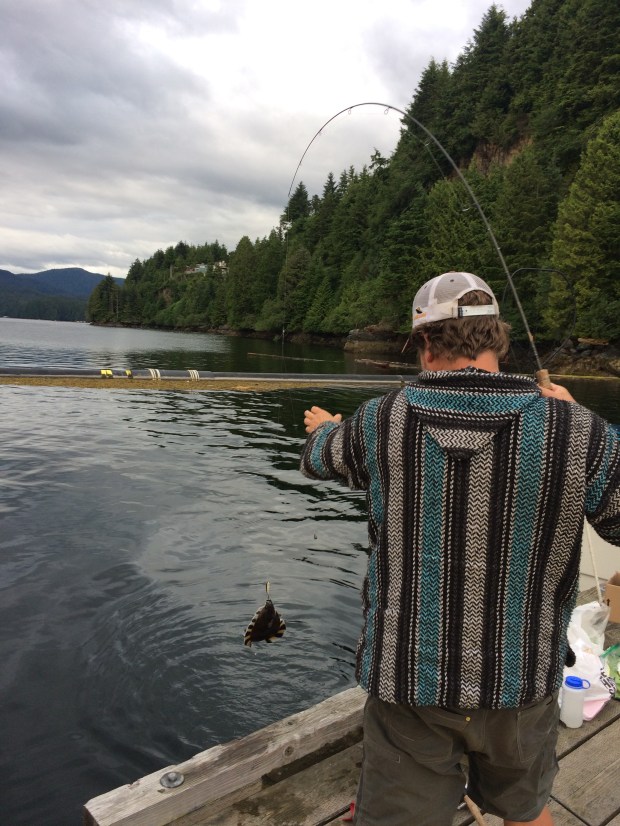
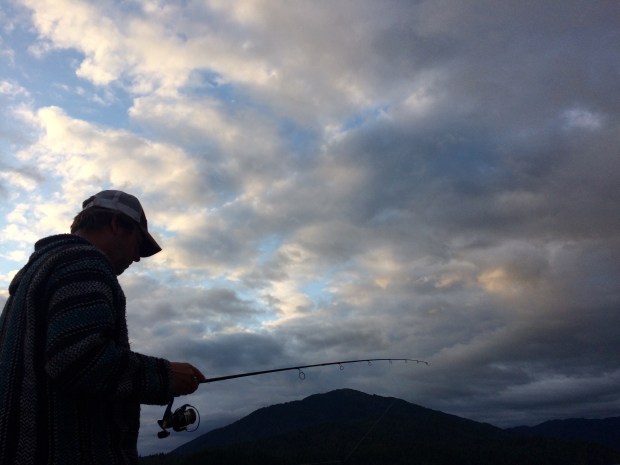
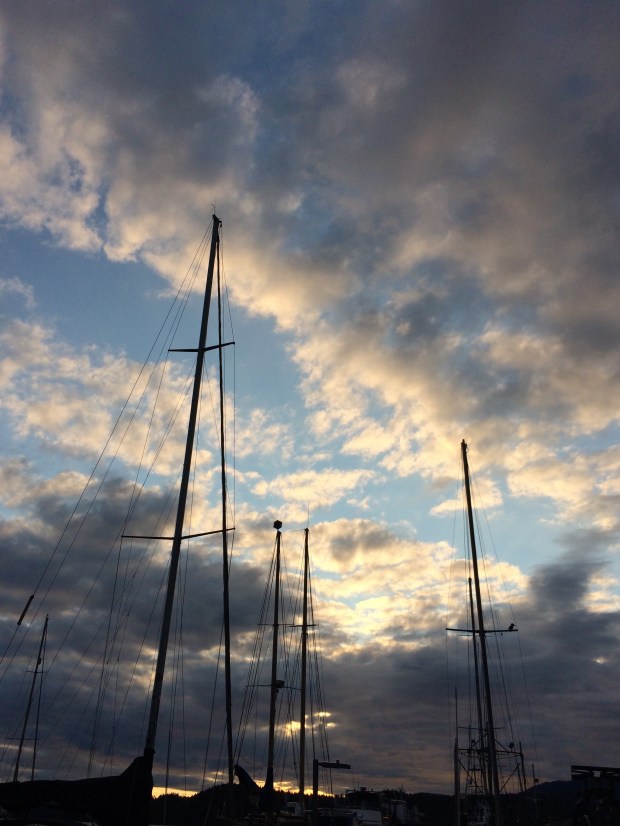
So all in all the day was a success, and as we packed up we were treated to a perfectly picturesque coastal sunset.

IMG_6822

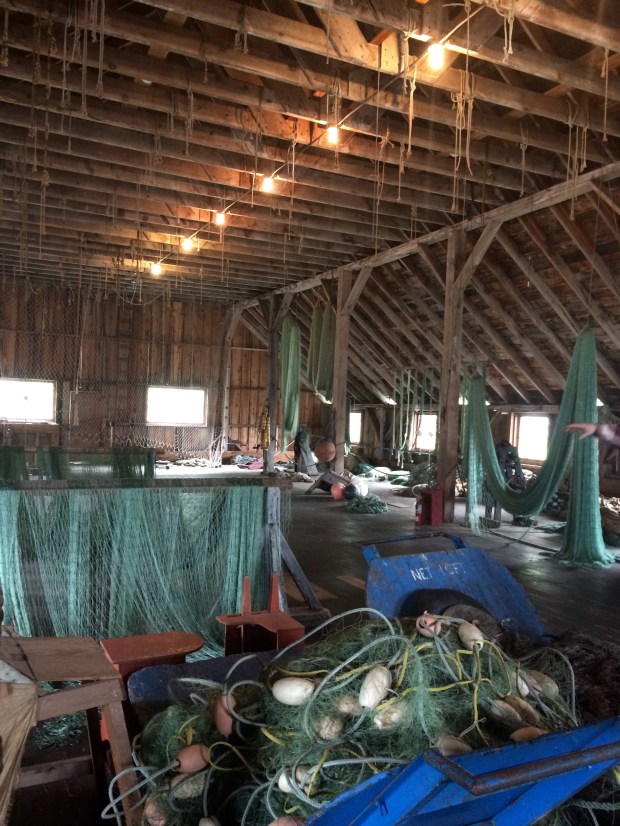
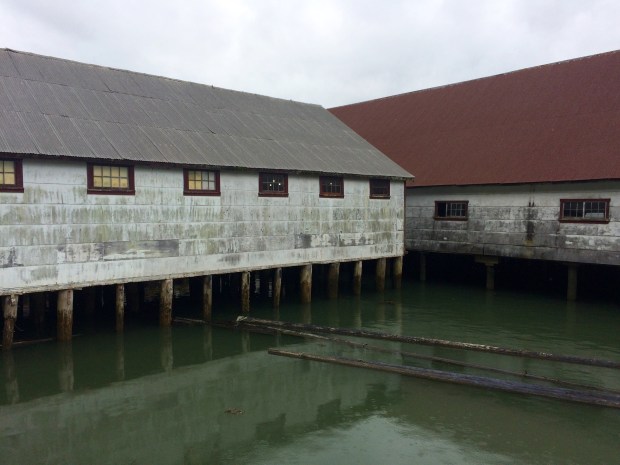
Today was our last day in Prince Rupert, and we visited the North Pacific Cannery Museum on our way out of town. We accidentally stayed three hours, and enjoyed every last minute.

IMG_6830

IMG_6833

IMG_6841

IMG_6843

We’re now back in Terrace, BC, heading north for some serious camping way-off-grid, so the next post will be on the other side of the wilderness when we have service again. And though the silver fox was a superior thrill, here’s hoping that next post will include some photos of a moose. 🙂


Let’s Refurbish a Van – Part 7: Our Batteries Phase 1 (By Andy)

A Post by Andy

{Note: The work detailed in this part of the post was completed over the summer of 2015, before we moved into the Turtle. I am just getting to writing the post now.}

So, we like to have our computers run, have lights, have the controls for our fridge work, have a charged Wi-Fi hotspot, and have our furnace fan powered to keep us warm. For all this we need electricity, and since we want to be off-grid, we need batteries. We started with this:

HouseBattery

If you are familiar with the Turtle, this compartment is behind the largest access door on the passenger side- the door with the vent in it. In the following photo, I put in a dotted line where the plane of the floor on the inside intersects the compartment.

firstbattery_floorline80

The walls of the compartment above the floor line are plywood, and bump up under the couch inside. The sides and bottom below the line are made of heavy steel. I have deduced the compartment was originally designed for a generator, as there was old 120V AC wiring running to it, an unconnected fuel line that ran into the back, and the door vent.

gimpprocessedimage95

I had a hard time figuring out what all the wires were hooked to, as it was a bit haphazard in the compartment. In the above picture, (1) is a port that goes outside, below the floor of the Turtle. The wires there threaded out of the box, ran a short distance under the Turtle’s floor, then threaded up through the floor to the old inverter. There is a second hole (2) that the wires from the old 100W solar panel and the wires between the battery and main 12V distribution panel were run. (3) is the unused electrical box that had 120V AC wires run to the compartment where the shore power cable is housed.

Maybe I should back up a bit and throw out a few concepts and definitions and explanations for the terms we will be using.

  • Battery: A thing that stores electricity in chemical bonds. Here, we are just referring to 12V lead-acid batteries.
  • 12V/12VDC/DC: 12 Volt Direct Current (DC). This is what cars use for their electricity for headlights, the radio, starting, etc. It is the kind of power all the batteries we talk about will produce.
  • 120v: 120V Alternating Current (AC). This is what is in your house and in businesses you know, the typical wall plug Amy and I look for at restaurants to plug our computers into. It’s generally 120, 121, or whatever it takes.
  • Current: The flow rate of electricity.
  • Voltage: The force pushing the electricity through the wires.
  • Inverter: An electrical box that changes 12VDC to 120VAC. It changes car electricity to house-hold electricity. This is so we can plug our AC computer cords into our DC batteries.
  • Converter: An electrical box that changes 120VAC to 12VDC. The opposite of the above—pretty much a garage battery charger that you use to get your car started after you leave the lights on.
  • Charge Controller: An electrical box that changes the output of the solar panels into DC voltage, hopefully charging the house batteries.
  • House Battery: Now, I probably use this too freely. When I talk about house batteries, and I mean batteries dedicated to our living compartment. If I say house (or household) electricity, I mean 120 V AC. Got to figure this out… but, house batteries are 12V batteries separated from the car system, and dedicated to lights and heat and powering the inverter in the house part of a van. One should be able to run these dead flat, and the car will still start, as they are fully independent circuits.
  • Starting Battery: The batteries under the hood, used for starting the car, sparking the gas when the engine is running, running a radio (if you had a functional one), and lighting the headlights.
  • Shore power: Kind of a boat term, but a source of 120V AC electricity you can plug into. When you pull up at a friend’s house, and pull out your extension cord, and plug into their electricity, they are your “shore power”. (Thanks Alex and Julie, Kari and David, Connie, Mag and John, Dave and Ryanne, Mike and Becky, Blake and Martha, Roger and Mary, Chris, Dad…)

Now, back to the good stuff! To start the battery box rebuilt and modification, I first labeled the wires and removed the old battery. I then cleaned the compartment with baking soda and water to neutralize the sulfuric acid and prevent further corrosion. Lucky, the metal compartment is super stout, so it was still in great shape. As usual, after a final thorough cleaning,  I caulked the seams and painted the compartment with black Rustoleum. I can’t find a picture of the completely empty, cleaned and freshly painted compartment, but trust me, it looked good!


After getting the compartment beautified, I cut and painted a plywood plate to fit into the bottom, bolted and glued it to the metal base of the box, and mounted battery trays to it. I painted up everything with oil-based paint and used stainless steel hardware to affix everything.

Since we had just gotten the Interlux blue boat paint, I practiced the painting technique on the top surface of the plywood base, so it is the same shiny blue as the Turtle exterior. In the following photos, you can see the two new Fullriver 115Ah 12V DC sealed AGM batteries that we started with in there, but just patched into the cleaned up existing wiring we are reusing at this point.


I decided to go with Absorbed Glass Matt (AGM) batteries. They cost a bit more than flooded batteries, but they do not spill, they will not develop corrosion at the terminals, and can be mounted sideways, if that configuration seems important. Additionally, they do not require venting, so they can be safely installed inside the living compartment, if that is necessary. Here is the site. We have been happy with this choice, and as you will find out in future posts, choosing AGM sealed batteries will allow us to make some future cold-weather modifications.

As to wiring, I was just starting to adopt the boat convention for new circuits and runs I would rewire. The convention is as follows: For 12VDC, yellow is ground, and red is positive. For 120V AC, the wires are white, black, and green for ground. Examples of the wires are here:


The reason behind adopting this convention is that at a glance, you can tell which circuit they are supposed to be wired to. Additionally, the boat 120V cable is stranded, as opposed to the household solid copper wire. Stranded wires should always be used in a vibration environment. Logically, then, a van should have no solid copper wires (though most RV builders do actually use cheaper solid copper for the 120V runs). As you might have observed, we have concluded that one should think of their van as a boat, and look to boat paints, wires, latches, and hardware for the upgrades and work. Though the boat cable is a little more expensive, it is paired and tinned for corrosion resistance, and gives a real nice finished look. Additionally, it can be purchased in any gauge.

So, at the end of our Phase 1 battery configuration we had our two new AGM batteries with a combined storage of 230Ah at 12V installed and secured, with the connections cleaned up. With this battery pack, we simply used the old converter to charge them when we were connected to shore power, and the old inverter to make our 120V for our computers when off-grid. At this point in our journey I also had just finished the install of our 300W of solar to charge the batteries (we will cover the panels and solar charging and solar controller in a different post).

That’s Phase 1 for you!