Our current location is generally a mystery to anyone trying to keep track of us—including us—mostly due to the fact that we’re so busy having fun that I forget how long it’s been since I last updated the blog or Instagram! I promise that by the end of the next post both you and I will be completely caught up.
As I type this, I’m sitting at an adorable cafe and sweets shop in a town that, I announced immediately before consulting anyone else in the Turtle, we will one day live, even if just for a season. This place is a dream. But we’ll get to that next time. We have so much to cover right now!

We left our last story outside the Very Large Array near Socorro, NM, having a delicious evening treat of a pie sampler from Pie Town. We found a great pull-out to stay the night just a few minutes from the VLA. That night before bed, we watched Contact with a view of the VLA right outside our window! It was awesome. In the movie, the VLA plays a prominent role in Jodie Foster’s research and makes a really dramatic background. And it’s just as impressive in person.
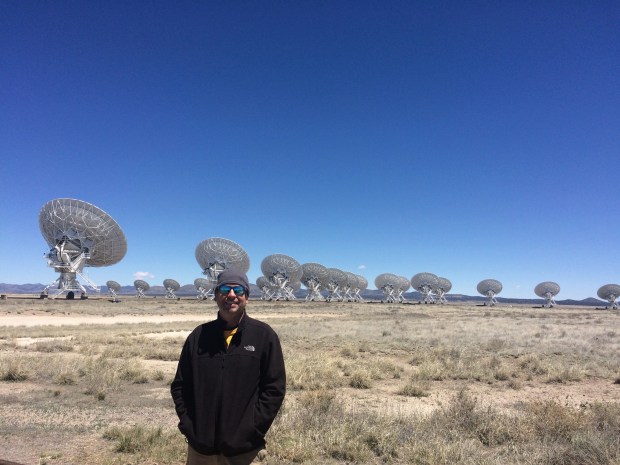
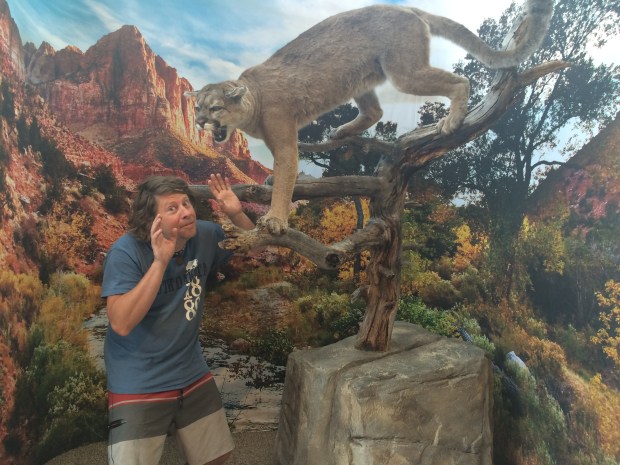
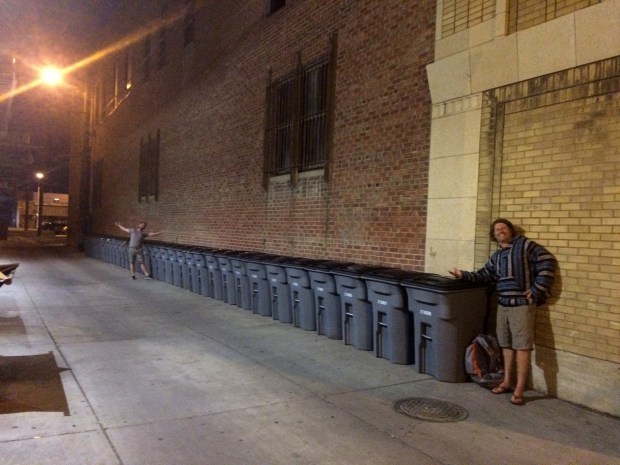
The VLA is an astronomical radio observatory made up of 27 antennas that are each 82′ in diameter. They’ve helped with the investigation of black holes, quasars, pulsars, planets, and loads more. It’s astonishing to see them up close.

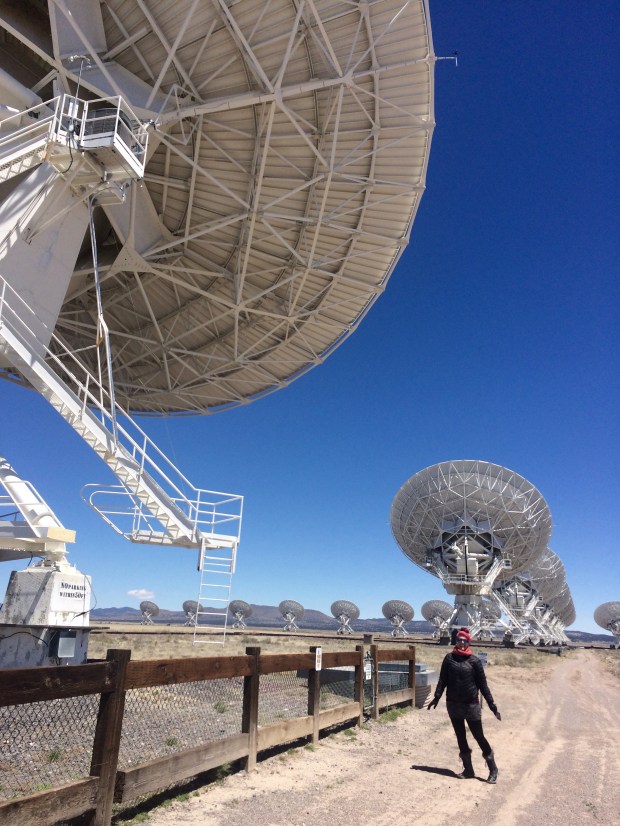
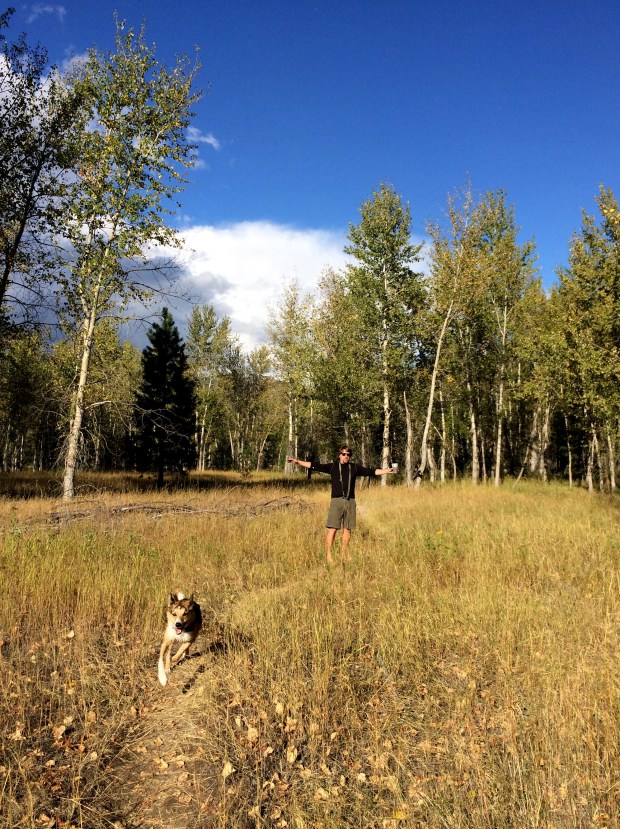
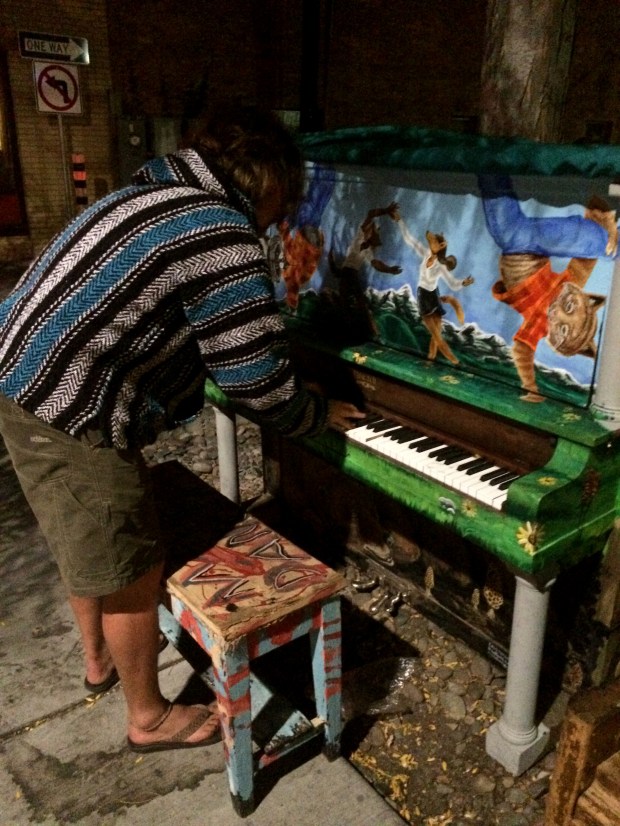
(Not quite sure what I was up to in this photo, but it’s the only one I’ve got, so you’re stuck with my unexplainable dance number.)

After getting our science on, we made our way back to Albuquerque where I had a flight to catch in a few days to Boise to visit my girlfriends Beth and Lexie.
But first, Andy and I had a mission: to get poolside as soon as possible. I’m not sure how we got the idea in our heads, but suddenly we couldn’t live without a swim. So we headed to the only RV park in Albuquerque that had their pool open before Memorial Day—American RV Park.
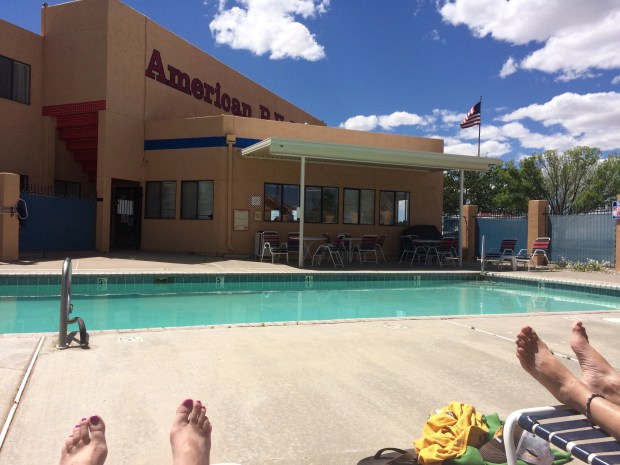

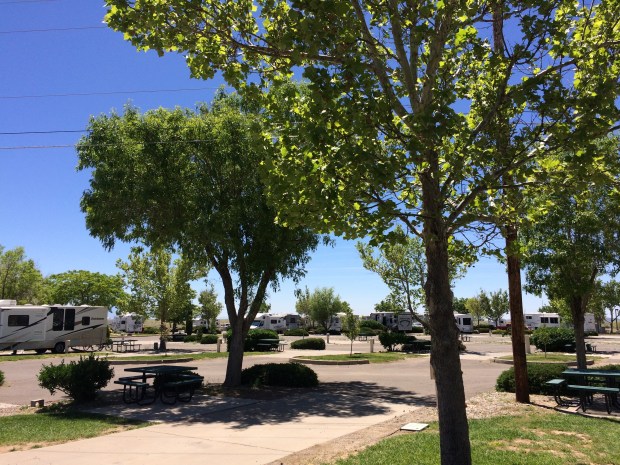
We came for the pool and stayed for the lovely park, yummy continental breakfast, clean showers and laundromat, and beyond-friendly staff. We really did stay another day. It’s a great park that I can’t recommend highly enough! We realized that it had been over a year since we had stayed in an RV park, which was fun because we’ve really gotten the hang of boondocking and have saved lots of money by not going to parks unless we need to take advantage of their amenities. Turtle power!
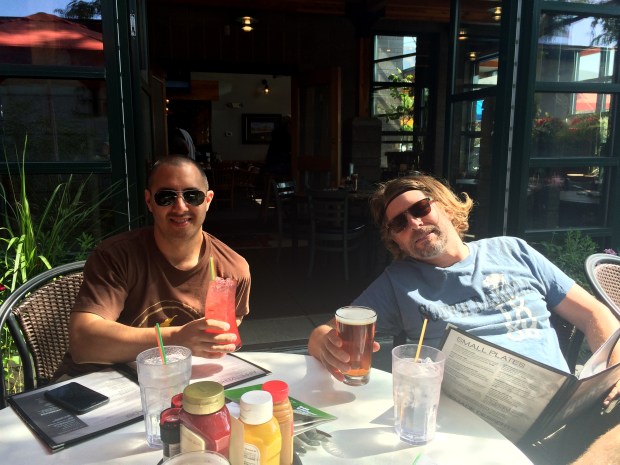
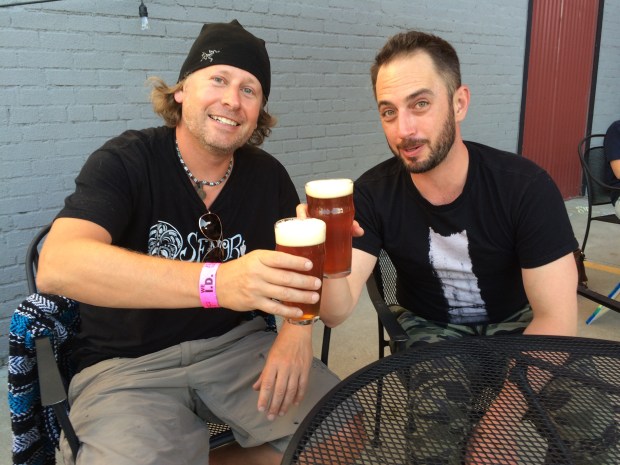
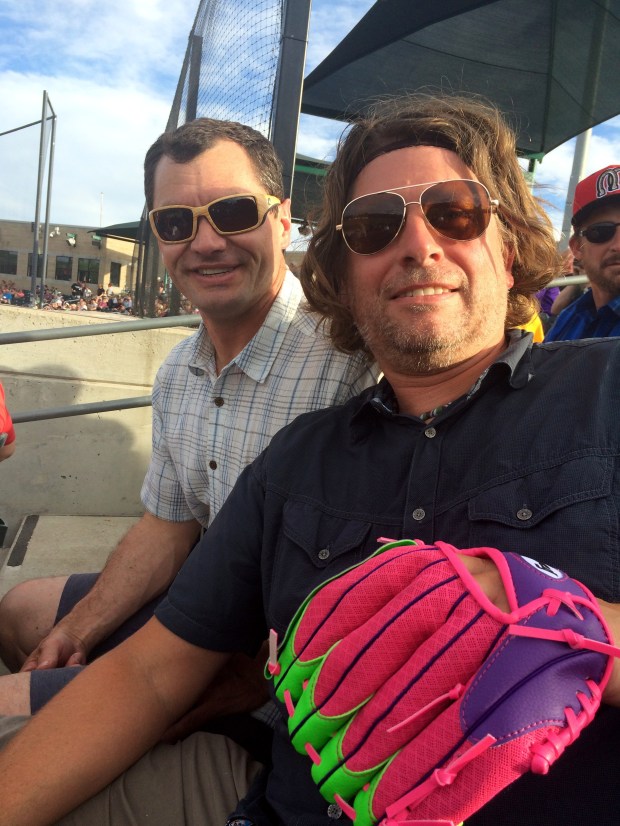
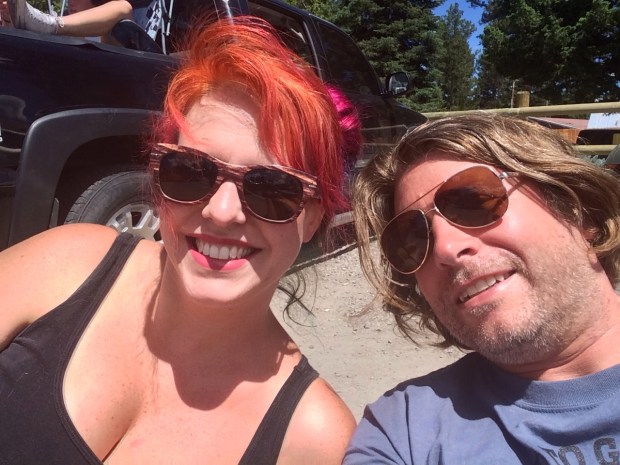
We stayed two nights, and the next day I left this guy:

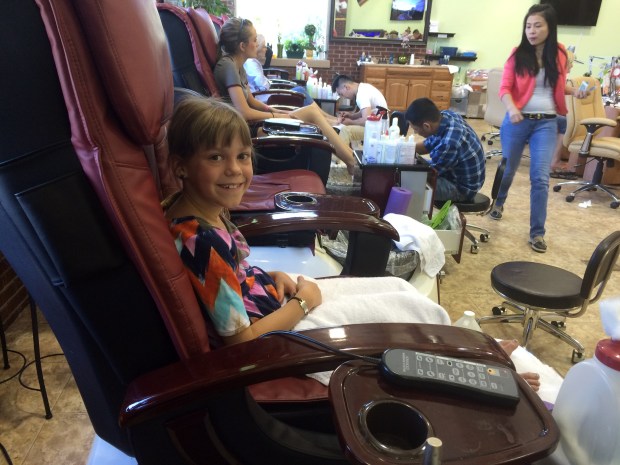
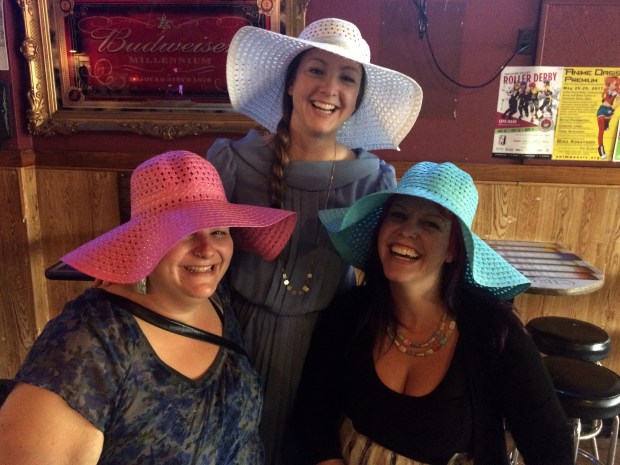
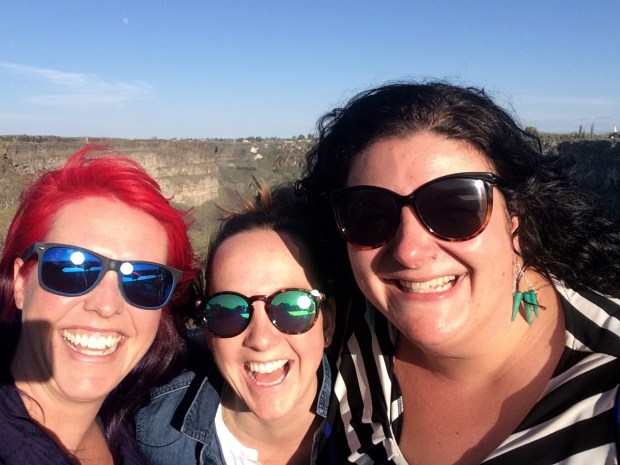
To hang out with these guys:

It was a bunch of fun. We painted the town red, and even got dressed up to go watch the Kentucky Derby.
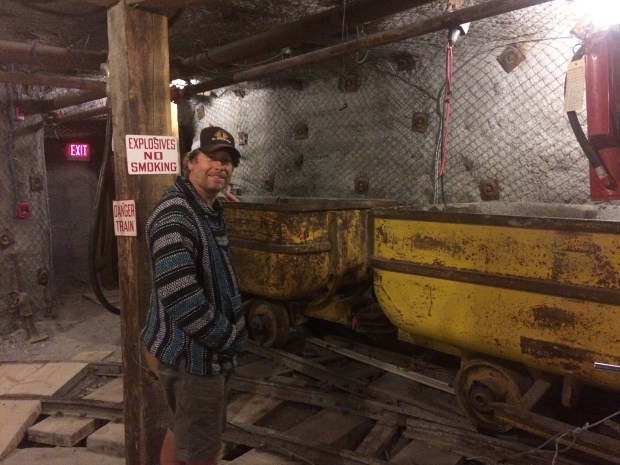
After a whirlwind few days, I was back in Albuquerque and the four of us were back on the road. Andy and I went to a fantastic mining museum in Grants called the New Mexico Mining Museum, which has a replica uranium mine underground. The man at the front desk had worked in mining for about 35 years, and had worked his way up from the bottom to be the head of his mine and even got an award for safety, with the longest time without a death in the mine or serious injuries. He had lots of information, was adorable, and gave me a goldstone to remember the mine by.


Outside of Grants, we stayed at the Joe Skeen campground near El Malpais.

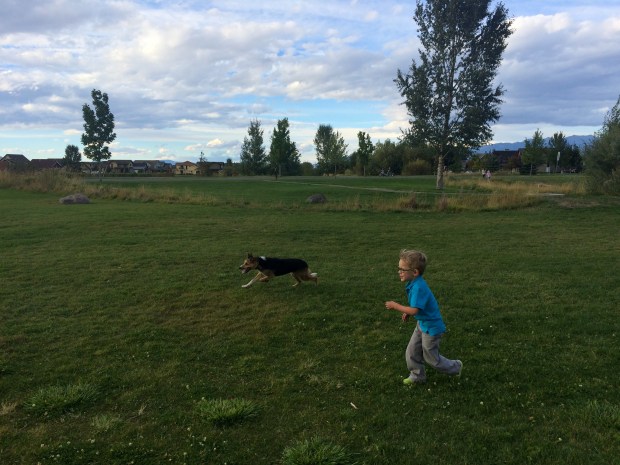
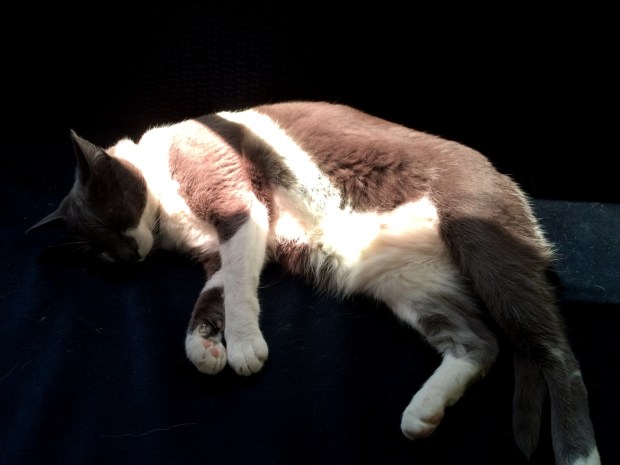
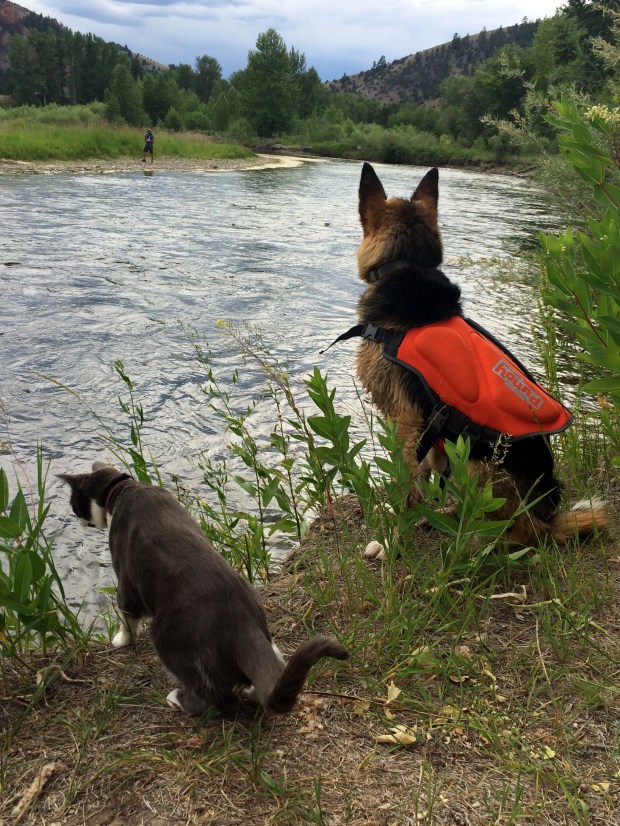
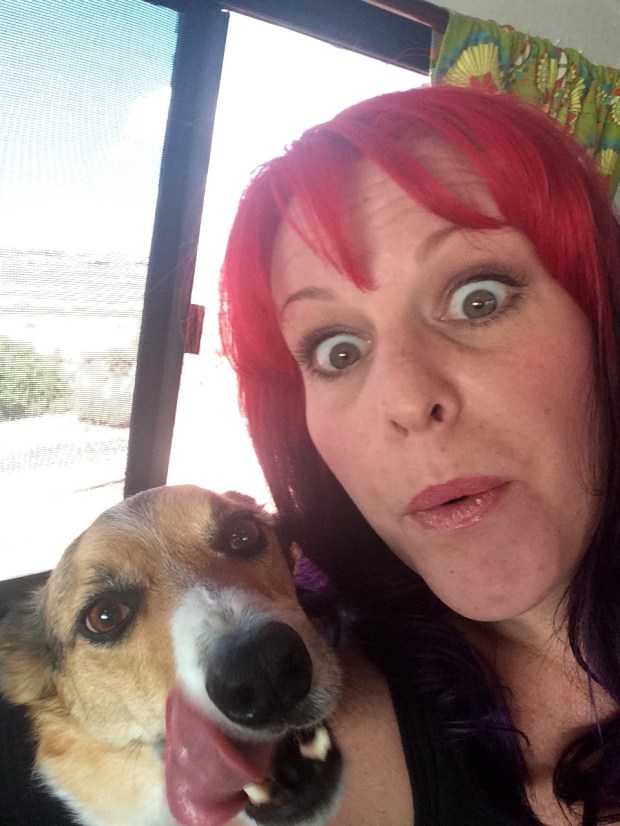
I was happy to be reunited with this guy:
And this guy:
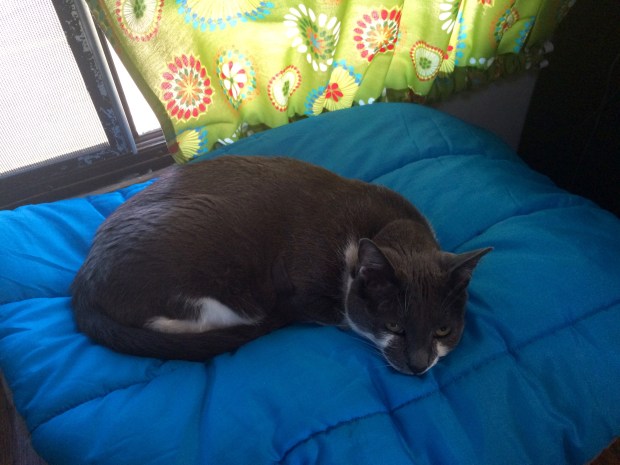
And this guy:

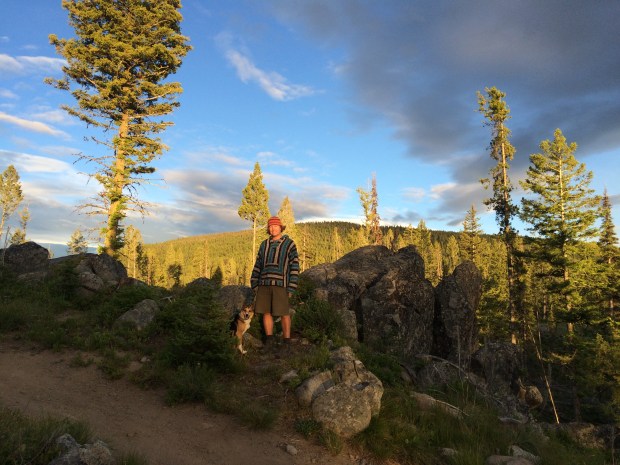
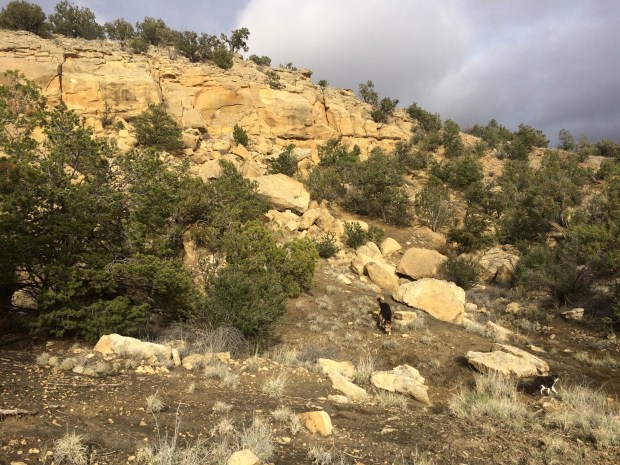
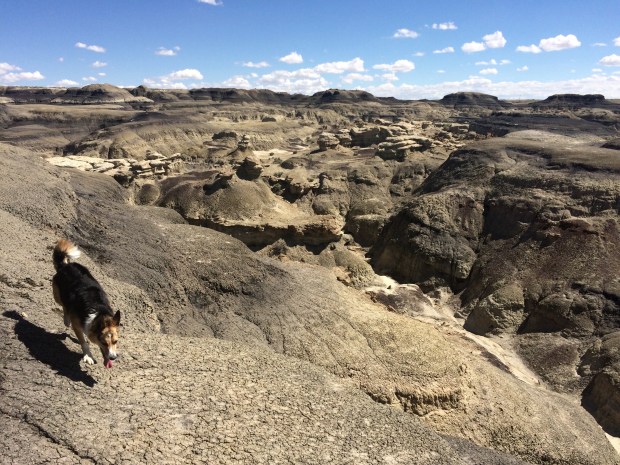
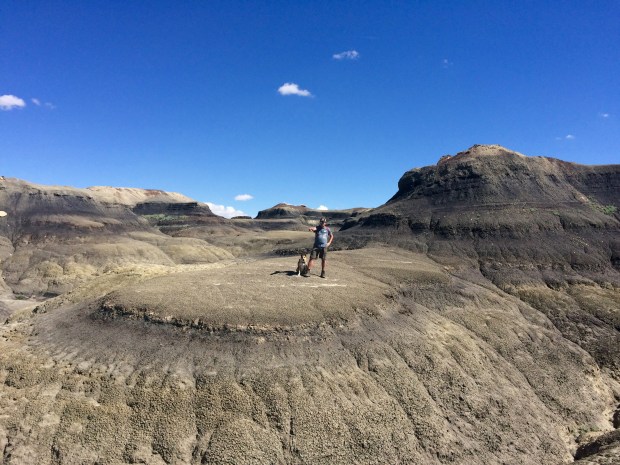
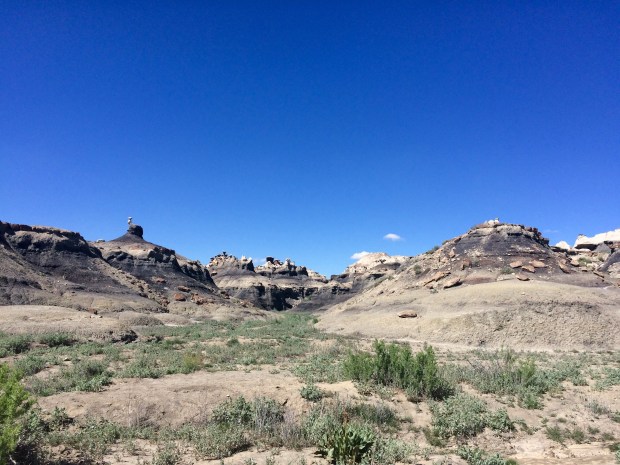
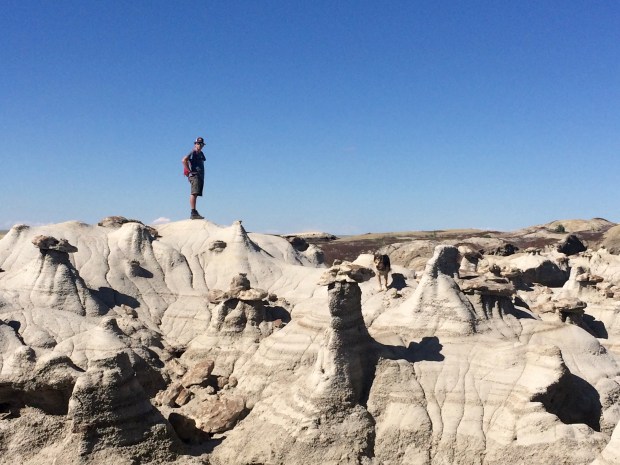
We drove to the Bisti Badlands wilderness, where you can stay overnight in the parking area for free! It was especially appreciated that we got to stay after we climbed for hours over the crazy hills that changed in appearance every few minutes. It felt like a walking tour of 10 different planets.
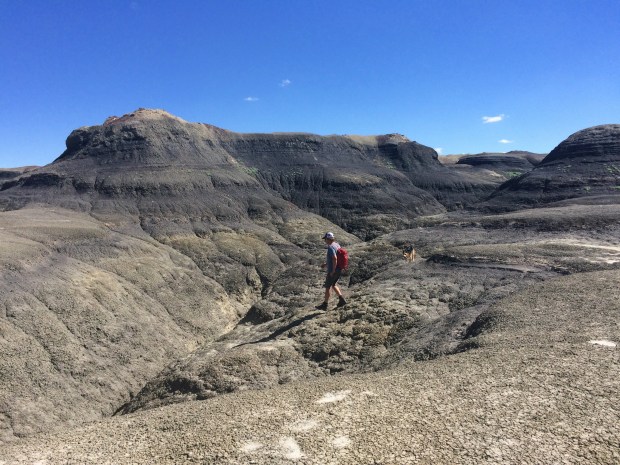

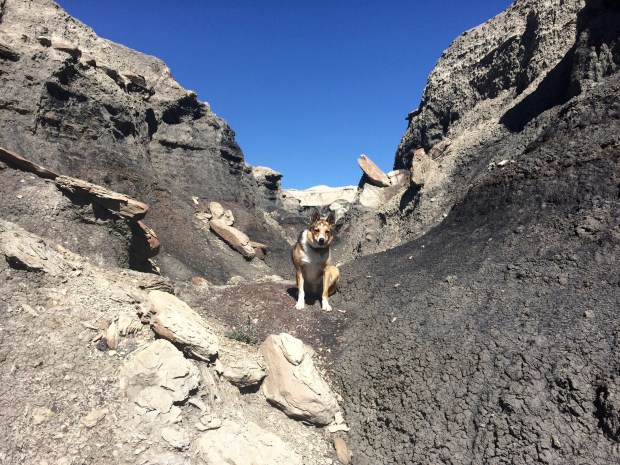
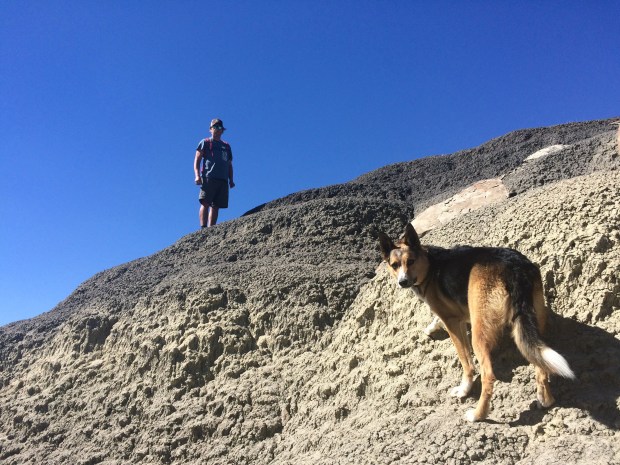

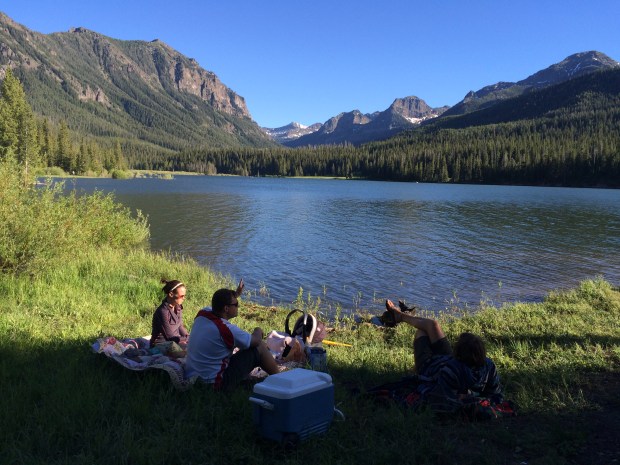
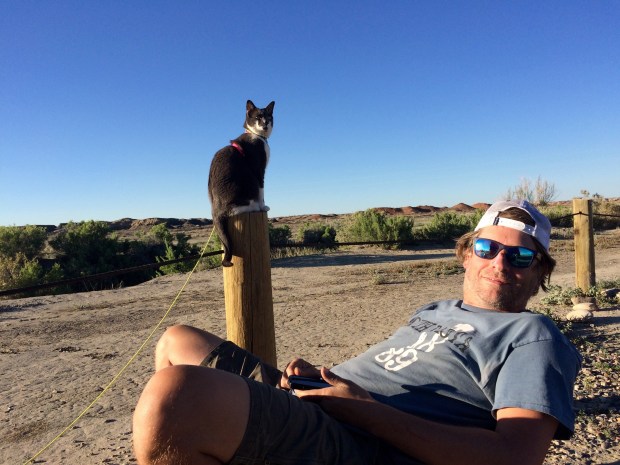
It was a hot day, and when we got back to the parking lot, we relaxed in our chairs and read books with Scout and Gracie. Gracie has become a real champ with her harness and leash these days. I think she’s figured out that sometimes it’s her only ticket outside, so she wears it without any problem, and even comes to my feet meowing when she hears me get it out.
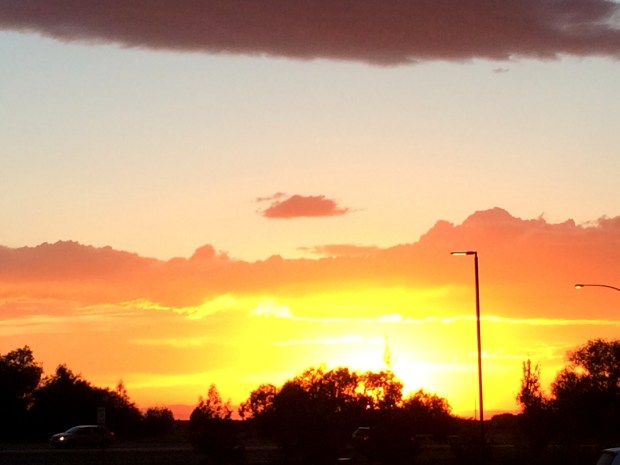
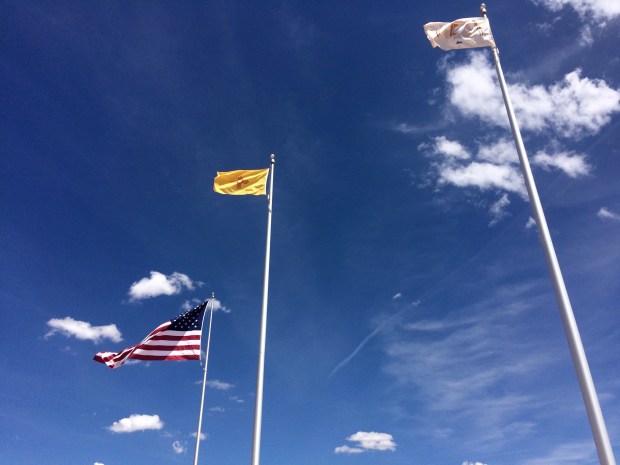
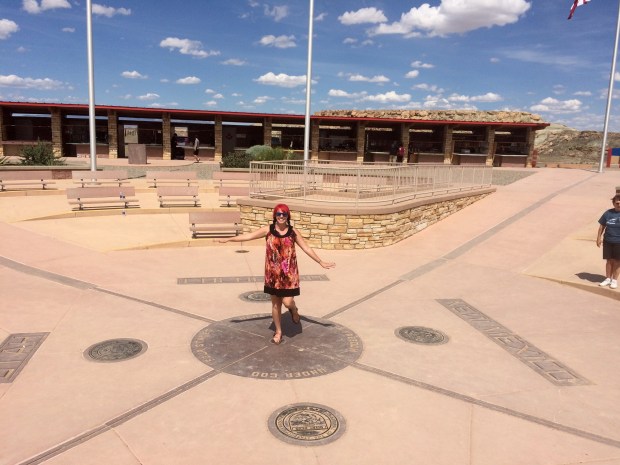
The next day we made it to Four Corners with beautiful skies above us.

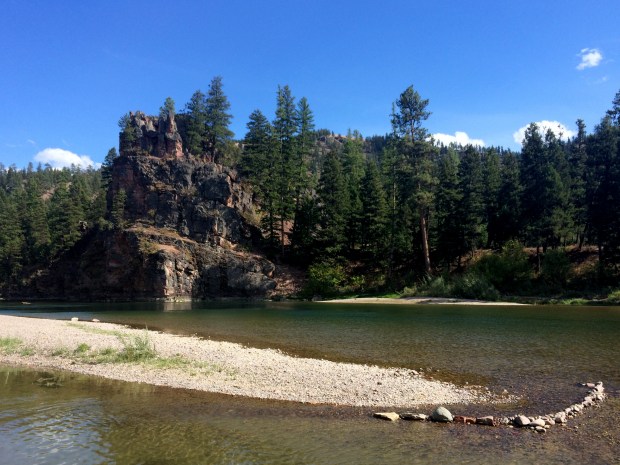
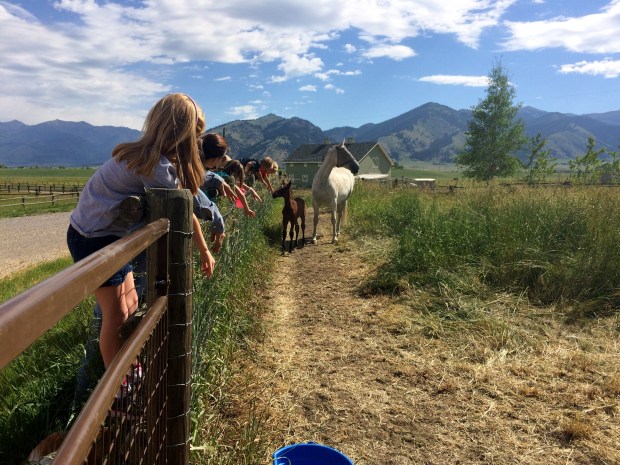
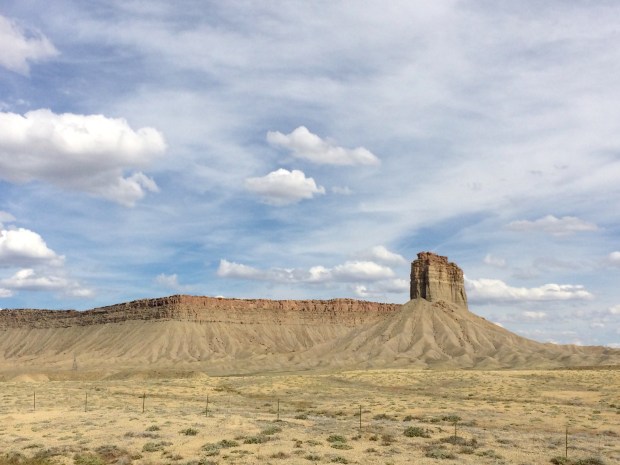
Then we drove on toward Mesa Verde National Park. The landscape on the way to the park was a destination unto itself. I swear this is not a painting.
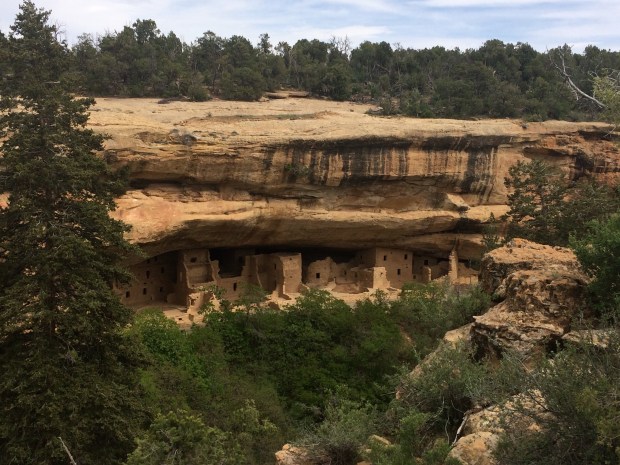
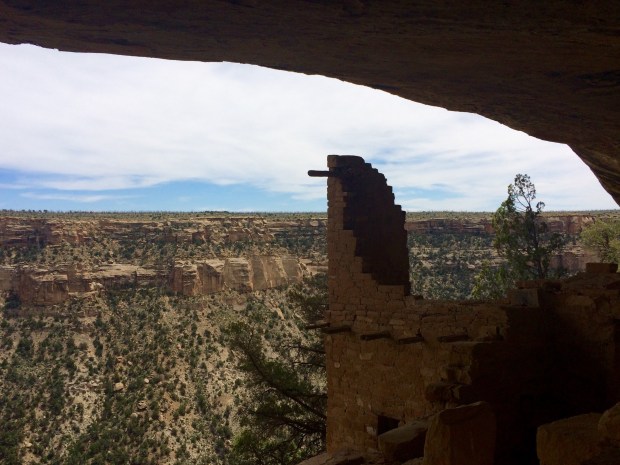
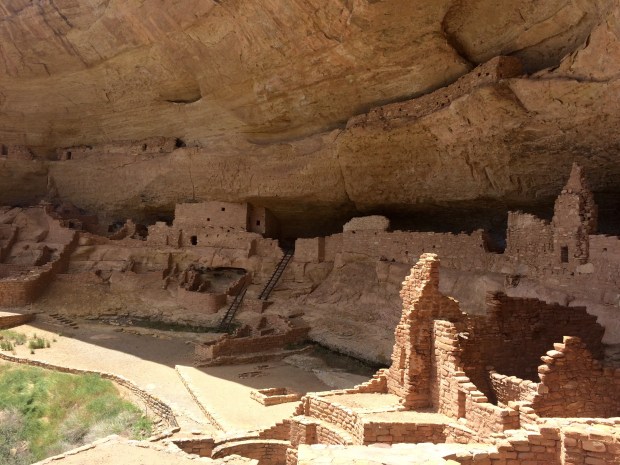
In the last year, we’ve been to two other cliff dwellings sites: Bandelier NM and Gila Cliff Dwellings NM. We really enjoyed both, but agreed once we made it to Mesa Verde that this is our favorite site so far.
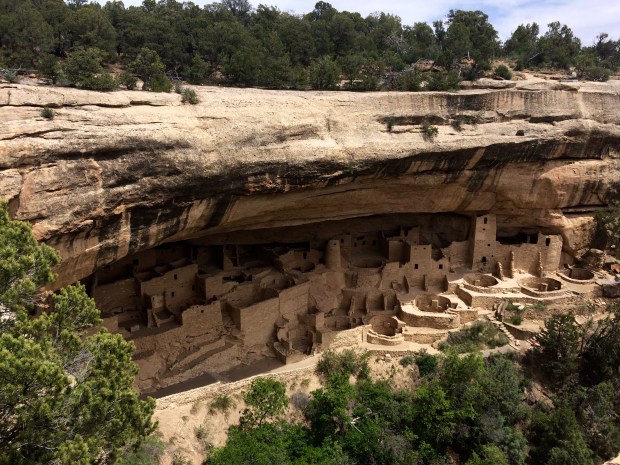
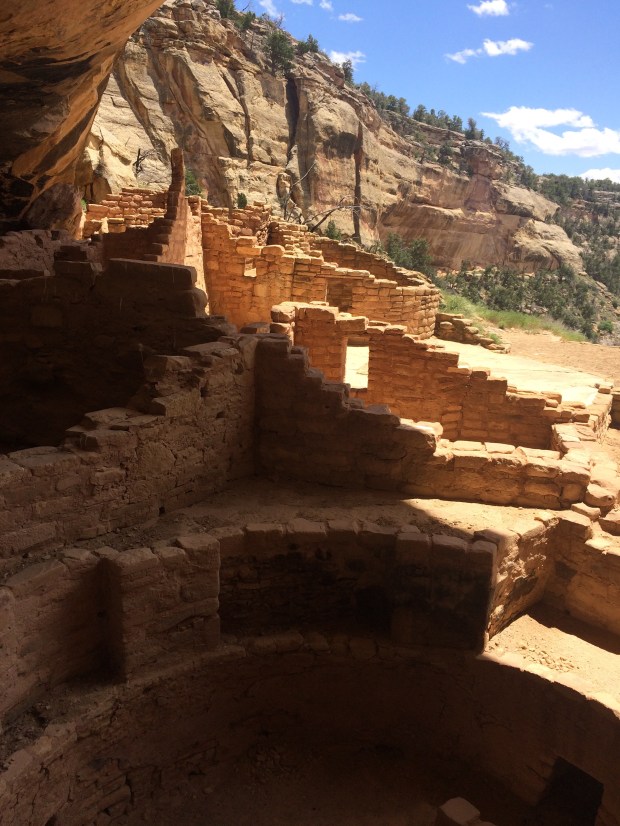
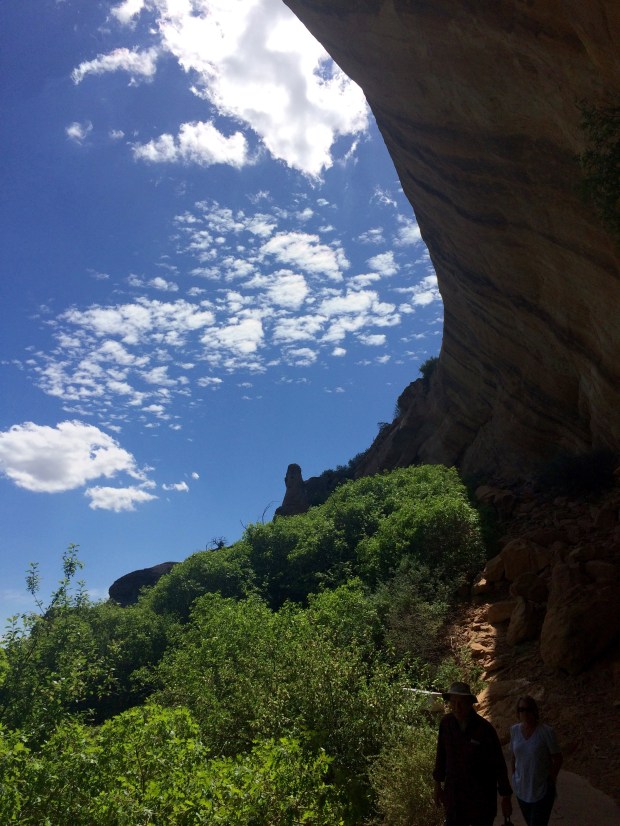
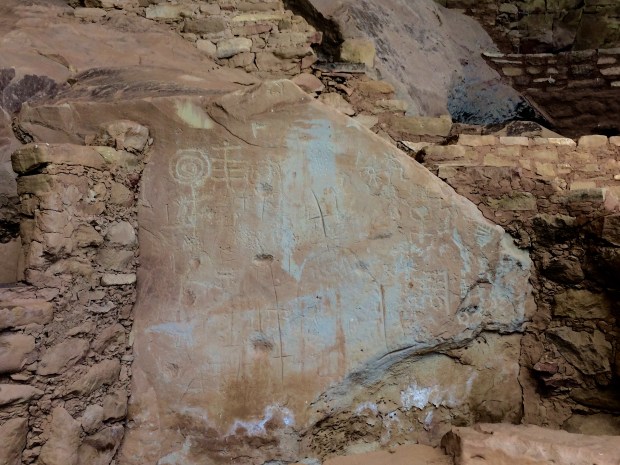
In the park are 600 beautifully preserved cliff dwellings of the Ancestral Pueblo people, many of which you can tour or see clearly from various vistas. Depending on the site, the tours are just $5 or $10 each, which gets you 1-2 hours of information and a walk right through the dwellings. You can see petroglyphs and pictographs, the different styles of construction each group used, and the actual tools they used to grind corn and make food. And the views are so vast and unreal that we both said more than once that we’d pay just to hike the trails on the mesa! There are also self-guided tours you can take, so we did all of those too.


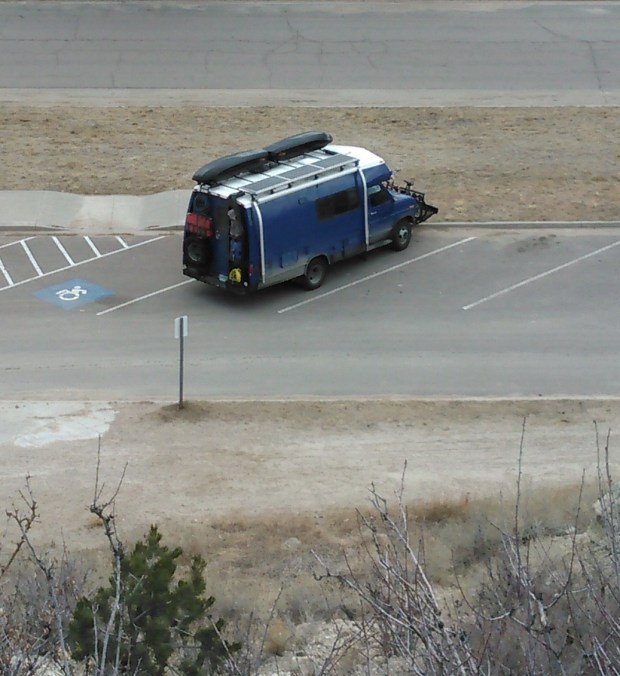
Our second day there, as we parked at Balcony House for our tour we noticed another van that could be the Turtle’s long-lost cousin, so we parked by it as we often do when we see a van we like. After traveling around for the last year and a half, we’ve found that we can usually tell by someone’s van if they are kindred spirits, and our track record is pretty good so far. This time was no exception! We ran into Gary and Kiki as we returned from our tour, and found out that they’re just starting out on their full-time vandwelling adventure (though they’ve already been on many, many adventures of other sorts). We’d all already purchased tickets for the same tour the following day, so we got to hang out even more during the Long House tour.

We super enjoyed getting to know you guys, and I’m certain that our paths will cross down the road. (When they do, we’ll let you know what Turtle theme song we came up with; hopefully one as cool as Birdy’s.) You guys were a pleasure to hang out with. Stay in touch! 🙂
After the tour, we did a quick 6-mile loop on top of the mesa to check out the other cliff dwelling overlooks.

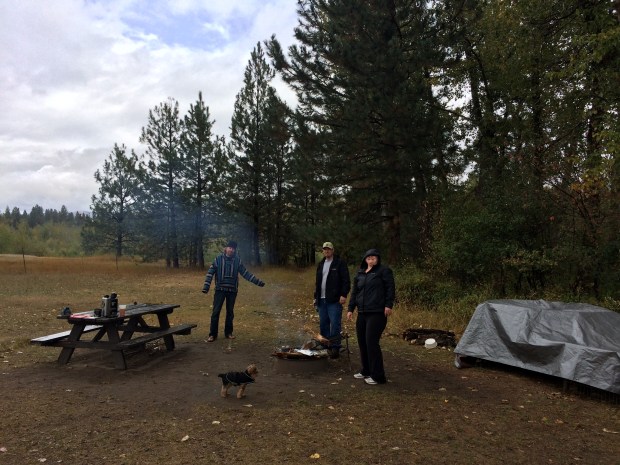
We would have loved to stay and visit (both the park and the new friends) longer, but the storm clouds were rolling in and the skies were getting darker. Our first rule of overlanding is “Never Drive at Night”, which is comparable to driving in terrible weather, so we hit the road to make it to Durango, CO to find a spot before the weather hit.
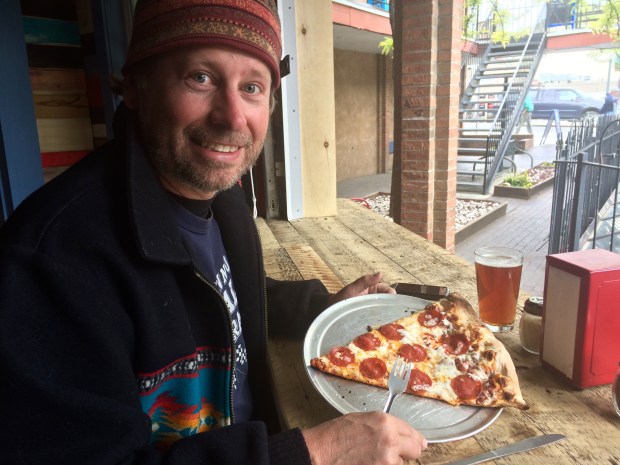
We hung out in Durango for the evening, a town that I already loved and knew Andy would too. The weather was unfortunate, with frigid winds and constant cloud cover, but we had a great time anyway. If you can involve pizza in the plans, Andy is a happy camper.
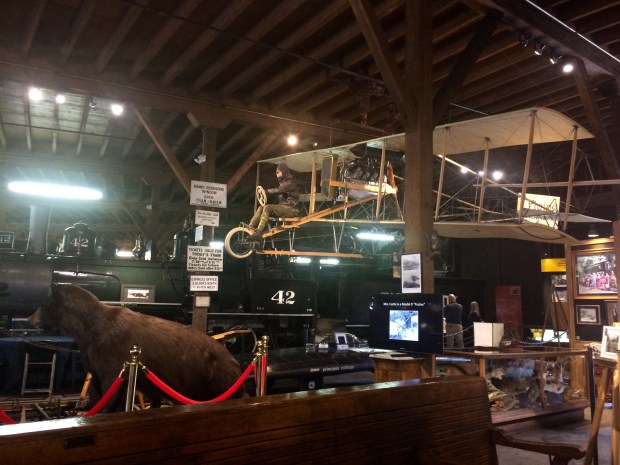
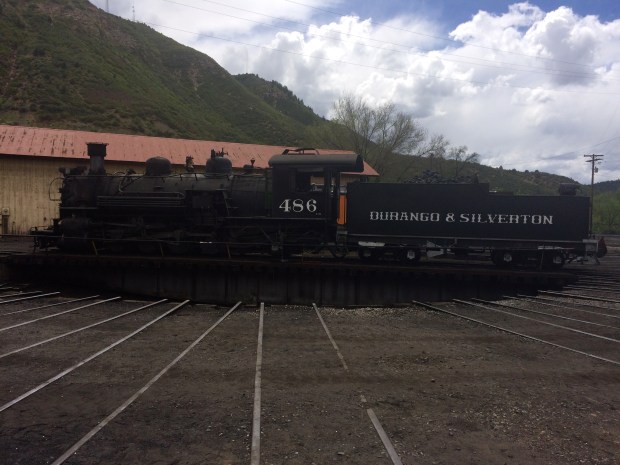
If you can also include a free trip to the coolest railroad museum ever, Durango and Silverton Narrow Gauge Railroad Museum, he will be even happier.


And if you really want to make his day, cap it all off with a little performance testing at the highest altitudes the Turtle has ever attempted. . .
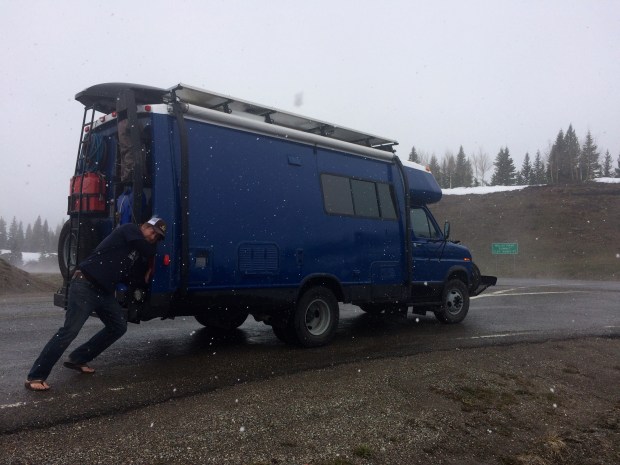
Which, unbeknownst to us, was the next leg of the trip. And one that would bring us to where I sit now, in my new very favorite town of all time! But that’s up next.