project

Let’s Refurbish a Van – Part 3: Tires (by Andy)

A Post by Andy

Maybe you noticed the tires. Maybe, like me, you love tires. We have fancy tires, and I would like to tell you all about them. Let’s start with what we had.

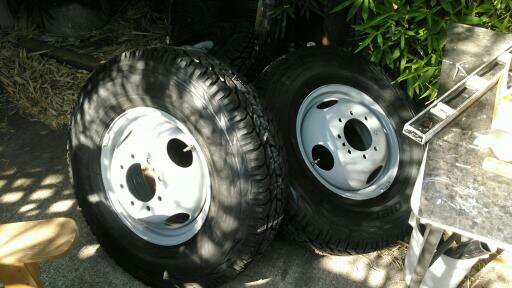
Pretty standard look for an 80’s era Class-C RV. The Turtle’s stock tire size was 215/85R16 on 8-bolt Ford rims. Single wheels in front, and dully rear.

We wanted to be able to go most everywhere, up dirt roads, over snowy passes, through water and mud, so we wanted a taller tire for more clearance, with an aggressive mud and snow tread. Also, as a general rule I am a fan of tall, skinny tires. Pizza cutters, some people refer to them as. Lots of trucks these days have big, fat tires, and they look pretty cool, but for most conditions they are less than ideal. I really like the Cooper A/T3 tread and have run it on other vehicles, so that was the choice for sure. As to the size: to get added clearance, a greater load rating, and to keep it nice and narrow, we went with 235/85R16.

Image source

The new tires are almost 32″ tall- a significant improvement over the stock height of about 30″- so we gain almost an inch of clearance with the new tires. Additionally the 235’s have a load rating of 3042 lbs per tire vs. 2680 lbs for a typical 215. The additional load rating does not increase the load we can carry, but it is just a stronger tire so they will live a long and happy life rolling along far below their load limit.

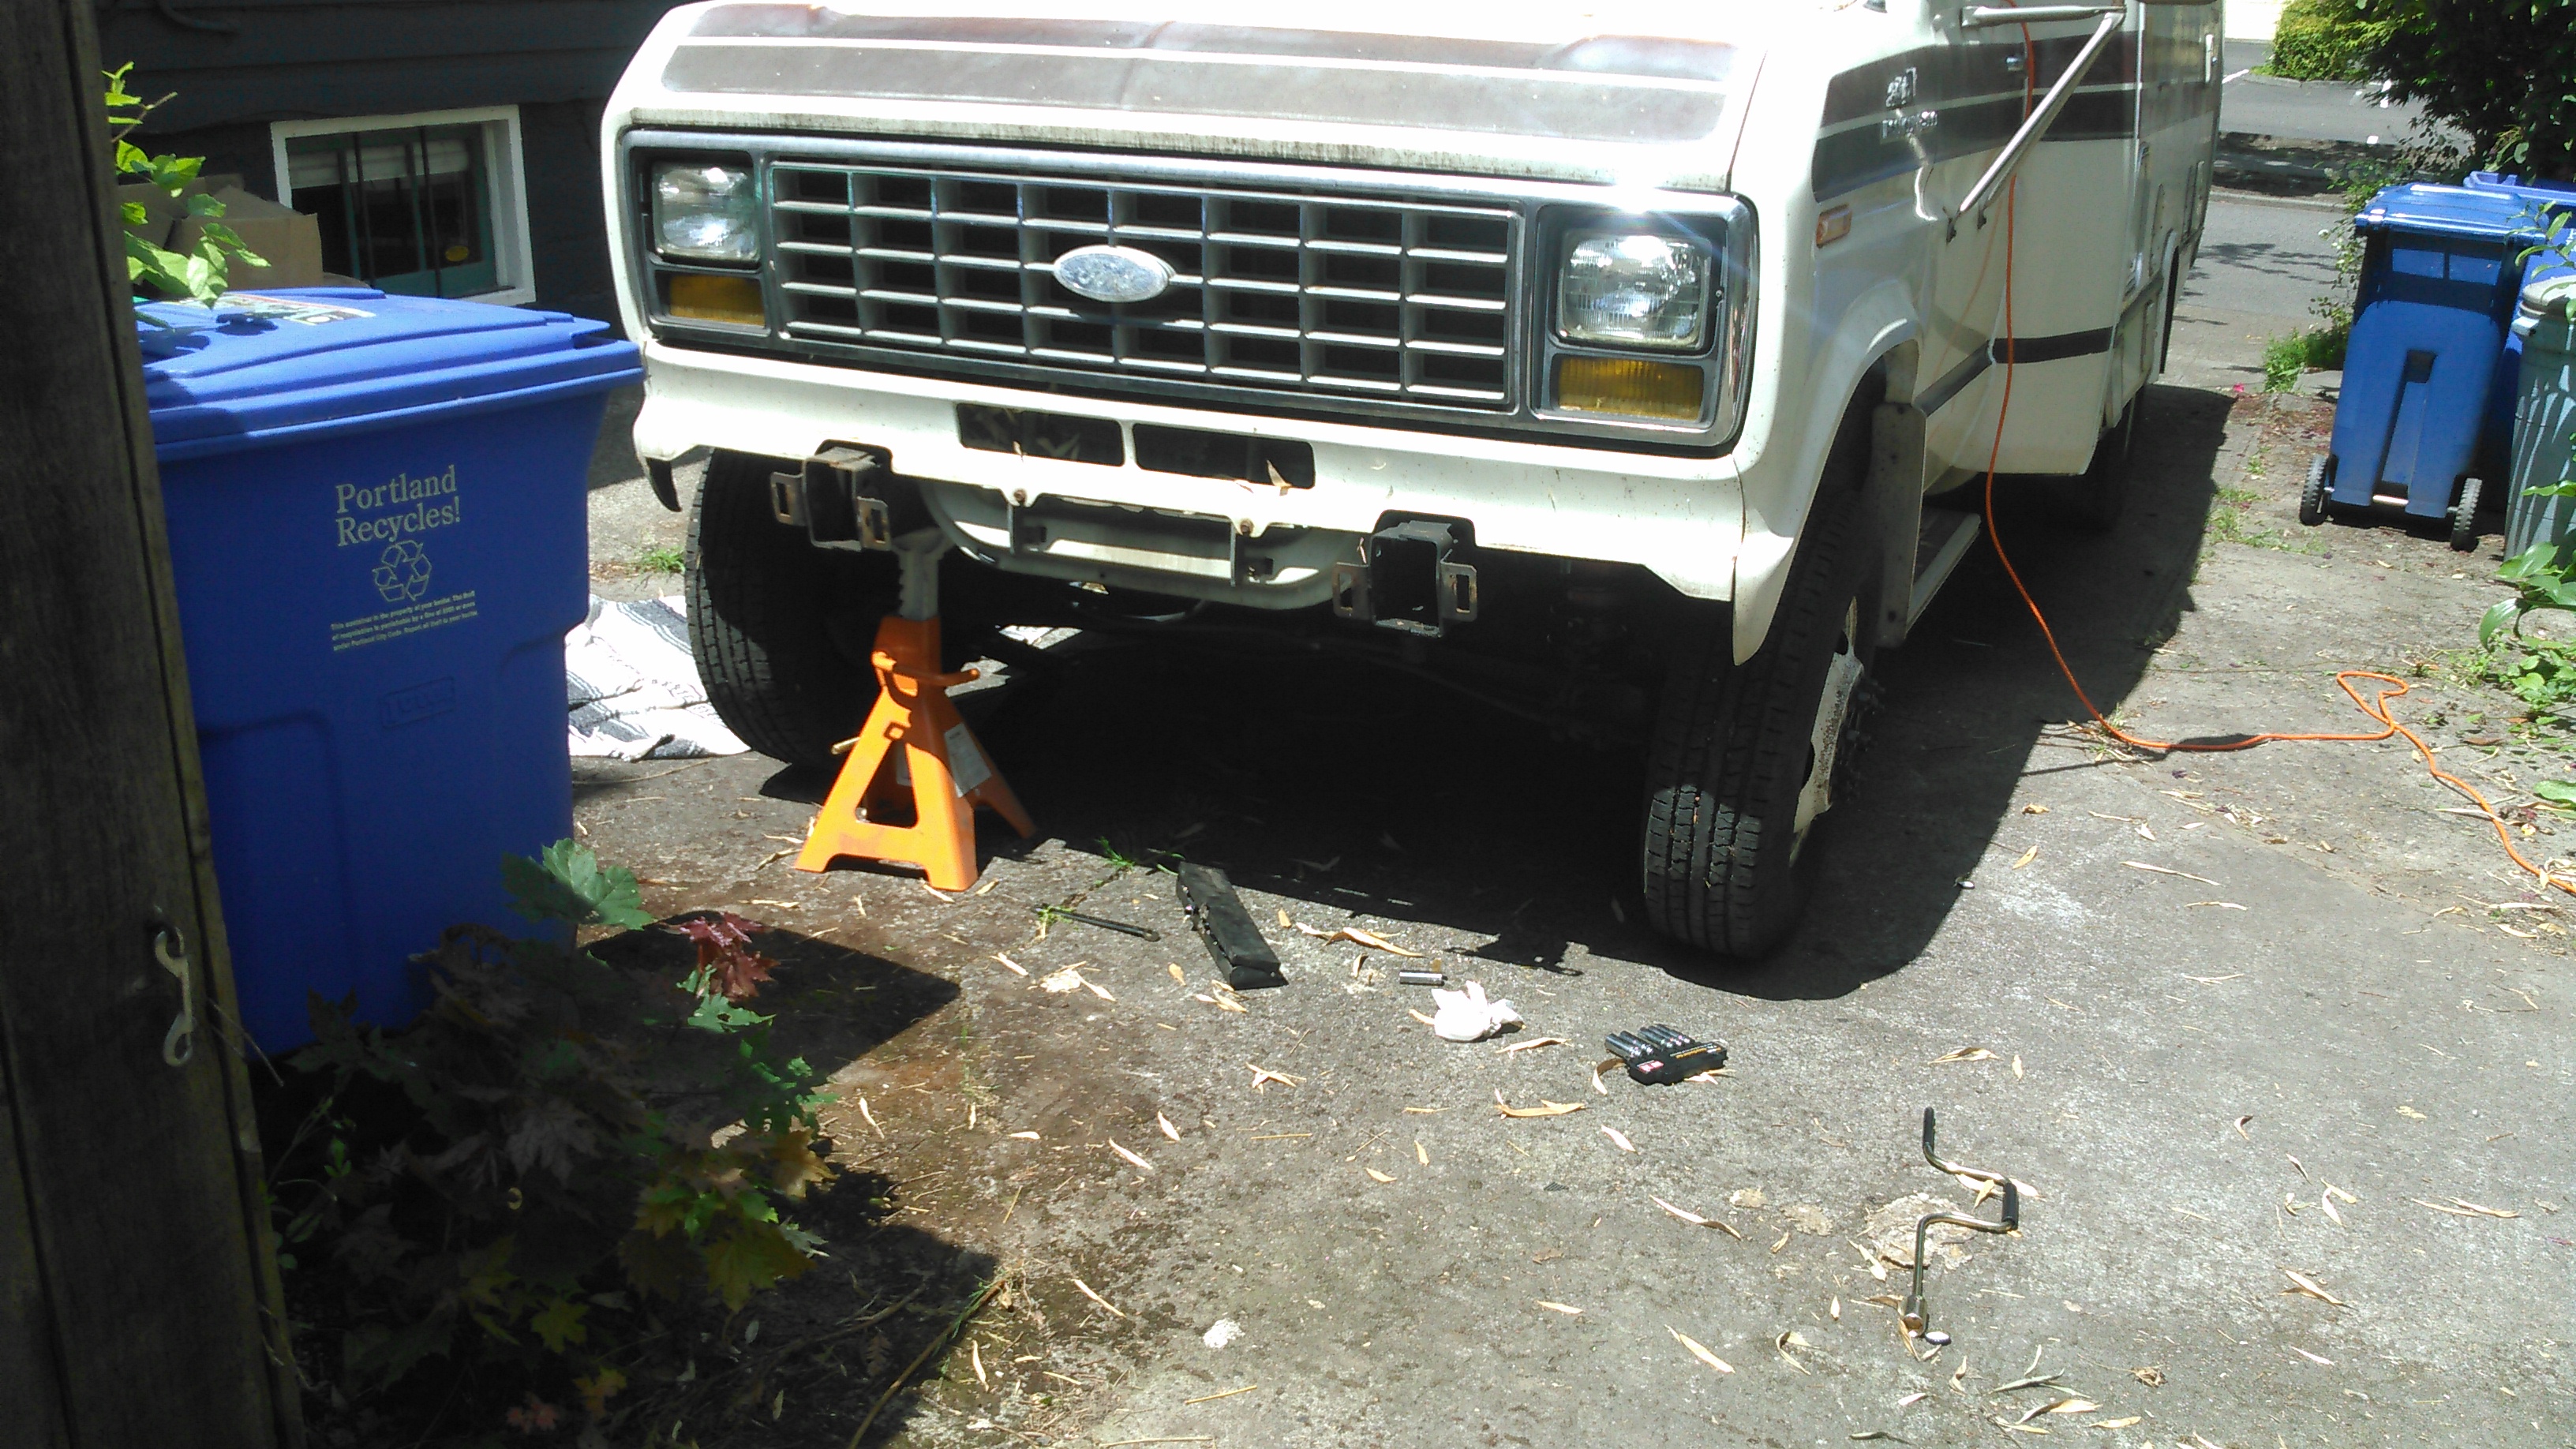
After selecting a tire and size, special consideration was given to the rims. It seemed reasonable to replace the 30 year-old rims, and due to the tire size change, this was actually necessary. You see, dual tires need an air gap between them to stay cool. The gap is a function of how wide the tires are, and the distance between the center of the rim and the plane where the rim bolts to the hub (a measurement called wheel off-set). Because the new tires chosen will be slightly wider, we needed rims with a greater offset, so we ordered 7 new rims with a 5.35″ offset (the old rims had a 5.15″ offset).

The rims actually lived in our house for many months before we were ready to get the tires. Though they did finally get their tires attached.

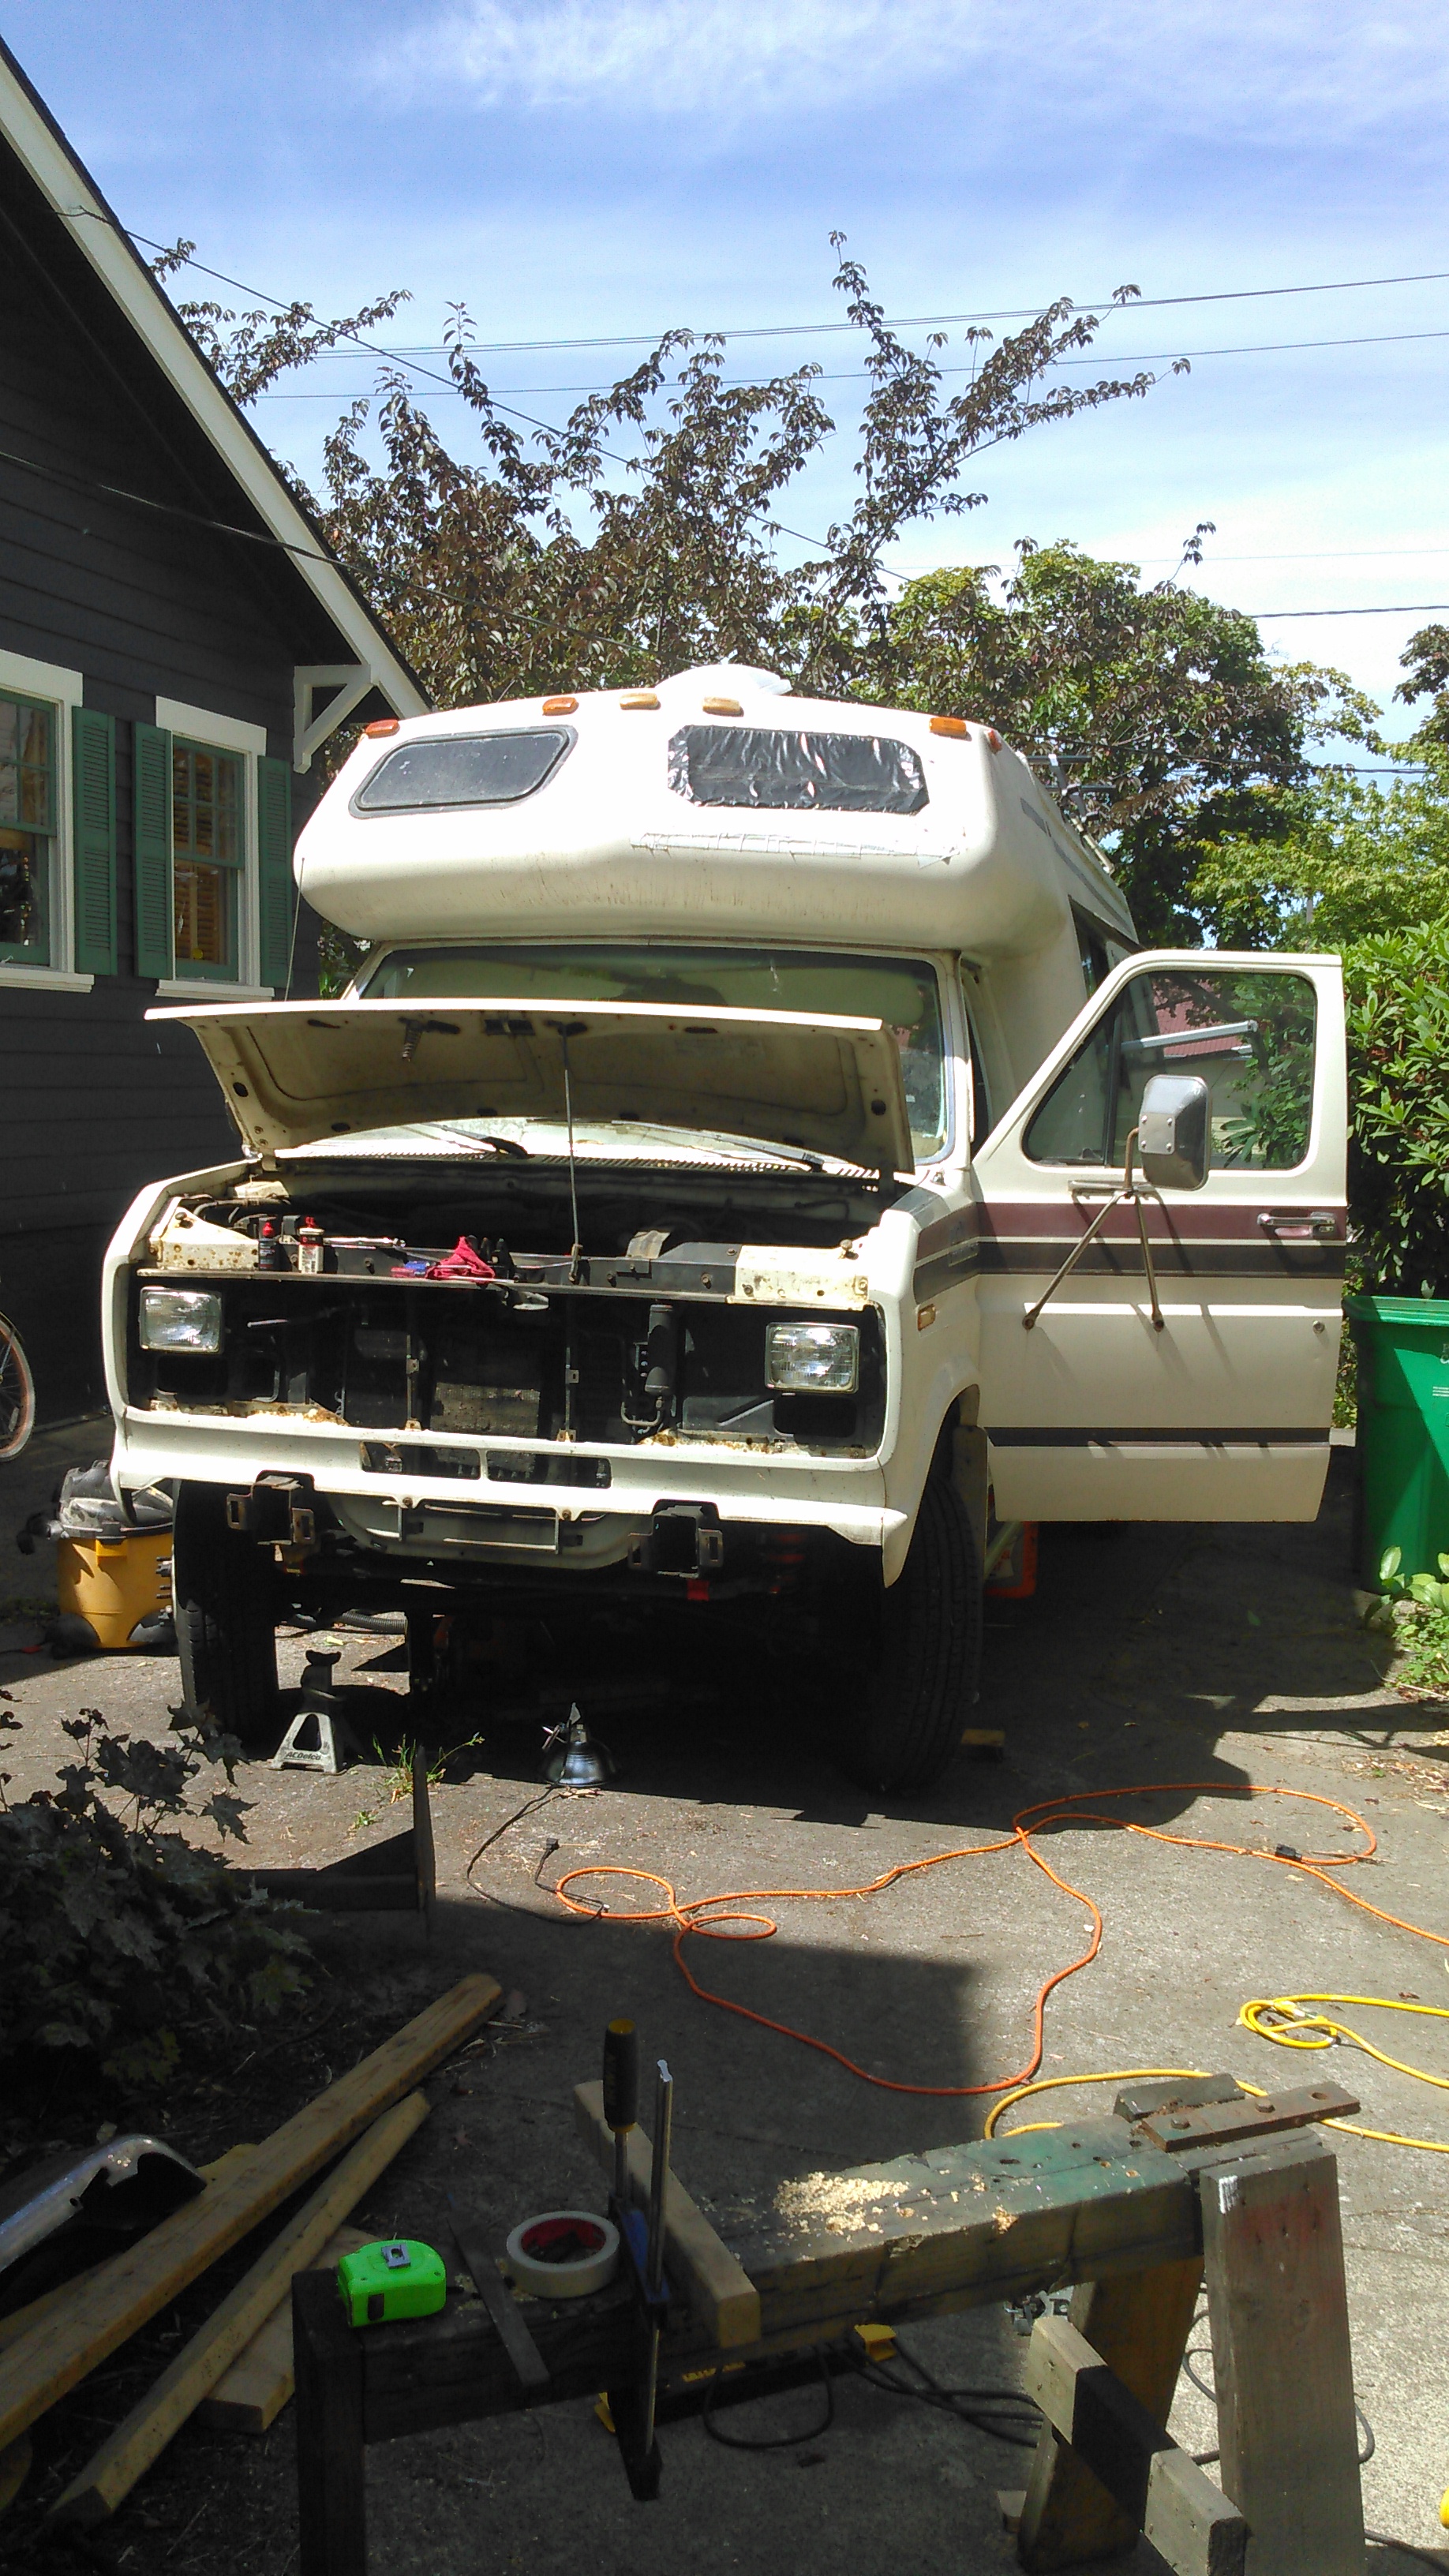
And they finally made it onto the Turtle.

Some additional touches included new lug nuts all around, and lug nut covers. We could only find the covers in stainless steel, so we ordered them, had the 32 brand new covers powder coated black for $40, and installed them. They add a nice, finished look, and will keep the threads clean too!

You can see we have a nice narrow tread but a taller traction tire. I did add a 1/4″ wheel spacer for the front tires to cancel out the additional offset of the rims and preserve (within 0.05″) the stock wheel center line for the steering. Luckily, the front hub was just proud enough to accommodate that and still have the hub-centric wheels centered properly.

1440607039365

The spacing between the rear tires actually increased slightly. All in all, it really worked out pretty great. The new tires will keep us safely stuck to the road in all kinds of weather and terrain, and I sure think they look pretty nice too! Maybe someday we’ll get even bigger tires…

1443392534009.jpg

Our Last Days in Pacific City

As excited as we are to see what the lies ahead of us on our journey, as we were going over the pre-flight checklist on our last day I found myself feeling wistful to leave Pacific City! Even though Andy had to work every day we were there, including the weekend, we were able to wring every drop of fun out of that little town. And we made a name for ourselves on the pool’s check-in log, with our name filling nearly every other line on the list!

Our friends Kelly and Jason came to visit over the last few days, and we introduced them to the pool and hot tub, Pelican Brewery, and the incredible views on the beach. With their help, we discovered the superbly tasty fish and chips at the locals’ favorite hangout, The Sportsman’s Pub (skip the high prices on that menu item at Pelican), as well as the scrumptious fish tacos and scratch margaritas on the deck of BJ’s Tacos. They stayed in a nice little cabin on the same site we were staying, where we had room to play games and watch the Super Bowl. We had an unbelievable stretch of sunny 65 degree days while they were here, so we got plenty of beach time and even a few farmer’s tans!

The sunsets each night were breathtaking.

KIMG1084

KIMG1094

Sadly, the day after this sunset, my phone took a lethal swim. It had been in my coat pocket on the edge of Kelly’s bed, and when I wasn’t looking it slid off the bed and right into the dogs’ bowl! It sat there for the precise amount of time necessary to completely crash. I lost a bunch of photos, and am still working through that grief.

On our last day, the rain and fog rolled in, giving us a misty, moody final walk down the beach.

KIMG1105

KIMG1120

KIMG1121

KIMG1147

KIMG1138

Scout ran up and down the sand dune three times, and was still ready to take on the remainder of the beach.

KIMG1141

We assured him that we were only leaving one beach to reach another, grabbed some coffee, and hit the road for the next stop on the journey!

KIMG1155


Let’s Refurbish a Van – Part 2: Exterior Paint

Hello everyone! I hope your New Year has been off to a great start!

We’ve been spending much of our time lately getting ready to hit the road—we have just a little more than two weeks before we leave! While we’re as excited as can be to start the adventure, it’s also a bittersweet process as we fill up our social calendar to say our goodbyes. So for now I’m going to pretend I have plenty of time to discuss that aspect of the journey, and instead we’ll go into how we made a brown Turtle blue!

Shortly after we bought the Turtle, we began dreaming up plans for change. Right away, Andy was envisioning the rack and its sky boxes, beefy new bumper, and fancy new tires. For my part, I could hardly wait to cover it from top to toe in an exciting new color! So while Andy created scale model paper pieces of the roof and the racks he wanted to attach, we yelled out colors and mentally tried them on for size. The moment we imagined the Turtle in a bright Crayola blue, we were sold.

Just to get a reference point, we looked into having it done professionally. Needless to say, it was a lot. There is a lot of surface area on this vehicle! So Andy did some research (those words will be seen frequently on this blog) and decided our best bet was to buy some boat paint and do it ourselves. As we looked further into the process, we were really happy with the plan to use marine grade paint. Unlike car paint, we could paint it with a brush instead of a spray can or gun. And unlike other paints that could potentially be applied with a brush, it is made to be super durable in the elements. When Andy found a brand he liked, we looked at their color options and found, to my delight, the absolutely exact shade of blue I had been dreaming of! It was meant to be.

We sanded down the entire Turtle with wet/dry sandpaper, and primed it with white //ws-na.amazon-adsystem.com/widgets/q?ServiceVersion=20070822&OneJS=1&Operation=GetAdHtml&MarketPlace=US&source=ac&ref=qf_sp_asin_til&ad_type=product_link&tracking_id=blueturtlecro-20&marketplace=amazon&region=US&placement=B0017KKKDO&asins=B0017KKKDO&linkId=fc0af2f1af67f4d14ae20361bec4c6d2&show_border=false&link_opens_in_new_window=false&price_color=333333&title_color=0066c0&bg_color=ffffff“>Interlux Pre-Kote primer. The Interlux paints we used ran between $40 and $50 a quart, but compared to the cost of having the job done, it’s a great deal.

Pre-Kote


IMG_1637

Then it was time for the serious business of painting an RV. Neither of us had any experience here, but thankfully Andy’s love of research saved the day again. The method most commonly used to paint boats is called “Rolling and Tipping.” One person uses a small roller to apply a thin layer of the top coat in small sections, then the other person follows behind and quickly but carefully uses a high quality brush to smooth out the bubbles. It’s important to make each section small in order to be able to blend it all together smoothly before the previous section dries.

For our project, we used a badger hair brush and //ws-na.amazon-adsystem.com/widgets/q?ServiceVersion=20070822&OneJS=1&Operation=GetAdHtml&MarketPlace=US&source=ac&ref=qf_sp_asin_til&ad_type=product_link&tracking_id=blueturtlecro-20&marketplace=amazon&region=US&placement=B001BWF718&asins=B001BWF718&linkId=d2af3fdcae720aa23812e2cc28f381b9&show_border=false&link_opens_in_new_window=false&price_color=333333&title_color=0066C0&bg_color=FFFFFF“>Interlux Brightside paint in Sapphire Blue.

Brightside


Before we began painting, I was incredibly nervous that I would make mistakes and the Turtle would look like a bad kindergarten arts and crafts project. But as we neared completion of the three coats it required to cover the Turtle, I think we both gave up on the need for perfection, as it was astonishing enough that we were just two people and we were painting an RV! The paint goes on super smoothly, and it’s pretty incredible to watch as the brush glides over the bubbles and melts the texture into a glassy sheen. If you look closely at the surface, you can see light striations in the paint, but overall we are extraordinarily proud of ourselves! It took weeks to sand, prime, and paint three coats, but in the end we spent far less than we would have if we would have had it professionally done.

In addition to the blue, we painted the top of the Turtle with Interlux Brightside White, and the bottom with Rustoleum flat black. Though it adds visual interest, the primary reasons were practical. The white top will keep us cooler when the sun is beating down, and the black hides mud and dirt and camouflages hatch doors. We have small cans of all three colors on board, so if the Turtle gets scratched or dinged, we can easily mend it ourselves. We found that taping off the layers still resulted in leaks and a super uneven line, so I just used a small brush to freehand the transitions. So don’t look too closely there. 🙂

I’ll share some lessons we learned for those of you who are thinking of tackling a similar project. But first, some process photos!

IMG_1646

IMG_1777

IMG_1780

IMG_1902


It was a bunch of work, but our sense of ownership and accomplishment is a great payoff. Here are a few things we learned throughout the painting process:

  • It’s best to paint on a cool, overcast day. Otherwise, the paint dries quickly after rolling, and by the time you begin tipping it’s impossible to blend sections well.
  • We had better results when tipping if we lightly dipped the very end of the brush in mineral spirits.
  • It’s easier to blend the sections if you tip into the previous section.
  • Edge around windows first so you can move more quickly over the main surface. We started by edging as we went, and it made for a more frantic painting session.
  • Relax and be realistic. We wanted so badly for our very first vehicle paint job to be as perfect as those we saw in YouTube videos, but as we painted we realized that we’re beginners, and that’s OK. Sometimes bugs land on the paint. Sometimes the paint streaks a little. Sometimes you have to sneeze and the paint dries some while you look into the sun waiting for the sneeze, and then by the time you start tipping again the paint has dried a bit and it smudges, and then you dip the brush into mineral spirits to help it blend better, but you use too much and the now-wetter paint drips down the side and on to your shoes and driveway. After the job is done, those little details aren’t as glaring as they seem when your face is right up against the vehicle.

I’ll check with Andy to get his input about our learning process, and update the list. But that’s what I can think of so far. If we can do it, anyone can! And the results are amazingly satisfying.

cropped-img_20981.jpg

Let’s Refurbish a Van – Part 1: Flooring

Well, it’s been raining virtually nonstop for the last few weeks in Portland, and Sauvie Island seems as if it’s ready to admit defeat and just merge with the Columbia River and call it a day. So I’m working from the island today, appreciating how warm and dry I am inside, and thinking about how just a year ago I was dreaming of this very scenario, feeling like the day would never come!

*Newly-formed lakes and sunken pumpkins on Sauvie Island not pictured. It has been raining so hard, one photo would send my phone right into a bag of rice.

These days, as we sit in the Turtle, eating dinner at the table or climbing up the ladder into our cozy lofted bed, we sometimes take for granted how much work actually went into this project. Because we gave ourselves such a tight deadline, we didn’t have time to stop and appreciate each accomplishment as it was crossed off the list, because there was another line item right below it requiring immediate attention. The moment we crossed one finish line, we’d look up and see there was another lap ahead of us!

IMG_3452
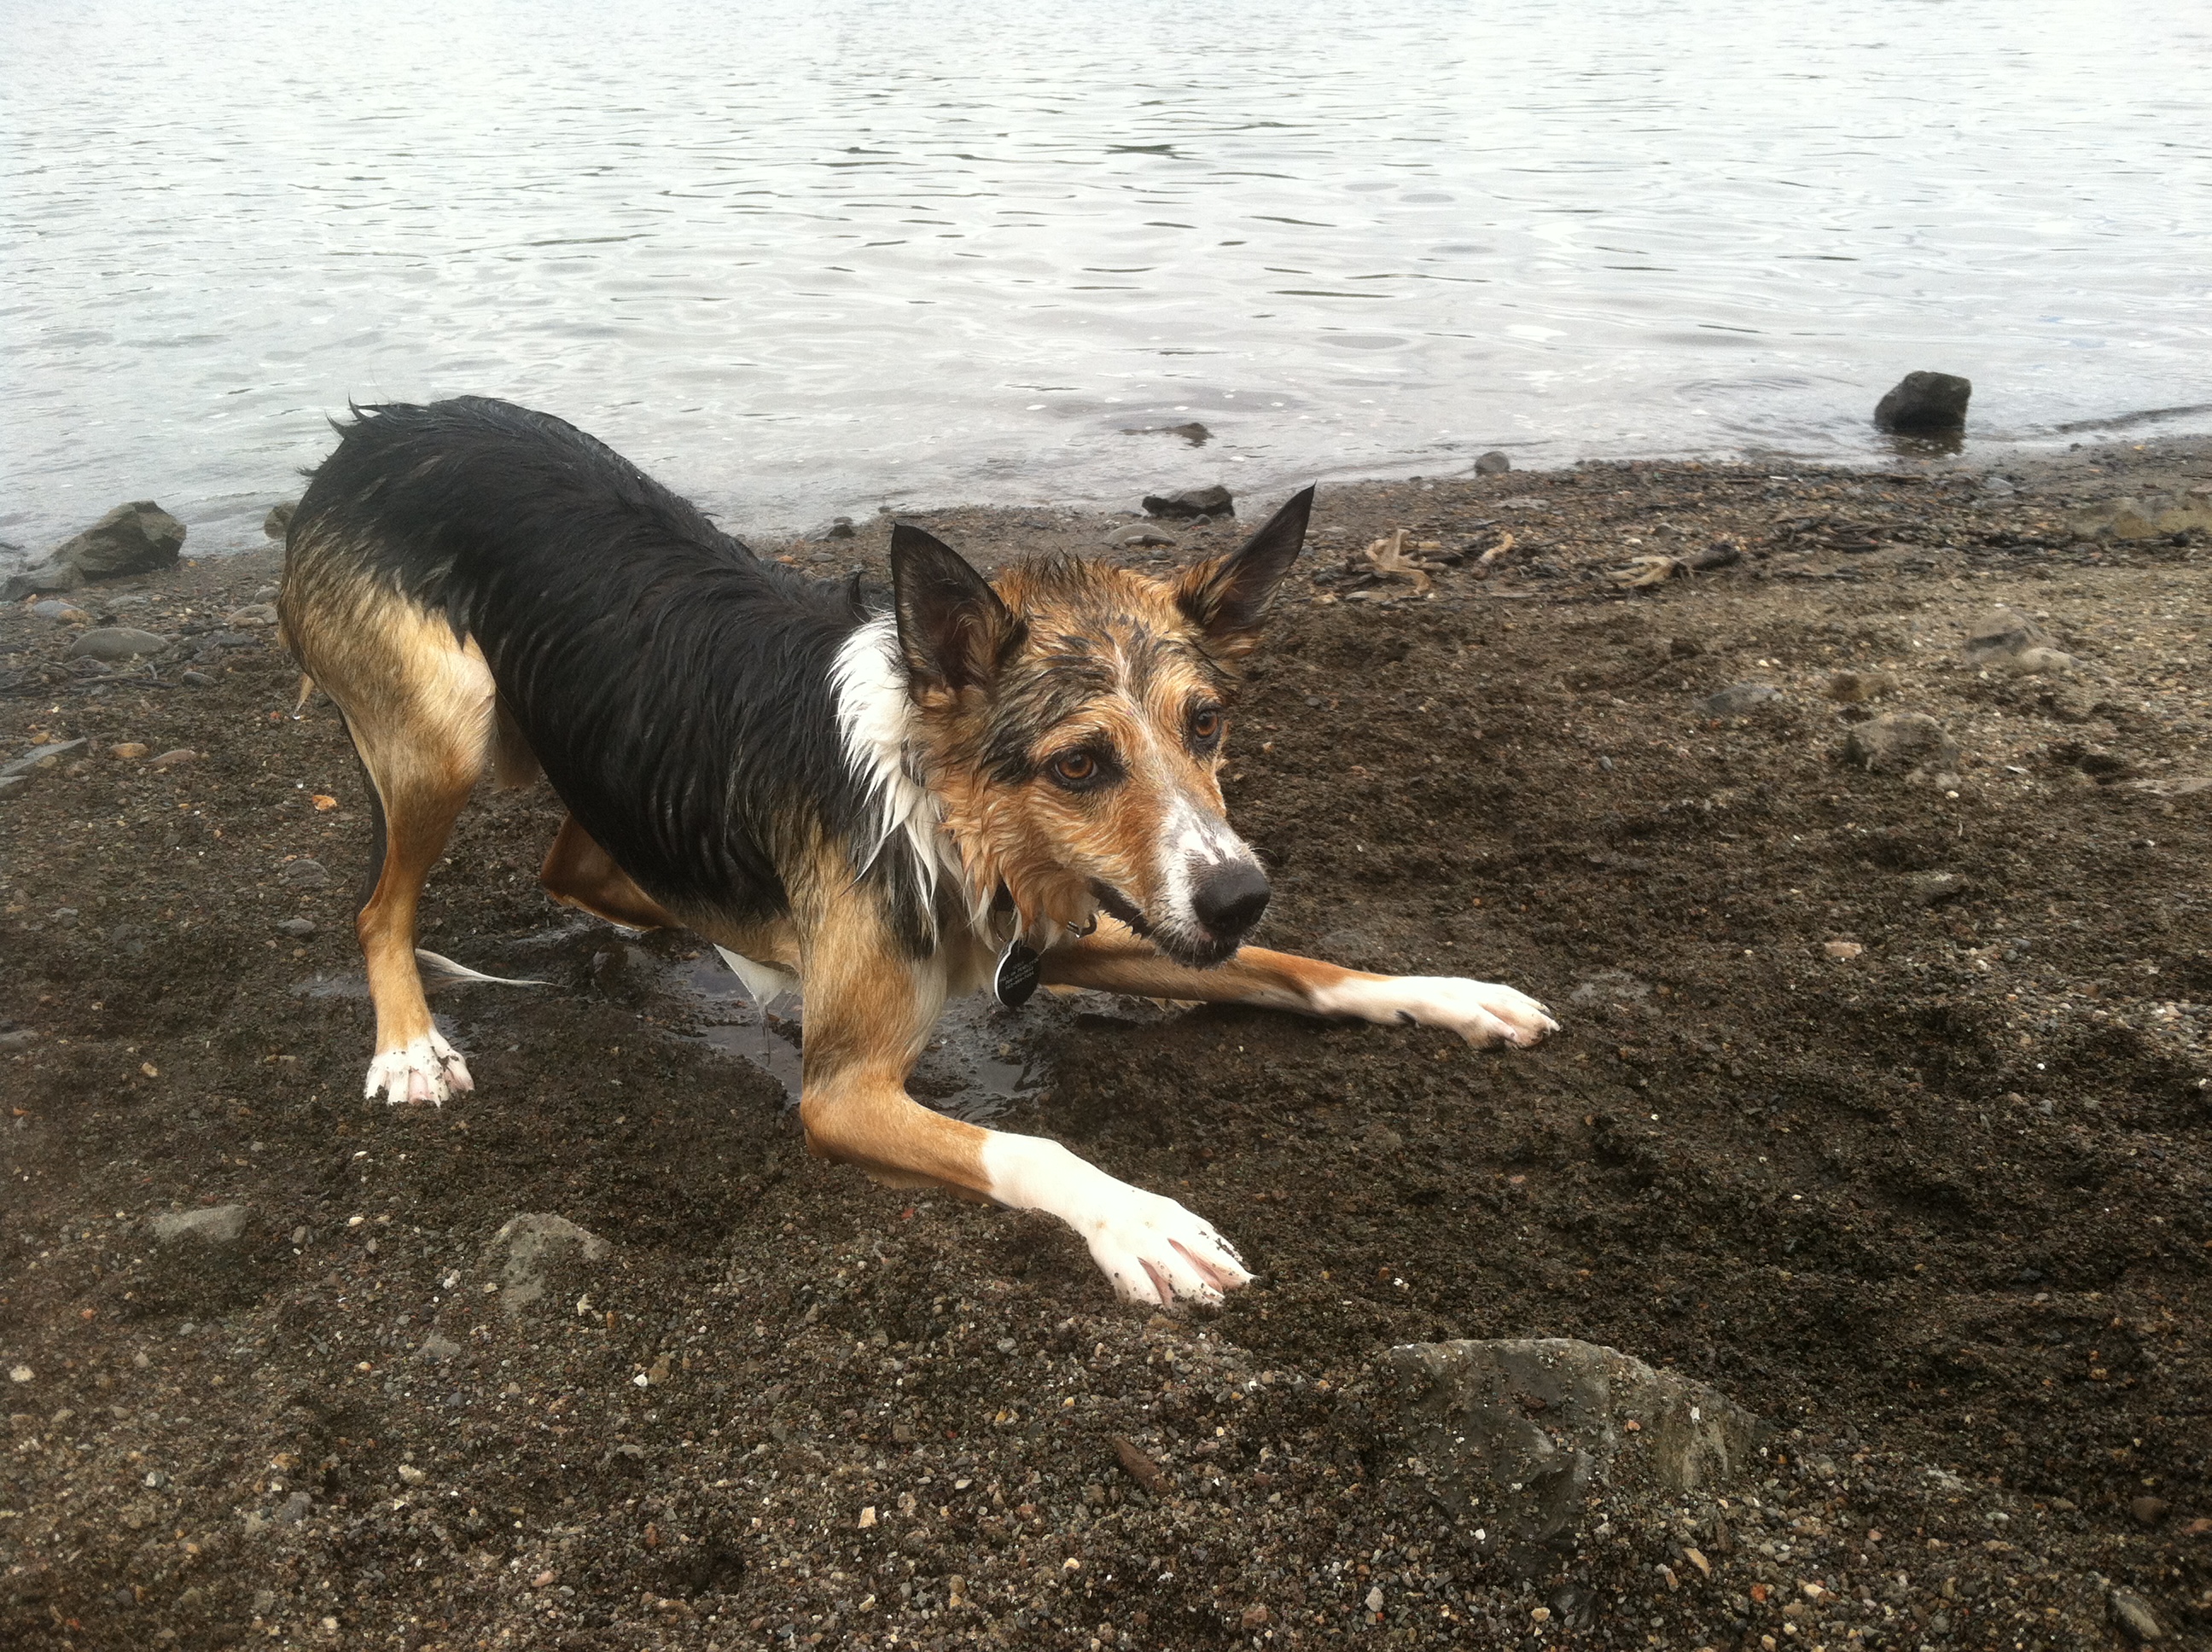
A portion of the list. 

If you’re thinking of taking on a similar project, or if you’re just curious how we got from Point A to Point B, here I’ll be discussing our process, and what we learned along the way. I will admit, our experience was made much easier due to Andy’s crazy number of useful skills! But if you’re like me and aren’t handy with welding, car mechanics, woodworking, and wiring lighting (among Andy’s many other contributions), don’t despair! The most inspiring thing about Andy is that when he comes across a job that requires skills he doesn’t have in his personal toolbox, he does research online, buys books, and reads the blogs of others who are skilled in that field. He then gets the needed tools for the job, and just gives it a go. Personally, I tend to get intimidated by new large-scale tasks that feel like they should require a professional. But throughout this project, following Andy’s lead, I found myself feeling empowered and excited to see what I could learn and accomplish. If I can fiberglass and epoxy a floor, anyone can!

KIMG0095
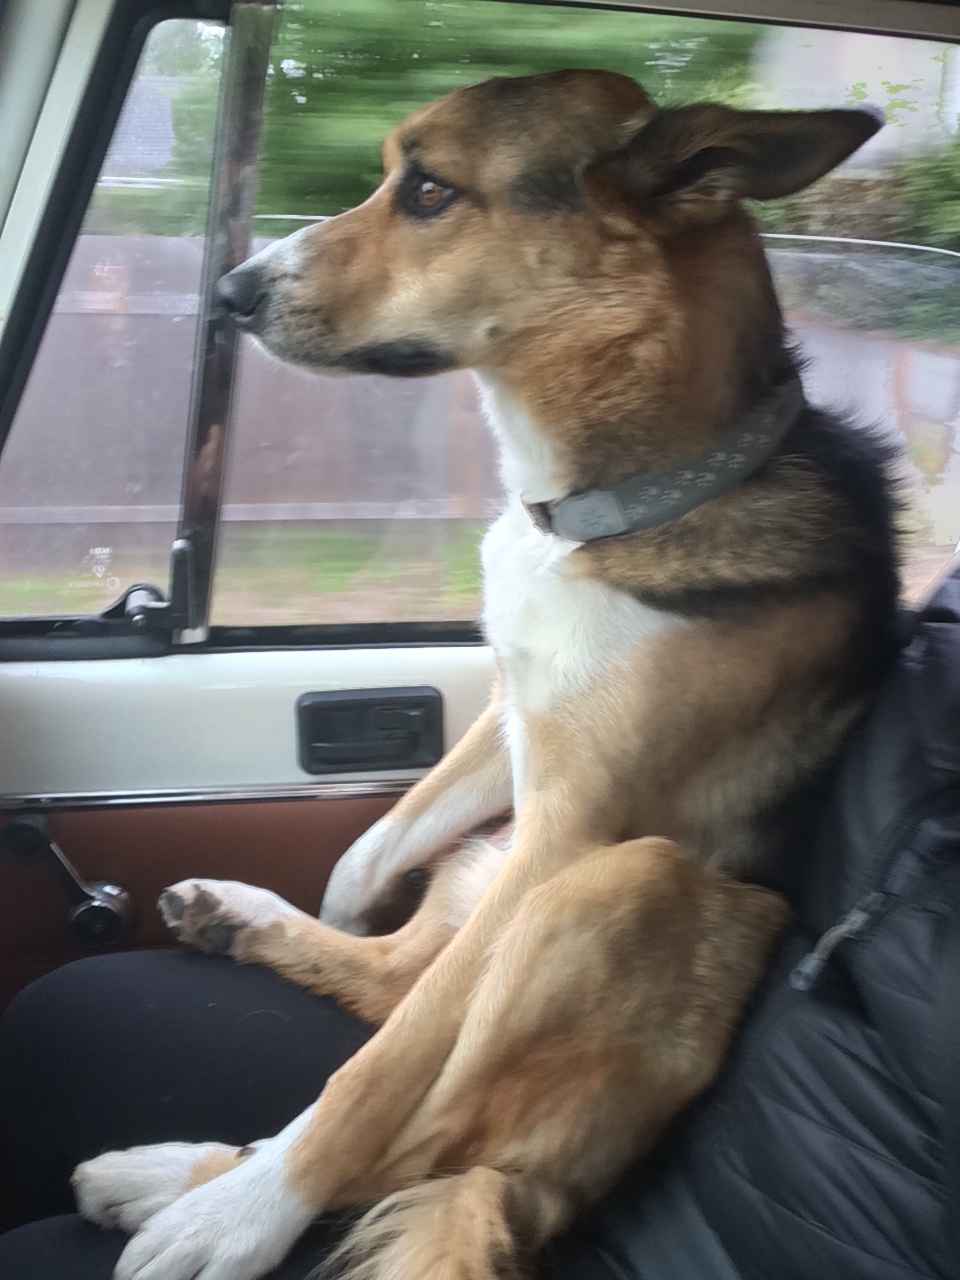
The quality of this photo is terrible, but the cuteness is top shelf.

Our first goal in the refurbishment was to strip down the interior of everything we wanted to update. This included nearly all soft surfaces, as the Turtle is 30 years old and these tend to hold on to dirt and odor. . . and the design sensibilities of 1985.

So as it was the first change we made to the Turtle, for this portion of the blog, let’s discuss flooring.

KIMG0023
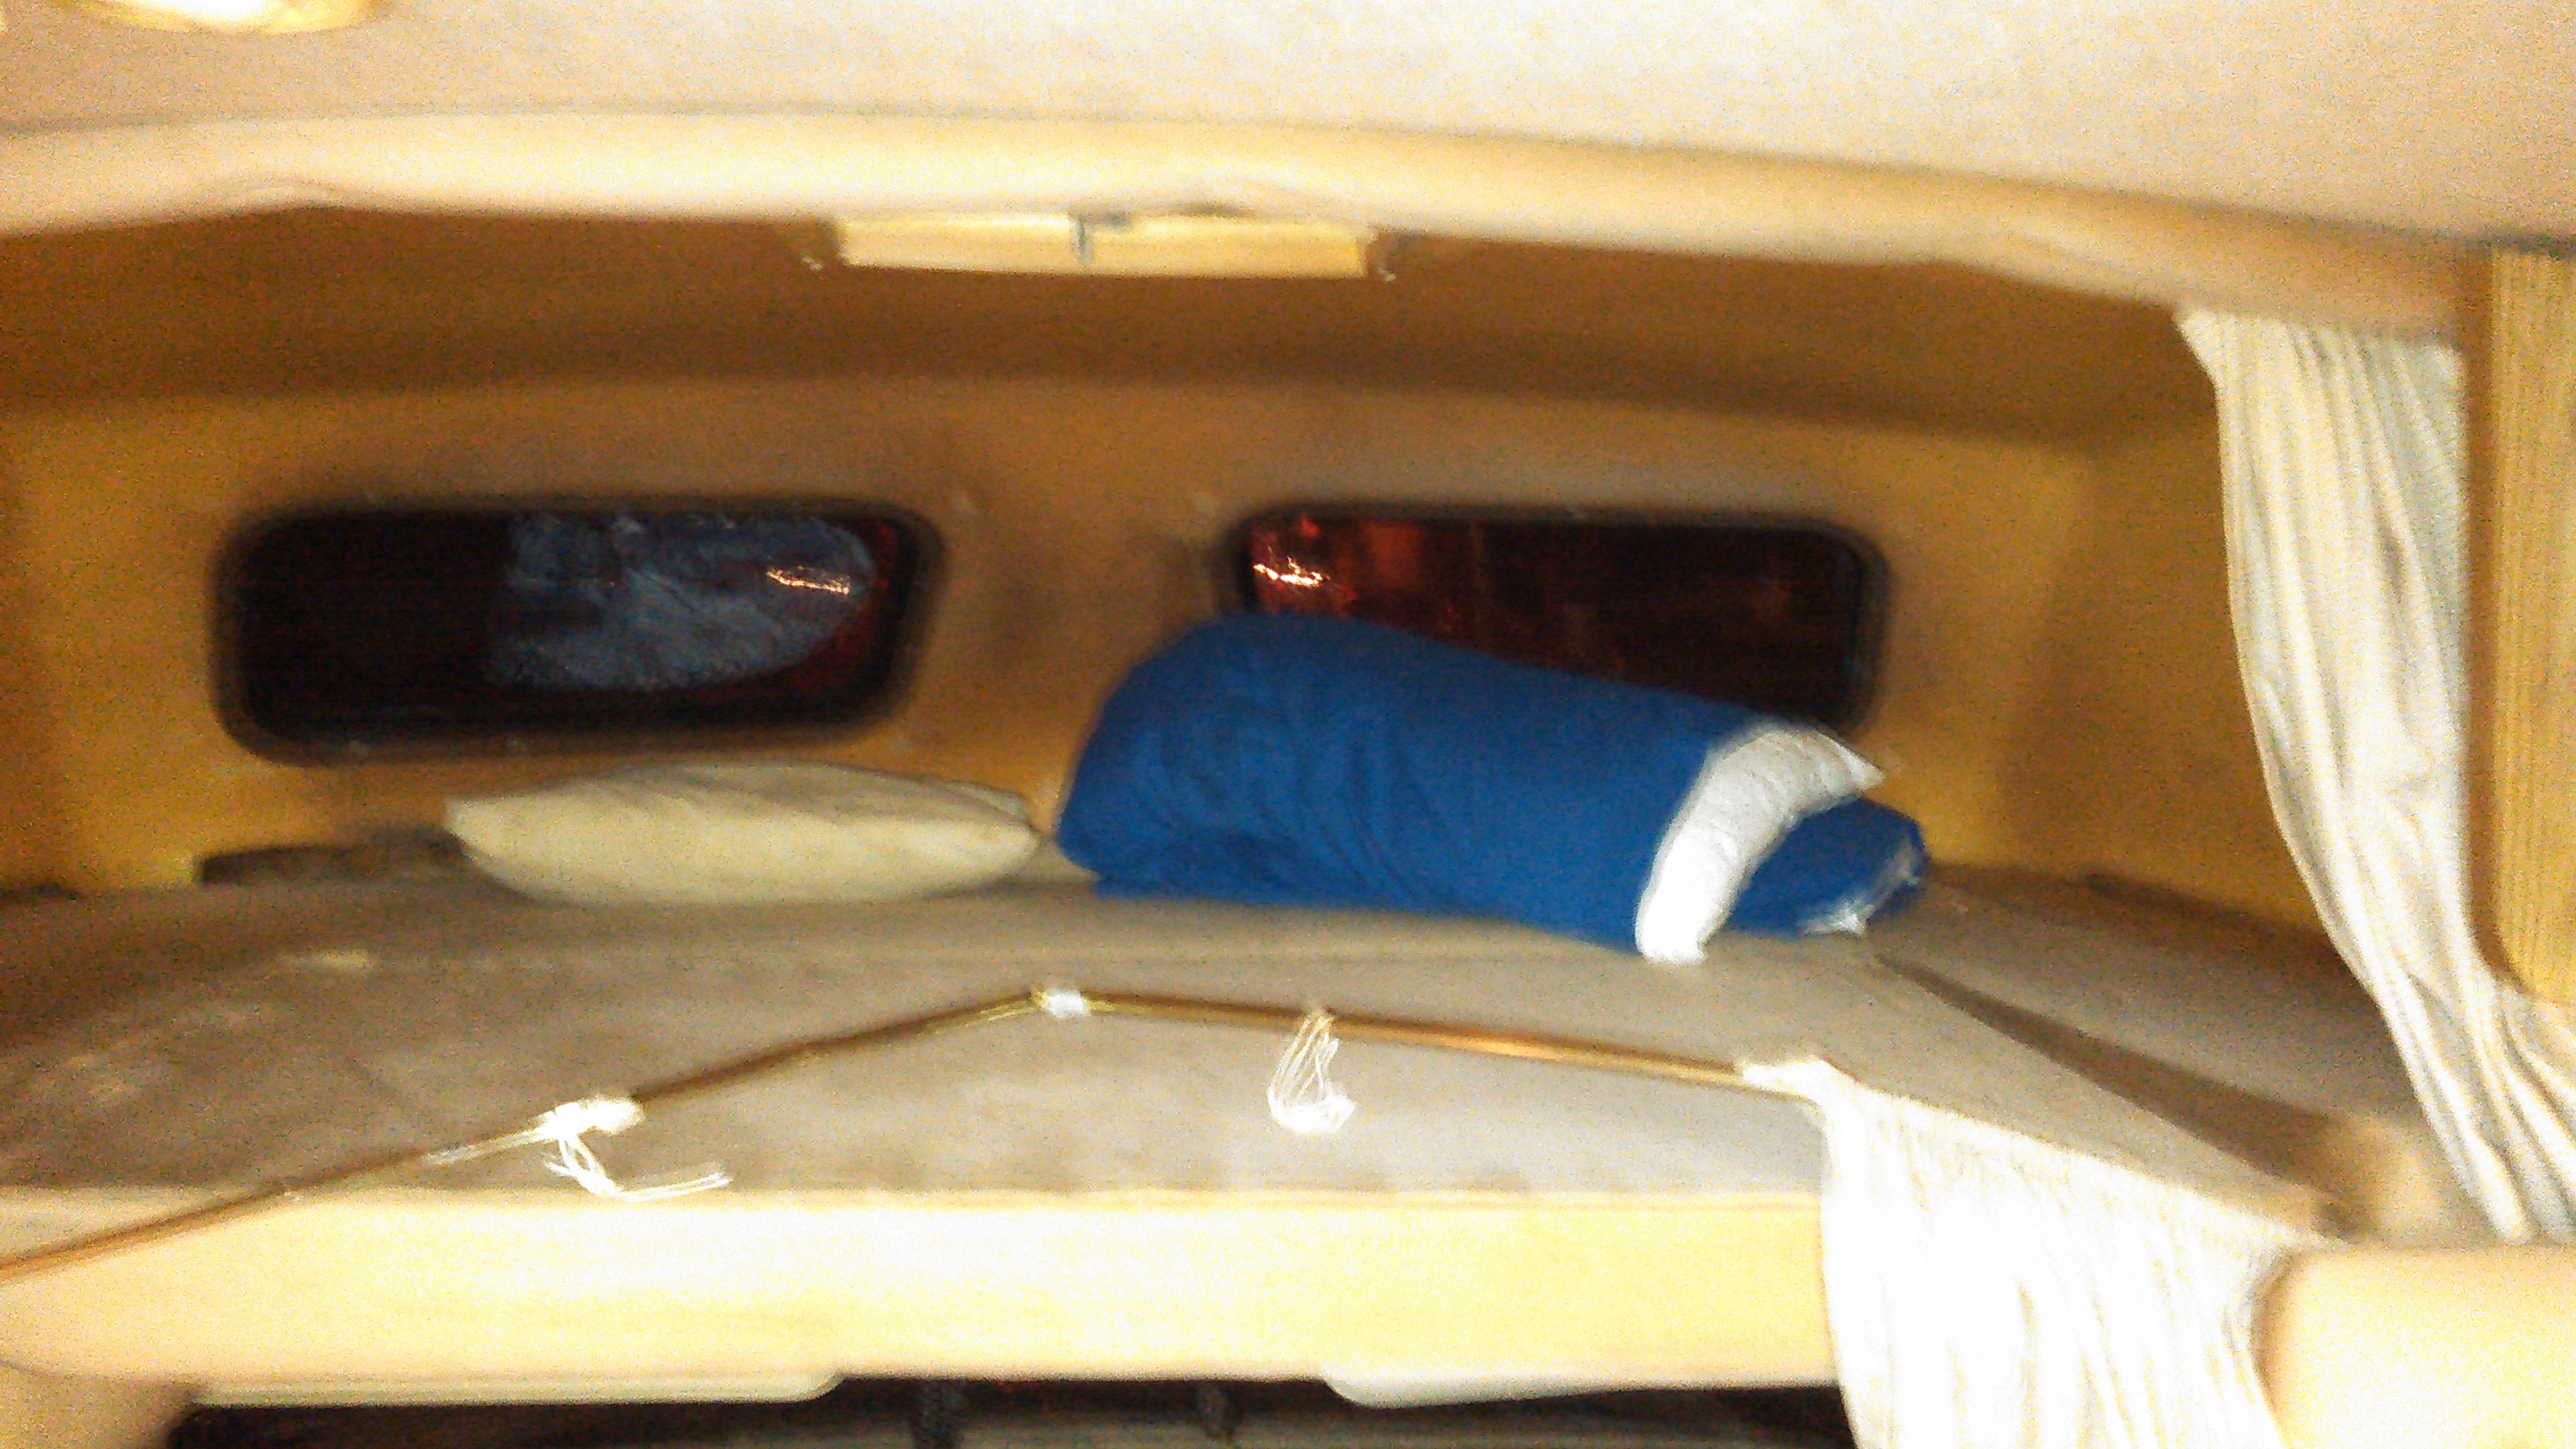
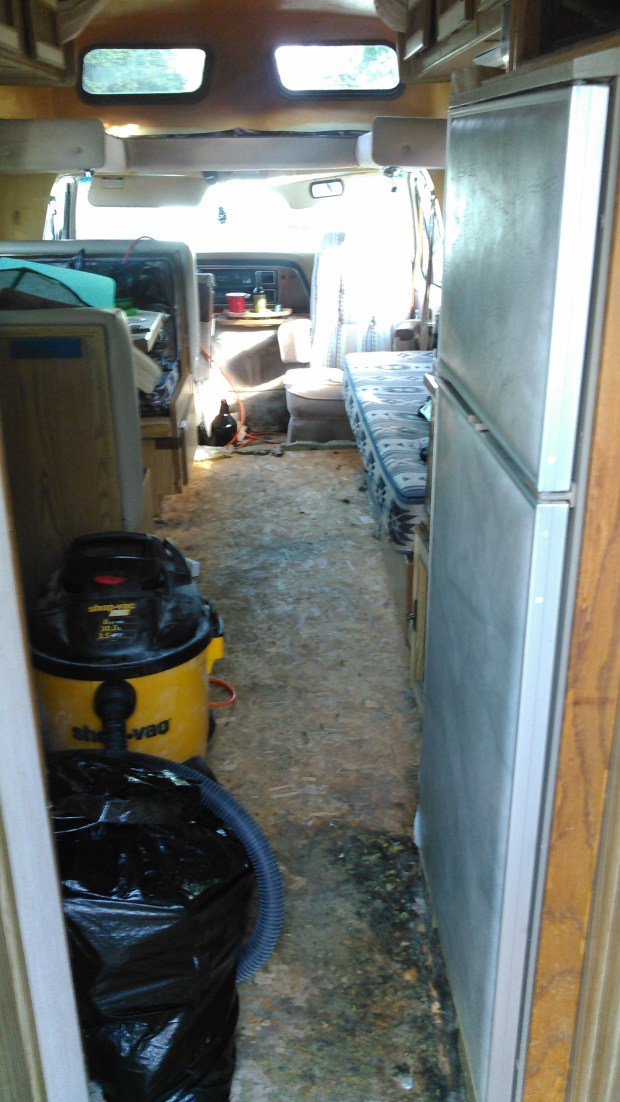
This is one of the only photos we have of the carpet before Andy pulled it out – just a teeny slice visible in the bottom left corner. But you get the idea. 

KIMG0020
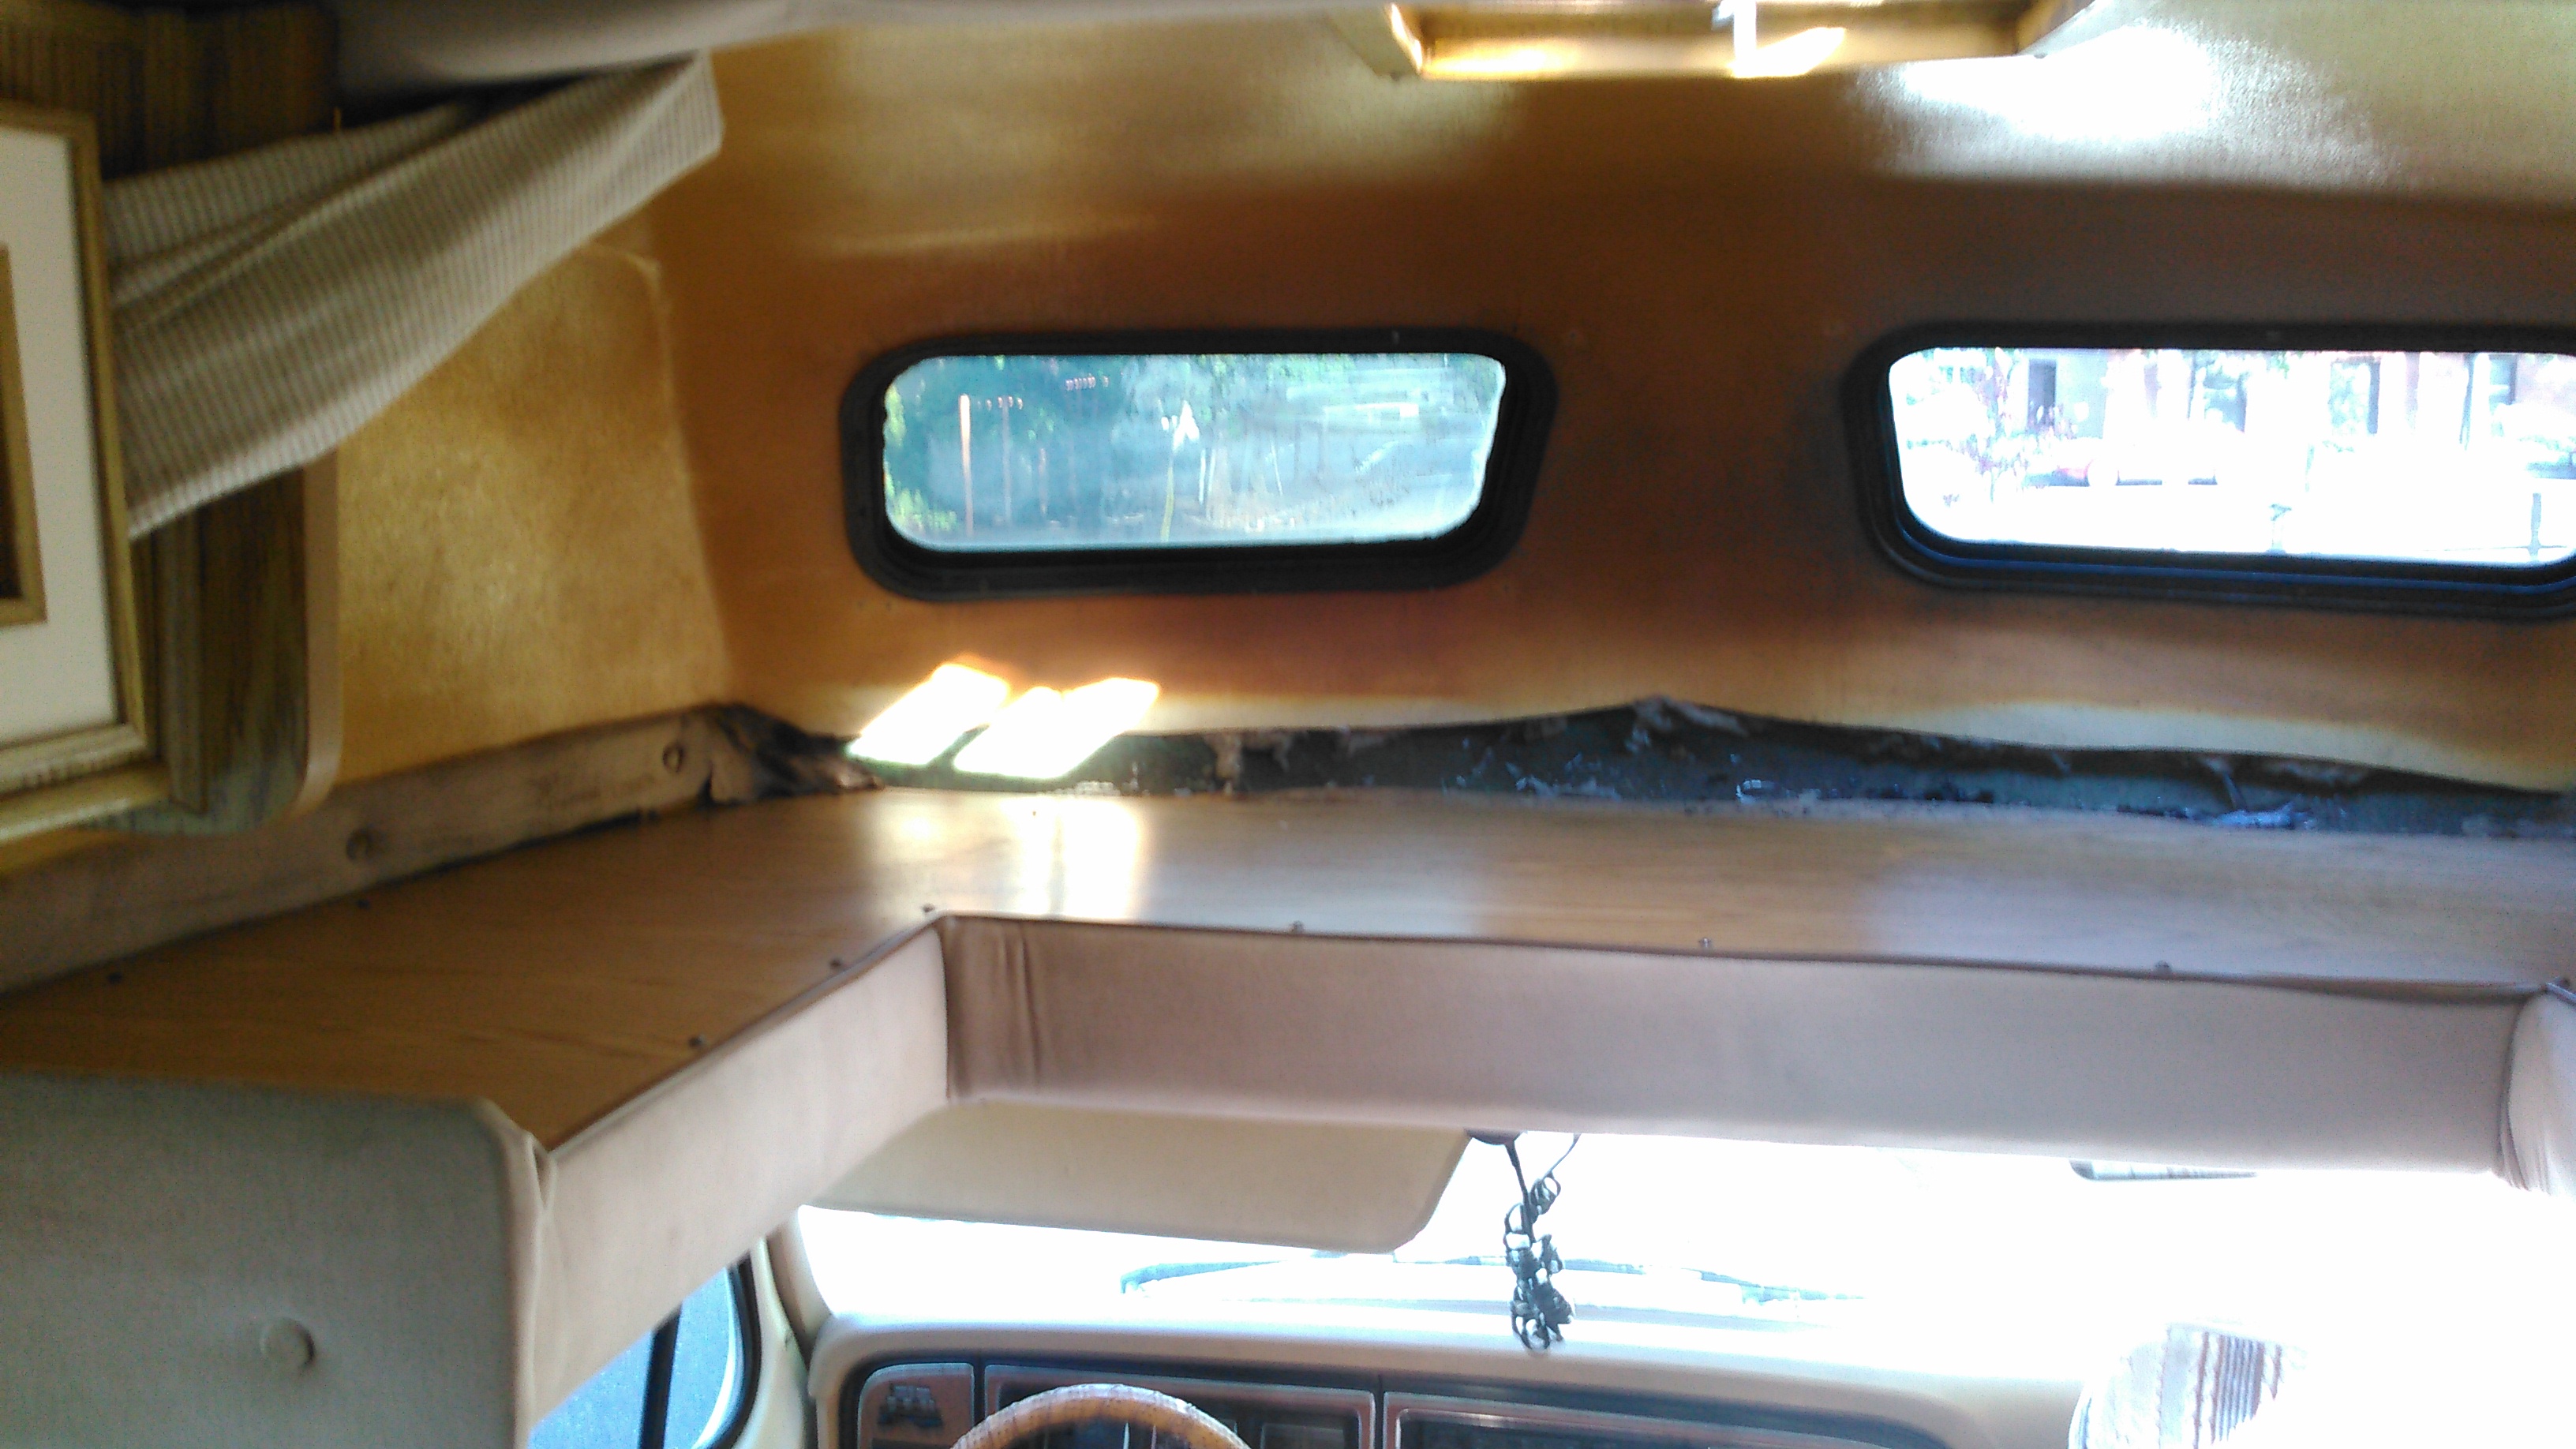
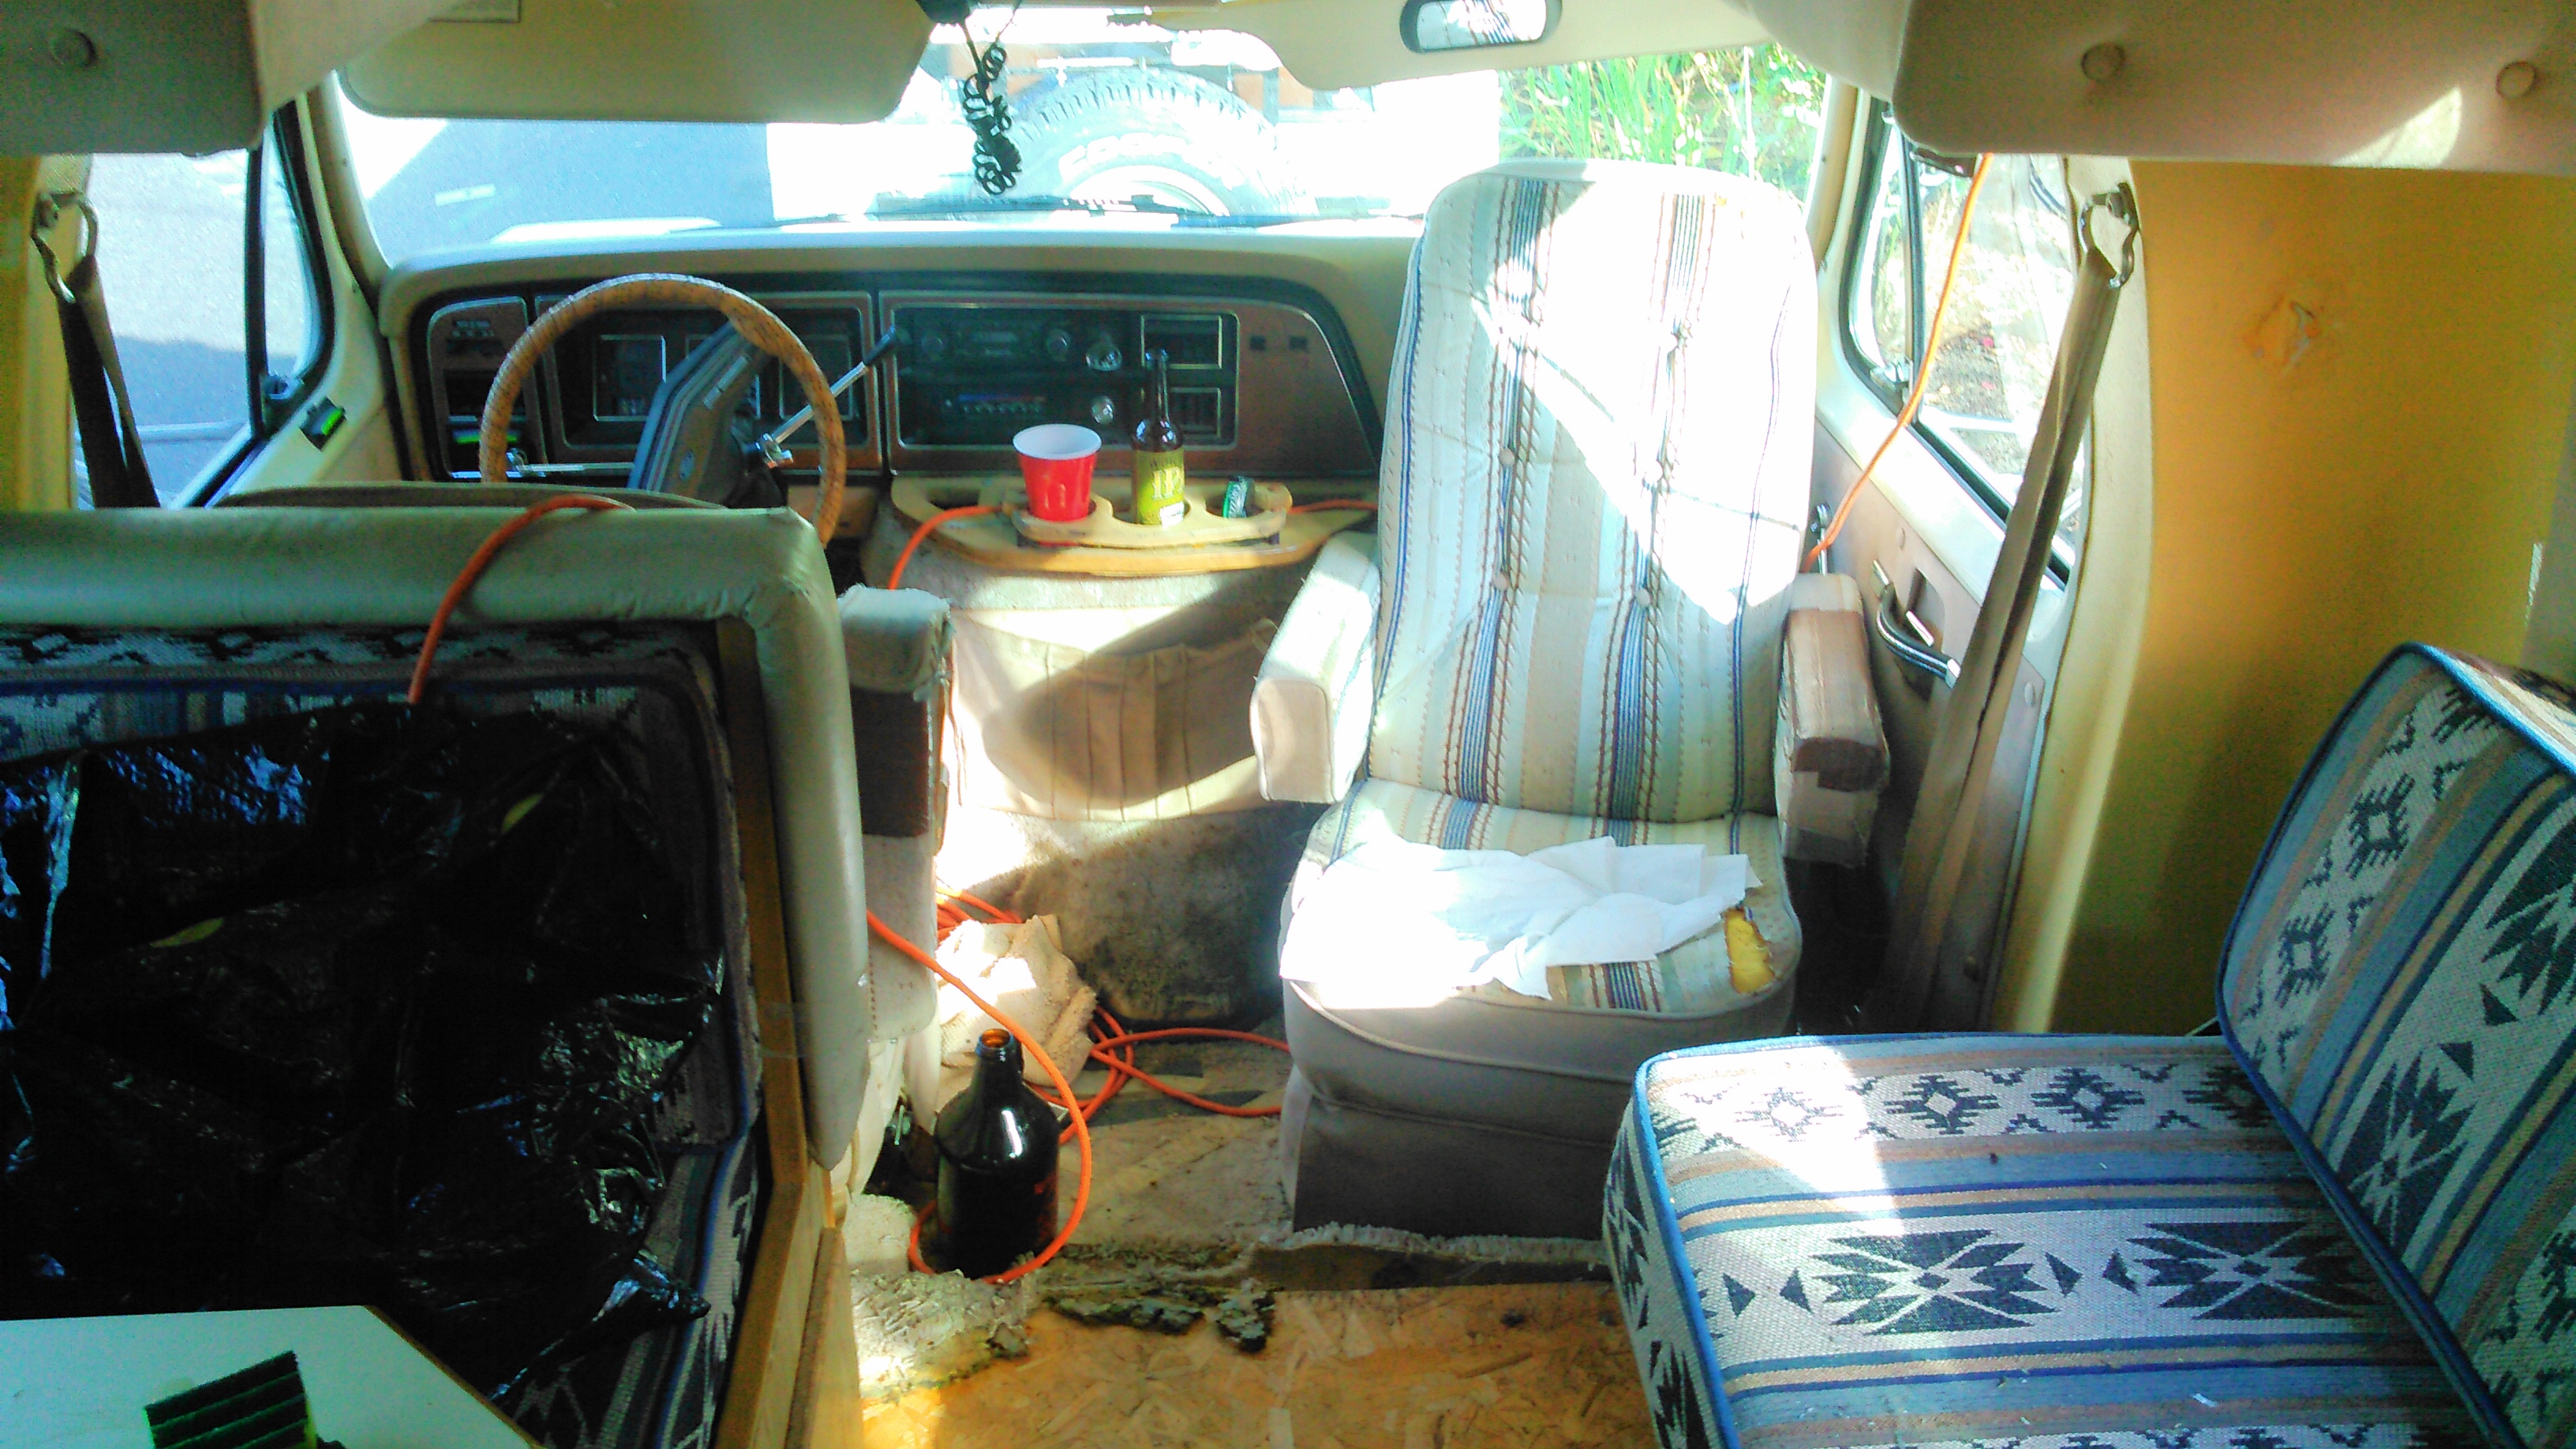
A bit more carpet shown here. We just got so excited to get started, we didn’t get a whole lot of “before” photos before things started changing!

First, Andy ripped out the carpets and the subsequent one million carpet staples. I’d like to say I’m exaggerating the number, but I kind of am not. I worked on just a 30″x30″ portion and the resulting blisters were highly impressive.

KIMG0050

KIMG0041

Underneath the carpet was the OSB flooring we were expecting to find. Due to its age and thickness, it tended to sag quite a bit when walked on, so Andy proposed reinforcing it with sheets of fiberglass cloth and epoxy. At this point, I’m going to use the pronoun “we” when I discuss our work on this project, because I now am a fully qualified epoxy applier, and proud of it! Though of course Andy did much of the up-front work before training me—but I felt very pleased with myself when I realized that I can now strengthen any old floor I like!

In a few areas, the flooring had rotted out pretty significantly. Ever the optimist, Andy was pleased that it was an easy early indicator of where we had leaks that we needed to fix, before finding out the hard way when the rain hit! So he cut out the soft blackened area and replaced it with another piece of OSB that he cut to fit.

So, in small increments, we 😉 laid sheets of fiberglass cloth over the floor of the turtle and rolled thin layers of epoxy over it with a small roller, eventually covering the full surface area and applying additional layers in the weaker spots. Between each layer, we sanded it down to keep it nice and smooth, as portions of the fiberglass tend to raise up a bit here and there.

IMG_0383Halfway epoxied. (Guess which half!)
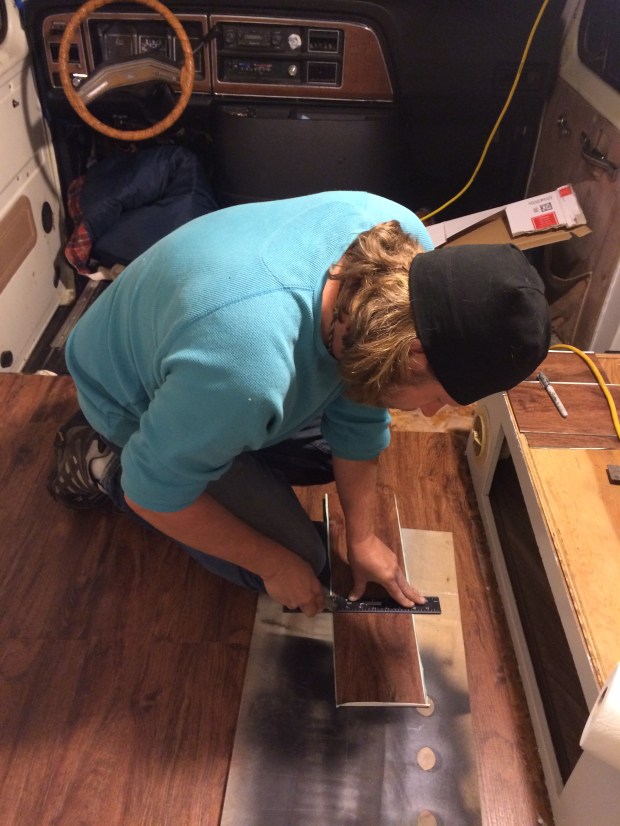
It was so smooth and shiny that Andy originally wanted to leave it as it was. Truthfully, it really had a neat industrial quality to it, but as it was going to be our home, I was hoping for something a little warmer. He cared less than I did about this issue, so we agreed to find flooring to install over the OSB.

After researching a number of ideas for the flooring surface, we decided on vinyl stick-on tiles. They’re fairly durable, inexpensive, and if any damage is done to a portion of the floor, we can just pull it up and lay a new one in its place. Considering the fact that we plan to play hard while on our adventures, neither of us wants to tiptoe around the Turtle trying to keep it pristine. But we also don’t want to take all this time just to trash it either! So it seemed like the best route.

The majority of the options we found were square parquet-style tiles, which we liked, but I had my heart set on long planks. After some research, we found exactly what we were looking for at Lowes: cherry “wood” planks with some textured striations to give it a more realistic wood feel. They sell them both by the box as well as individually, and are relatively easy to cut to size.

IMG_1794-001

IMG_1714

IMG_2059

Aside from the fact that the Turtle has some ca-raaazy angles, installation was fairly painless. I’d imagine if you have a more uniform and rectangular vehicle, you’d have an easier time than we did. The Turtle, though, is made up of friendly-looking but unpredictable curves and turns, so both we and the box cutter were put to the test.

But we got it done, and there you have it! Brand new floors. They’ve been holding up great, and with all the rain and mud we’re experiencing out here lately, I’m so appreciating the ease of hard surfaces as opposed to a muddy carpet to clean! And with the recent addition of a few navy runners, it really feels like home.


The Very Beginning

The question we hear most often is, “How did this plan come about, anyway?”

The story goes like this:

Andy and I had been living in our little house in John’s Landing for a few years, and loved the space, the neighborhood and all our good friends there. We were lucky in that we were right on the bike trail that gets us all around Portland, we had walkable access to restaurants we loved, good coffee options, and our favorite tap room that allows dogs! (If you’re ever in John’s Landing, check out NW Growlers; everyone there is so friendly and there are loads of dogs to play with. Also, a sweet little pig named Q-bert who doesn’t seem to mind that Scout is obsessed with him.)

IMG_1613Scout and Q-bert: a friendship for the ages.

IMG_1847Sweet little Amos, the bartender’s dog, who our friend Lisa asserts was made in a button factory.

But the highlight of our location was that we had beach access right across Macadam Blvd., barely over a block from our front door! Our summers were spent walking back and forth from home to the Willamette River Trail with our tubes on our backs and Scout pulling anxiously on his leash for some frisbee time in the river. We’d plunk our tubes in the water, paddle out a ways, and drop anchor (a rock for me and a chunk of lead for Andy). There we’d float, drink a few beers, get some sun, and chat with the friends we’d often invite along. Most hot days, Andy would get home from work, change into his swim trunks, and we’d be on the river in 10 minutes, staying until the sun went down. Our front porch looked like a beach house with the float tubes at the ready and a consistent layer of sand!

IMG_0124Andy and our friend Jason enjoying the spot.

IMG_2796Stop taking pictures and throw the frisbee already!

So one day, Andy and I were bobbing around on the river and enjoying ourselves throughly. Andy made a comment about how he wished he didn’t have to go to work at all, and wondered how we could make that moment a lifestyle. What we had a hard time being able to justify was why we spent so much time working for the majority of our time, just to have small slivers of quality time outside, enjoying each other’s company and playing in nature!

I found this quote which summed up our conversation perfectly:

IMG_1375

We started tossing ideas around, and I think it was Andy who mentioned living in an RV and traveling. I wholeheartedly agreed, and we began making lists and plans!

IMG_3013Just a hilarious picture of Scout riding in the car. 

What was working in our favor was that I had recently graduated, and Andy was in a position at his job where he could potentially work remotely. He had also just sold his house in Seattle, so he was no longer tied to that project and also had a little walking around money. So we began making plans. One day about month later, I got an email from Andy with a link to a Craig’s List post for a cute little 1985 Class C RV. We went out to take a look, and once Andy determined the bones and major working parts were in good shape, we bought it!

KIMG0013This was just 10 minutes after we bought the Turtle, when we pulled in for a little lunch and celebration!

Our original plan was to just work away on it in our free time, and move in when the project was complete. But as the year went along, we realized that it was going to take us exactly the amount of time we gave ourselves to complete it. With an infinite deadline, we’d just work and work until it was perfect, which would take an infinite amount of time! We also realized how much project time we were going to lose once the Portland rain and shorter days hit.

In the spring of 2015, we decided to make the deadline the end of September. As we all now know, that deadline did get pushed back by a month, but after months of hard nonstop work, we did it! We had to remind our friends what our faces looked like afterward, but it was worth it. With a deadline, we pushed ourselves much harder, and made quicker decisions. It made it easier to prioritize tasks, and helped us not to dwell on small details. We still have some things we’d have like to have completed, but the Turtle is comfortable and livable, and let’s be honest, at this point we wouldn’t know what to do with ourselves without some projects on the list. 🙂

The Turtle “Before”

So let me catch you all up on where we began, and how far we’ve come in this last year in getting the Turtle ready to go! A lot of work has gone into it already, and with a little over a month before we hit the road, we still have plenty to do.

We bought the Turtle from a couple who were the original owners, and who had taken such good care of it over the years. But while it was in great shape, we wanted to update and customize it, making it our own little home.

We weren’t super great about taking photos initially, because it was so far from where we wanted it to be that it didn’t occur to us that we’d want “Before” photos! And I don’t think we have any of it with carpet, since Andy was such a go-getter that he ripped it out almost immediately. You’ll have to use your imagination there. 🙂

So here’s where it began.

KIMG0010Minutes after buying the Turtle!

IMG_0365

KIMG0022The loft

KIMG0023

IMG_2728The bathroom

IMG_2731

KIMG0020

KIMG0024

KIMG0025\ KIMG0026

KIMG0036So. Much. Brown.

KIMG0037

KIMG0038

KIMG0039

KIMG0361             KIMG0417

KIMG0418

Our exciting new adventure!

Hello there, fellow adventure-seekers!

We are Andy and Amy from Portland, Oregon, and we’re about to set out on an exciting new chapter of our lives together. It’s going to be awesome.

This year we bought a charming little RV, which we have named The Turtle! It’s a 1985 Ford “Turtle Top” which was in amazing condition, considering its age. We have some serious plans for making our little Turtle look bright and funky, function perfectly, and with Andy’s metalworking expertise, very Mad Max-y.

So far, we’ve done a ton of work already, and are hoping to be moved into the Turtle by the end of October. We’re on a 2-month countdown, and then our travels begin. We’ve taken so many progress photos already, that I thought now was the time to start documenting our work, so we can have the blog up and running by the time we hit the road!

Follow along and share in our adventure with us!

  • Amy and Andy (and Scout and Gracie too)