As I mentioned in the last post, while on the coast we’ve been on a mission to catch ourselves a crab dinner! And on the Oregon coast, we have primarily Dungeness, which is a meatier, sweeter crab than all the others. It’s YUMMY.


We’ve learned a bunch since we first dropped our rented crab pot over the 12th Street bridge in Seaside. And as we just attended the Crab Races in Garibaldi today—yes, that’s a real thing—this is an appropriate time to discuss what we learned and if we ever caught anything. So let’s talk crabs!
While we were in Seaside and Wheeler, we talked to loads of locals who were happy to share their knowledge with us. And here’s what we discovered about the best way to catch crab:
- Drop your pots at high tide
- Crab rings are the very best
- Drop your pots at low tide
- Crab traps are the very best
- Always use only chicken for bait
- Always use only fish carcasses for bait
- Always use a combination of fish and chicken for bait
- Never try for crabs after a storm
- It’s best to try for crabs after a storm
- . . .You can see where I’m going with this.
It’s likely that there’s a very best way to catch crabs all the time, every time. What we ended up liking best, after numerous trials, was a simple combination of a crab trap, chicken odds and ends and fish carcasses, and dropping our traps in whenever we felt like it—because you really just never know when a crab will be dropping by.
We left Wheeler with no luck, but right as we were leaving we met a guy who mentioned that if we were interested in some delicious crab and fantastic people-watching, that we should look into the Garibaldi Crab Races that were happening the following day. I said “WHAAAAAT? We’re going.”
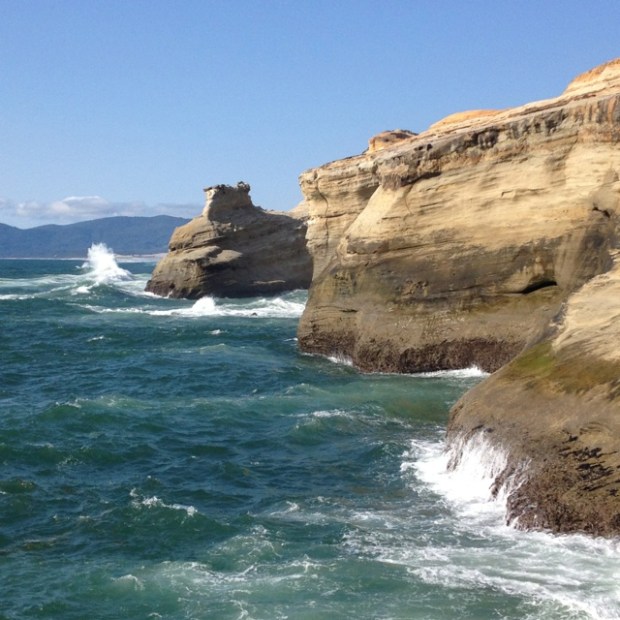
So we did. But first, we had to stop at Hug Point, which we had passed by on our way north. If you’re driving by, do not miss this! We thought initially that it was a fair hike around the rocks to get there, but it takes all of 4 minutes. And it’s breathtaking!
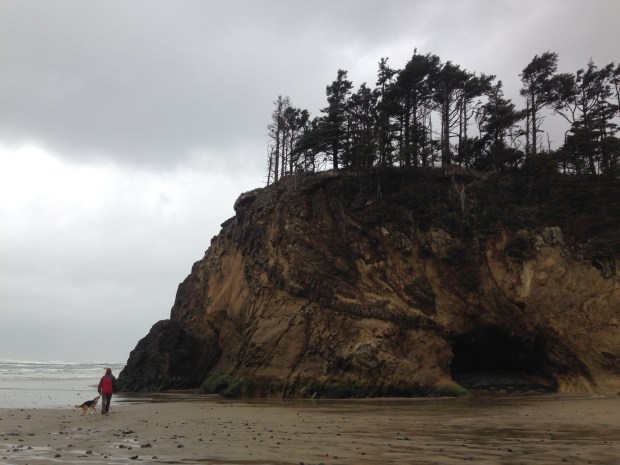
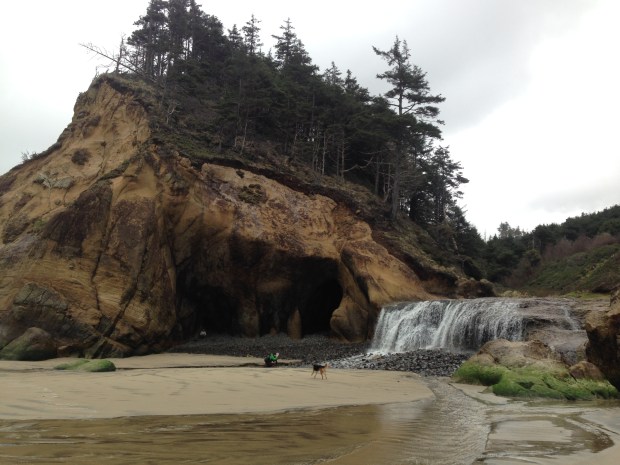

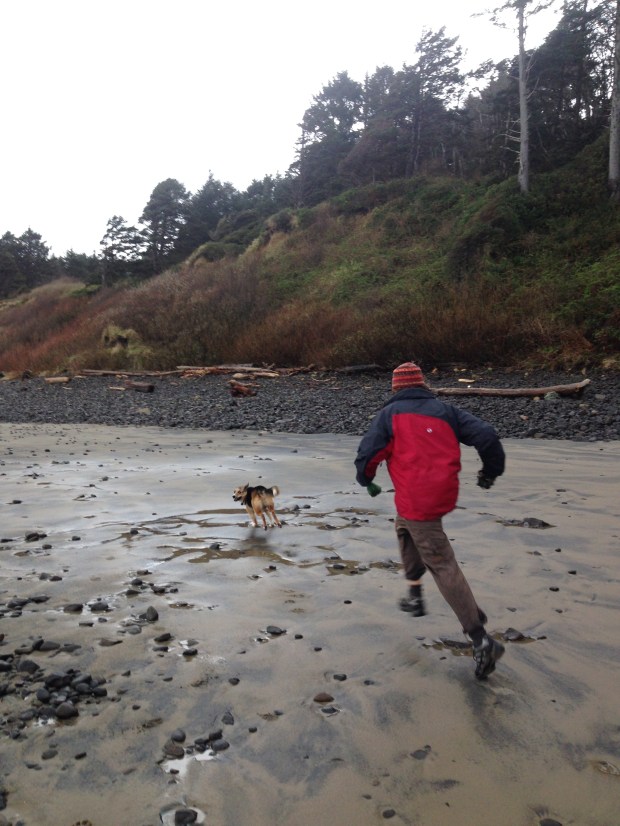
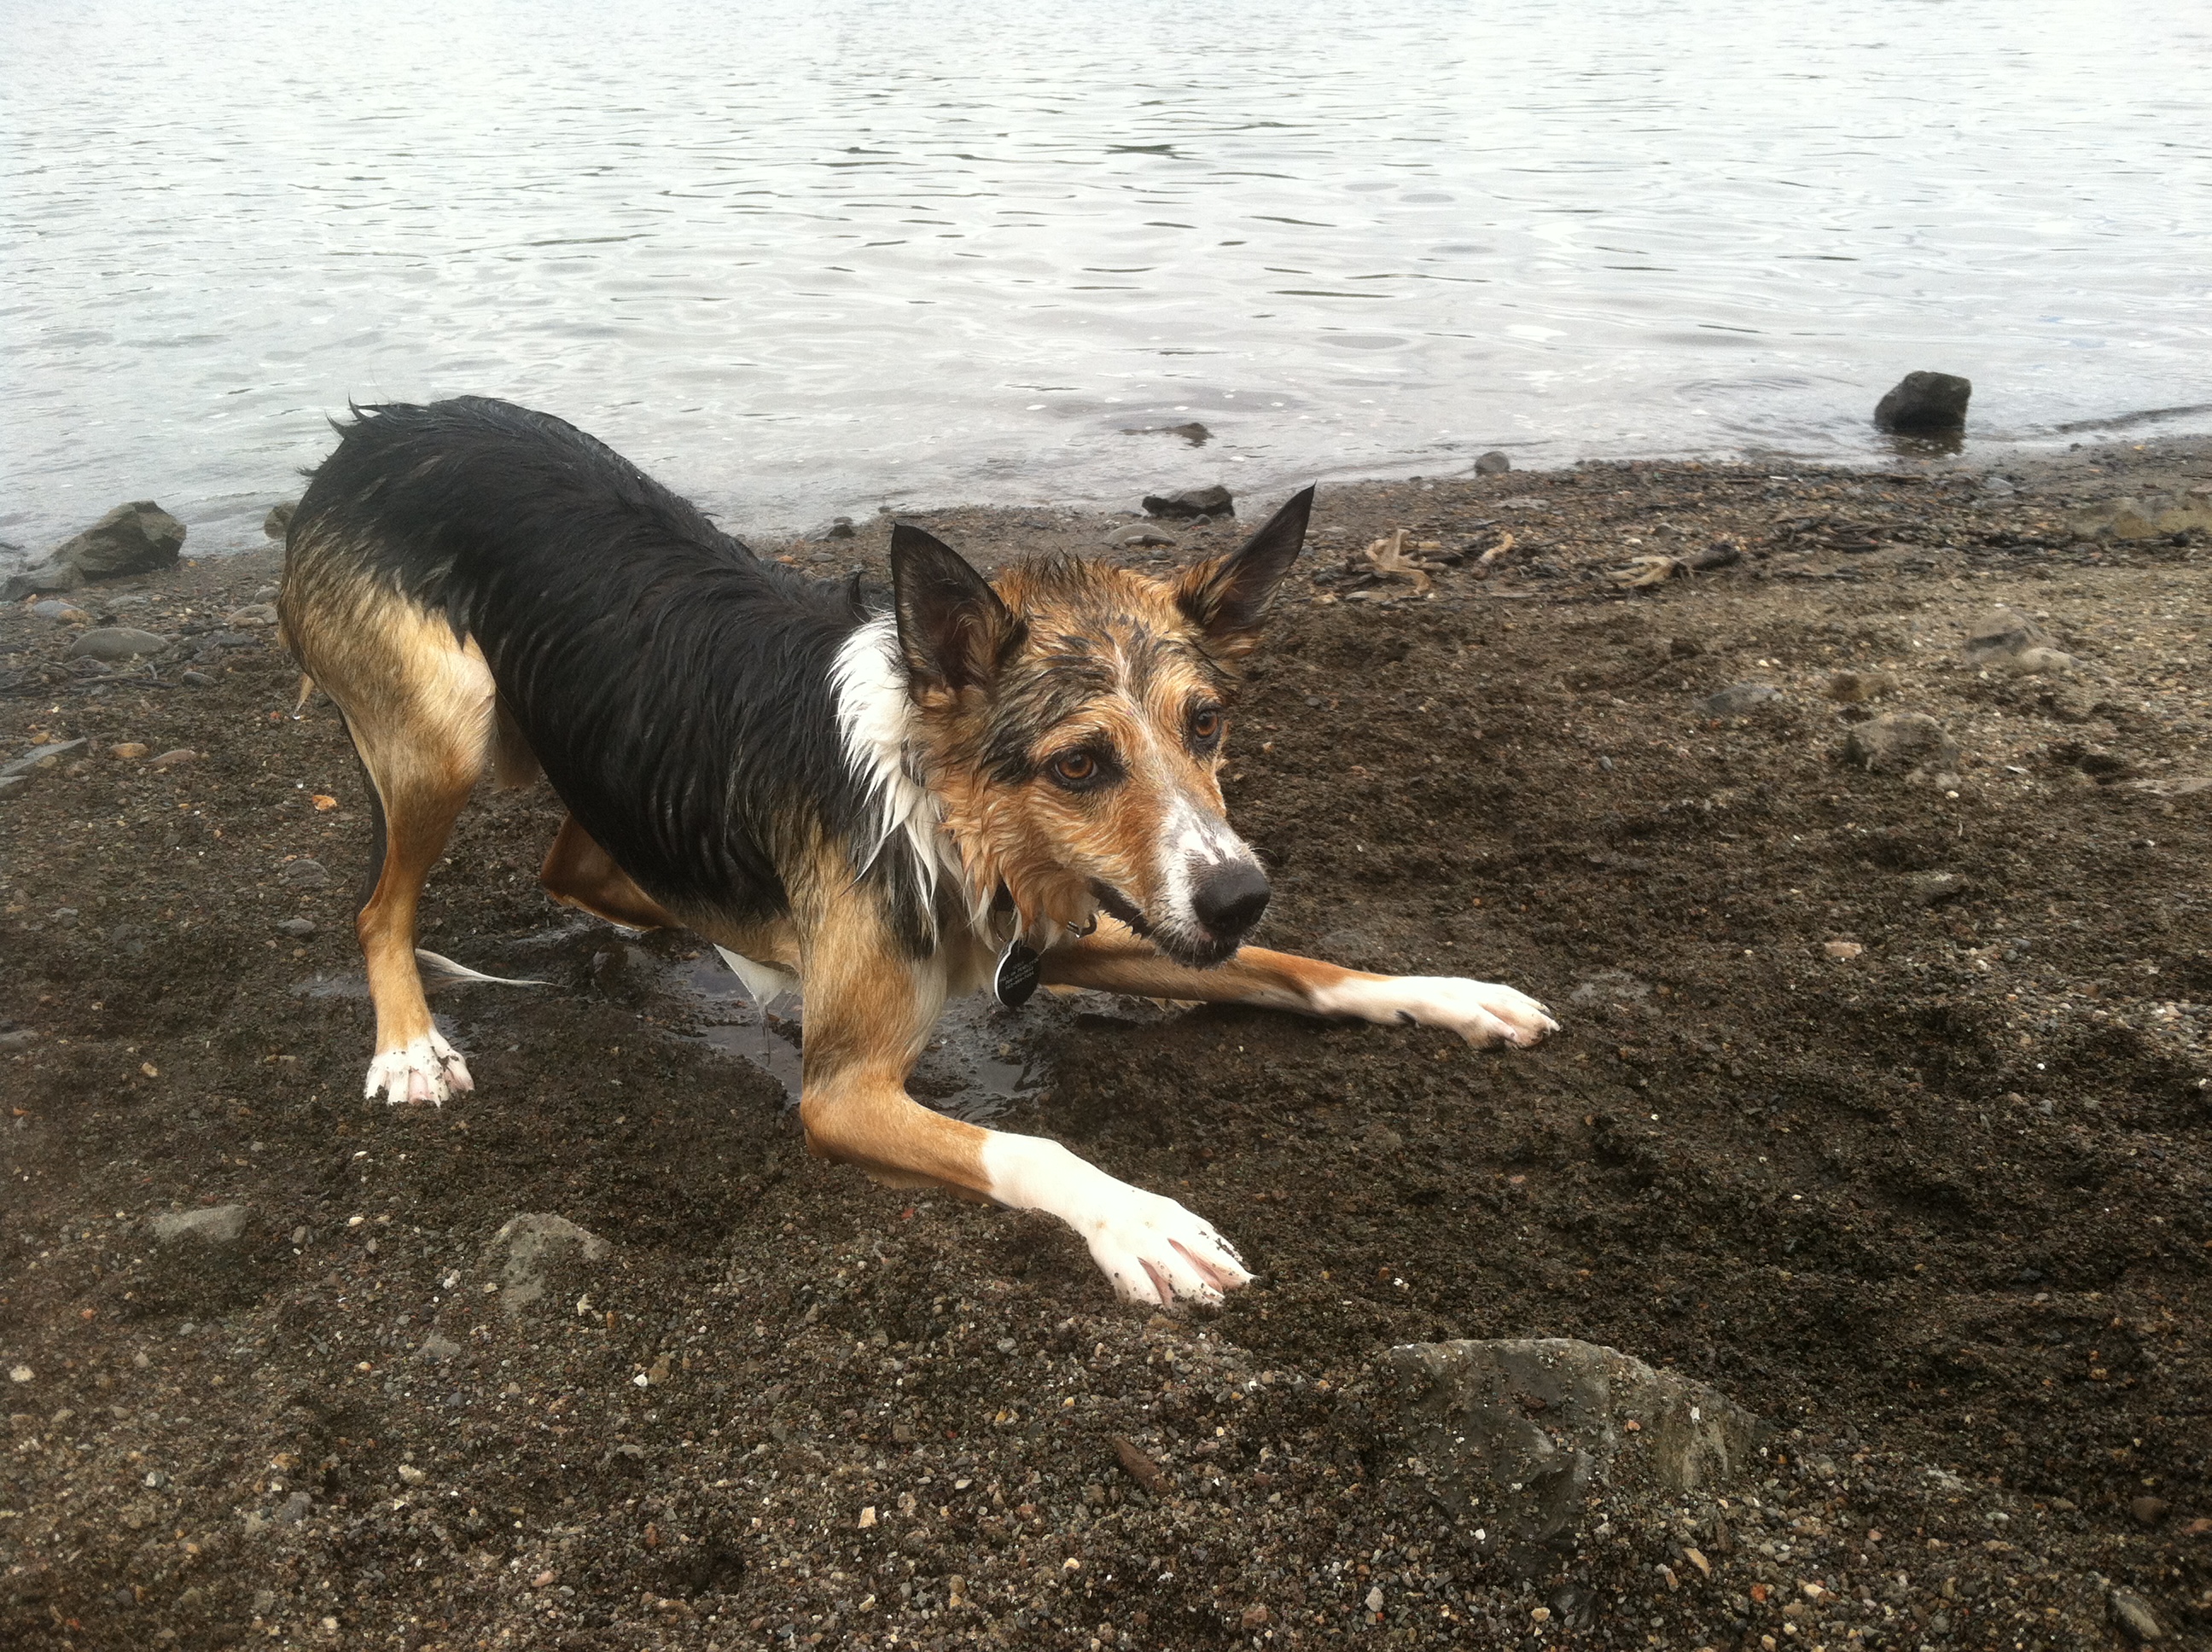
Fun times were had by all—mostly Scout I think—in the driving rain and unpredictable blasts of wind! The Oregon coast is so wild and dramatic when it’s stormy.
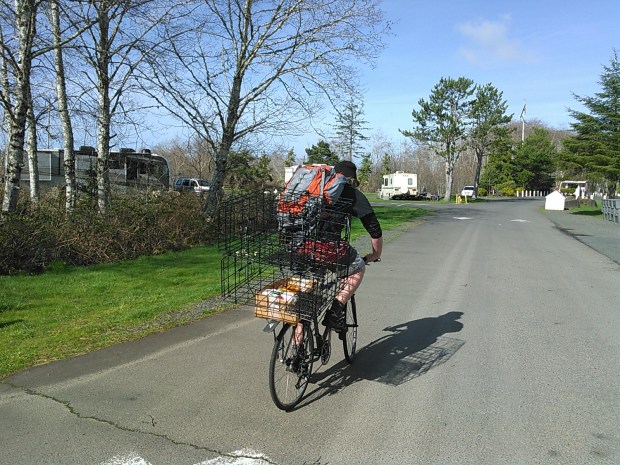
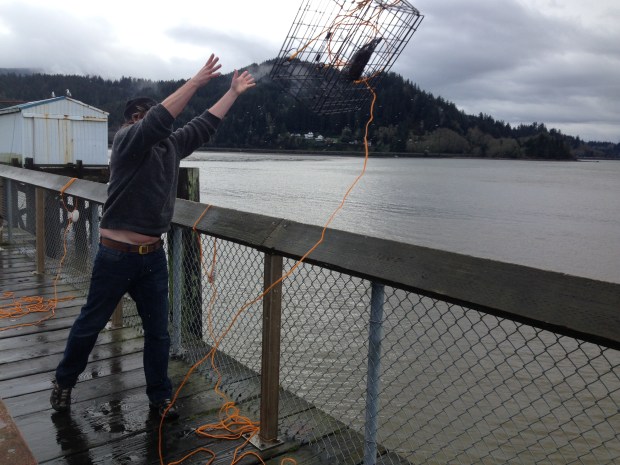
Then we got to Garibaldi, and had to wait until the next day to see crabs race. So we parked near the marina, and dropped our pots off the pier.
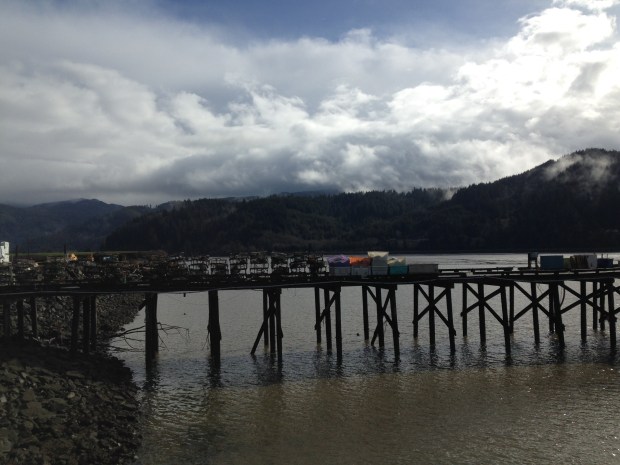

We parked overnight in the misty parking lot there, after asking permission from a shop owner on the pier. He said people do it all the time, so we settled in for some coastal boondocking.
The next morning, after a hearty breakfast at Fisherman’s Korner, we headed to the Crab Races. They did not disappoint.
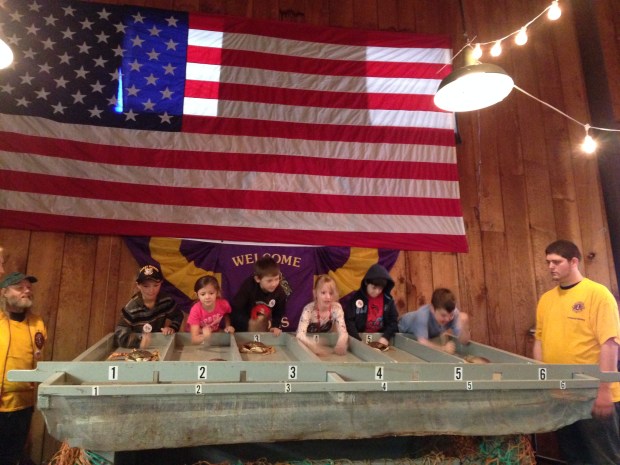
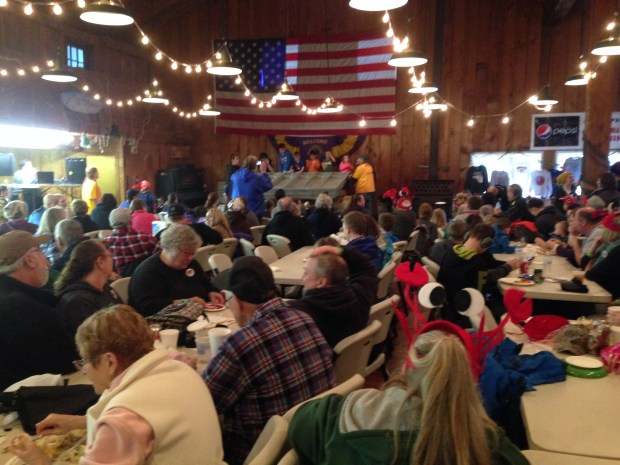
Six crab “coaches” volunteer to race a crab. They are allowed to coax the crab down the ramp any way they like, though the preferred method seems to be pounding the ramp, to get the crab to fall into the net at the bottom first. There are prizes, and varying categories for entries. Andy participated, but his crab was a real bum. He barely even moved, despite Andy’s superb coaching job.

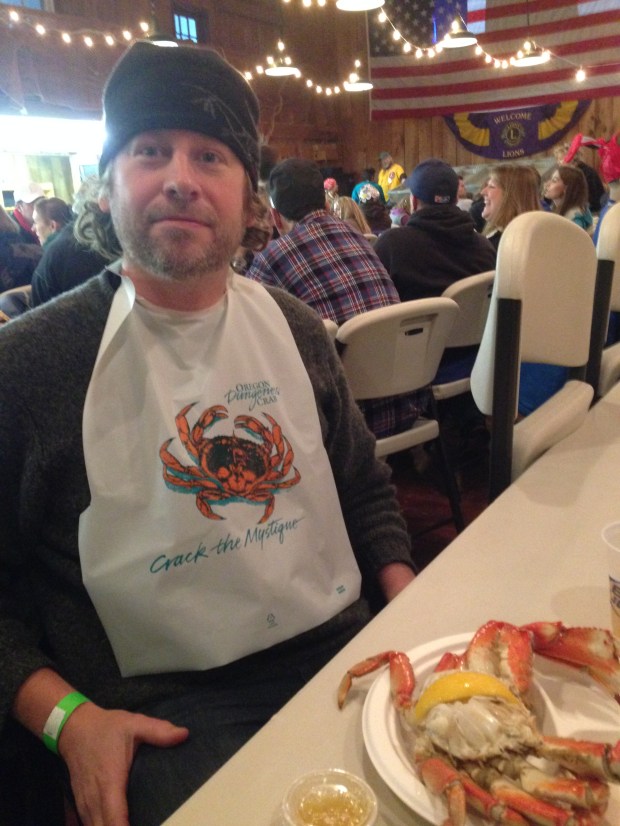
They sold whole Dungeness crabs for just $10 each! We shared one, and took one for that night’s dinner too, in case we hadn’t caught anything in the meantime.
The good news is, that we DID catch one! And it just so happened to be a keeper. HOORAY!

The following night, we ate the freshest crab cakes you can ever imagine. A successful crabby weekend, and a happy way to wrap up our time on the coast, as we’re now headed inland on our way to Montana!
More on that next time. 🙂


 A portion of the list.
  The quality of this photo is terrible, but the cuteness is top shelf.
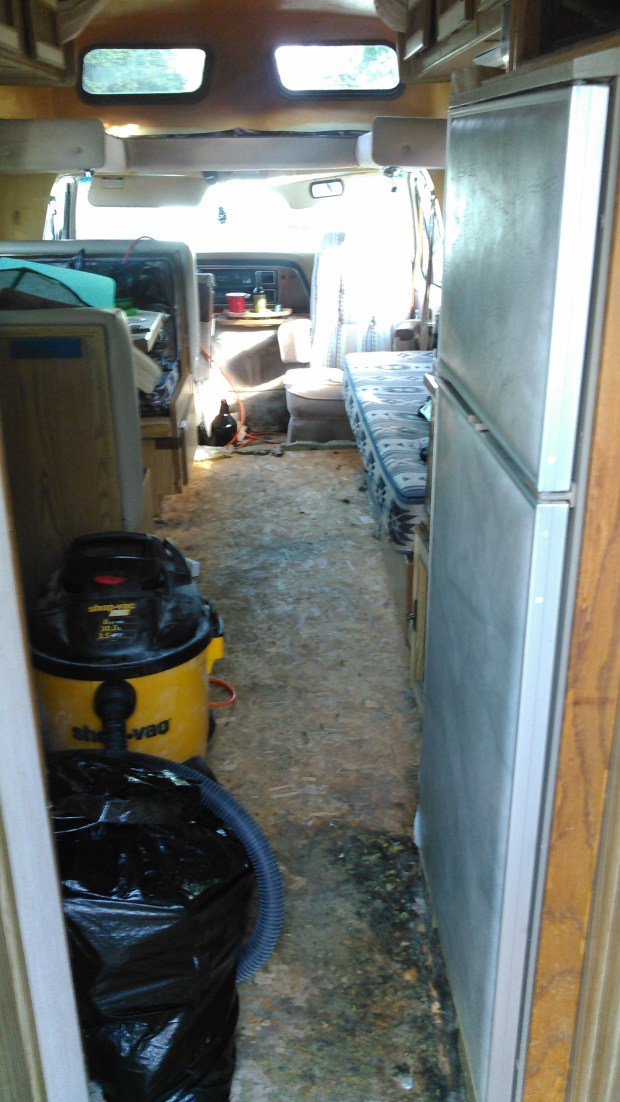
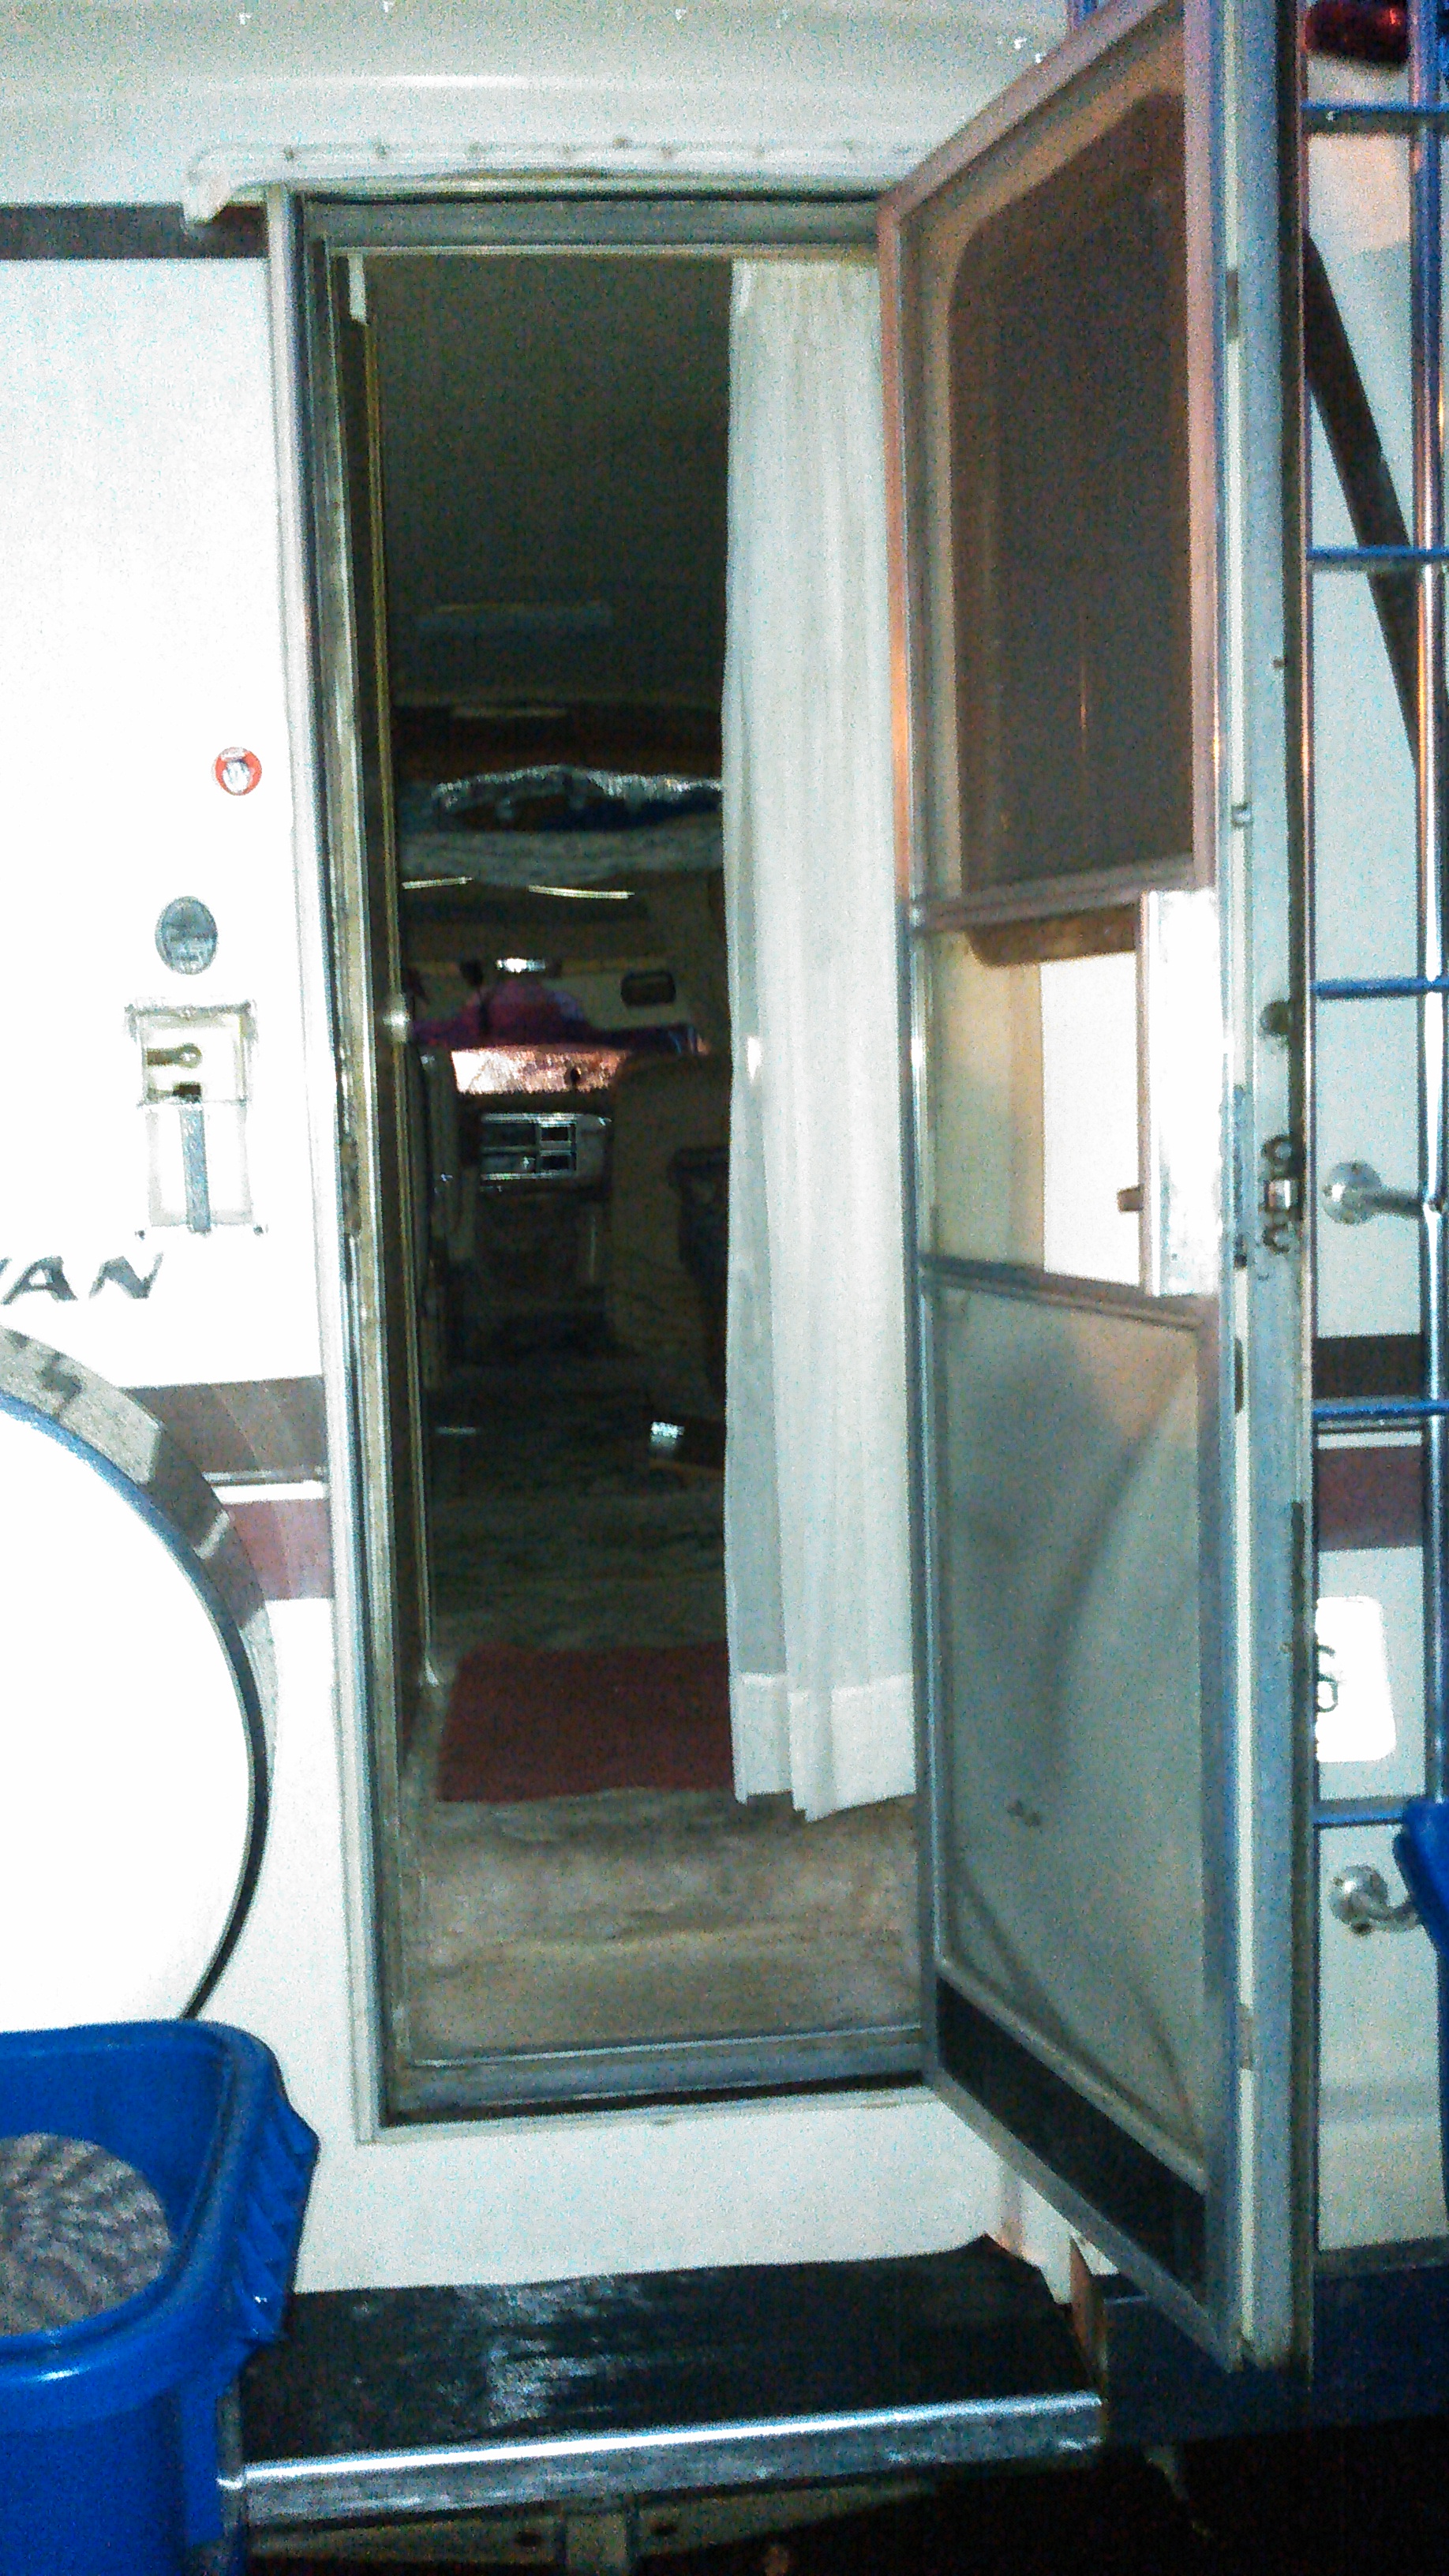
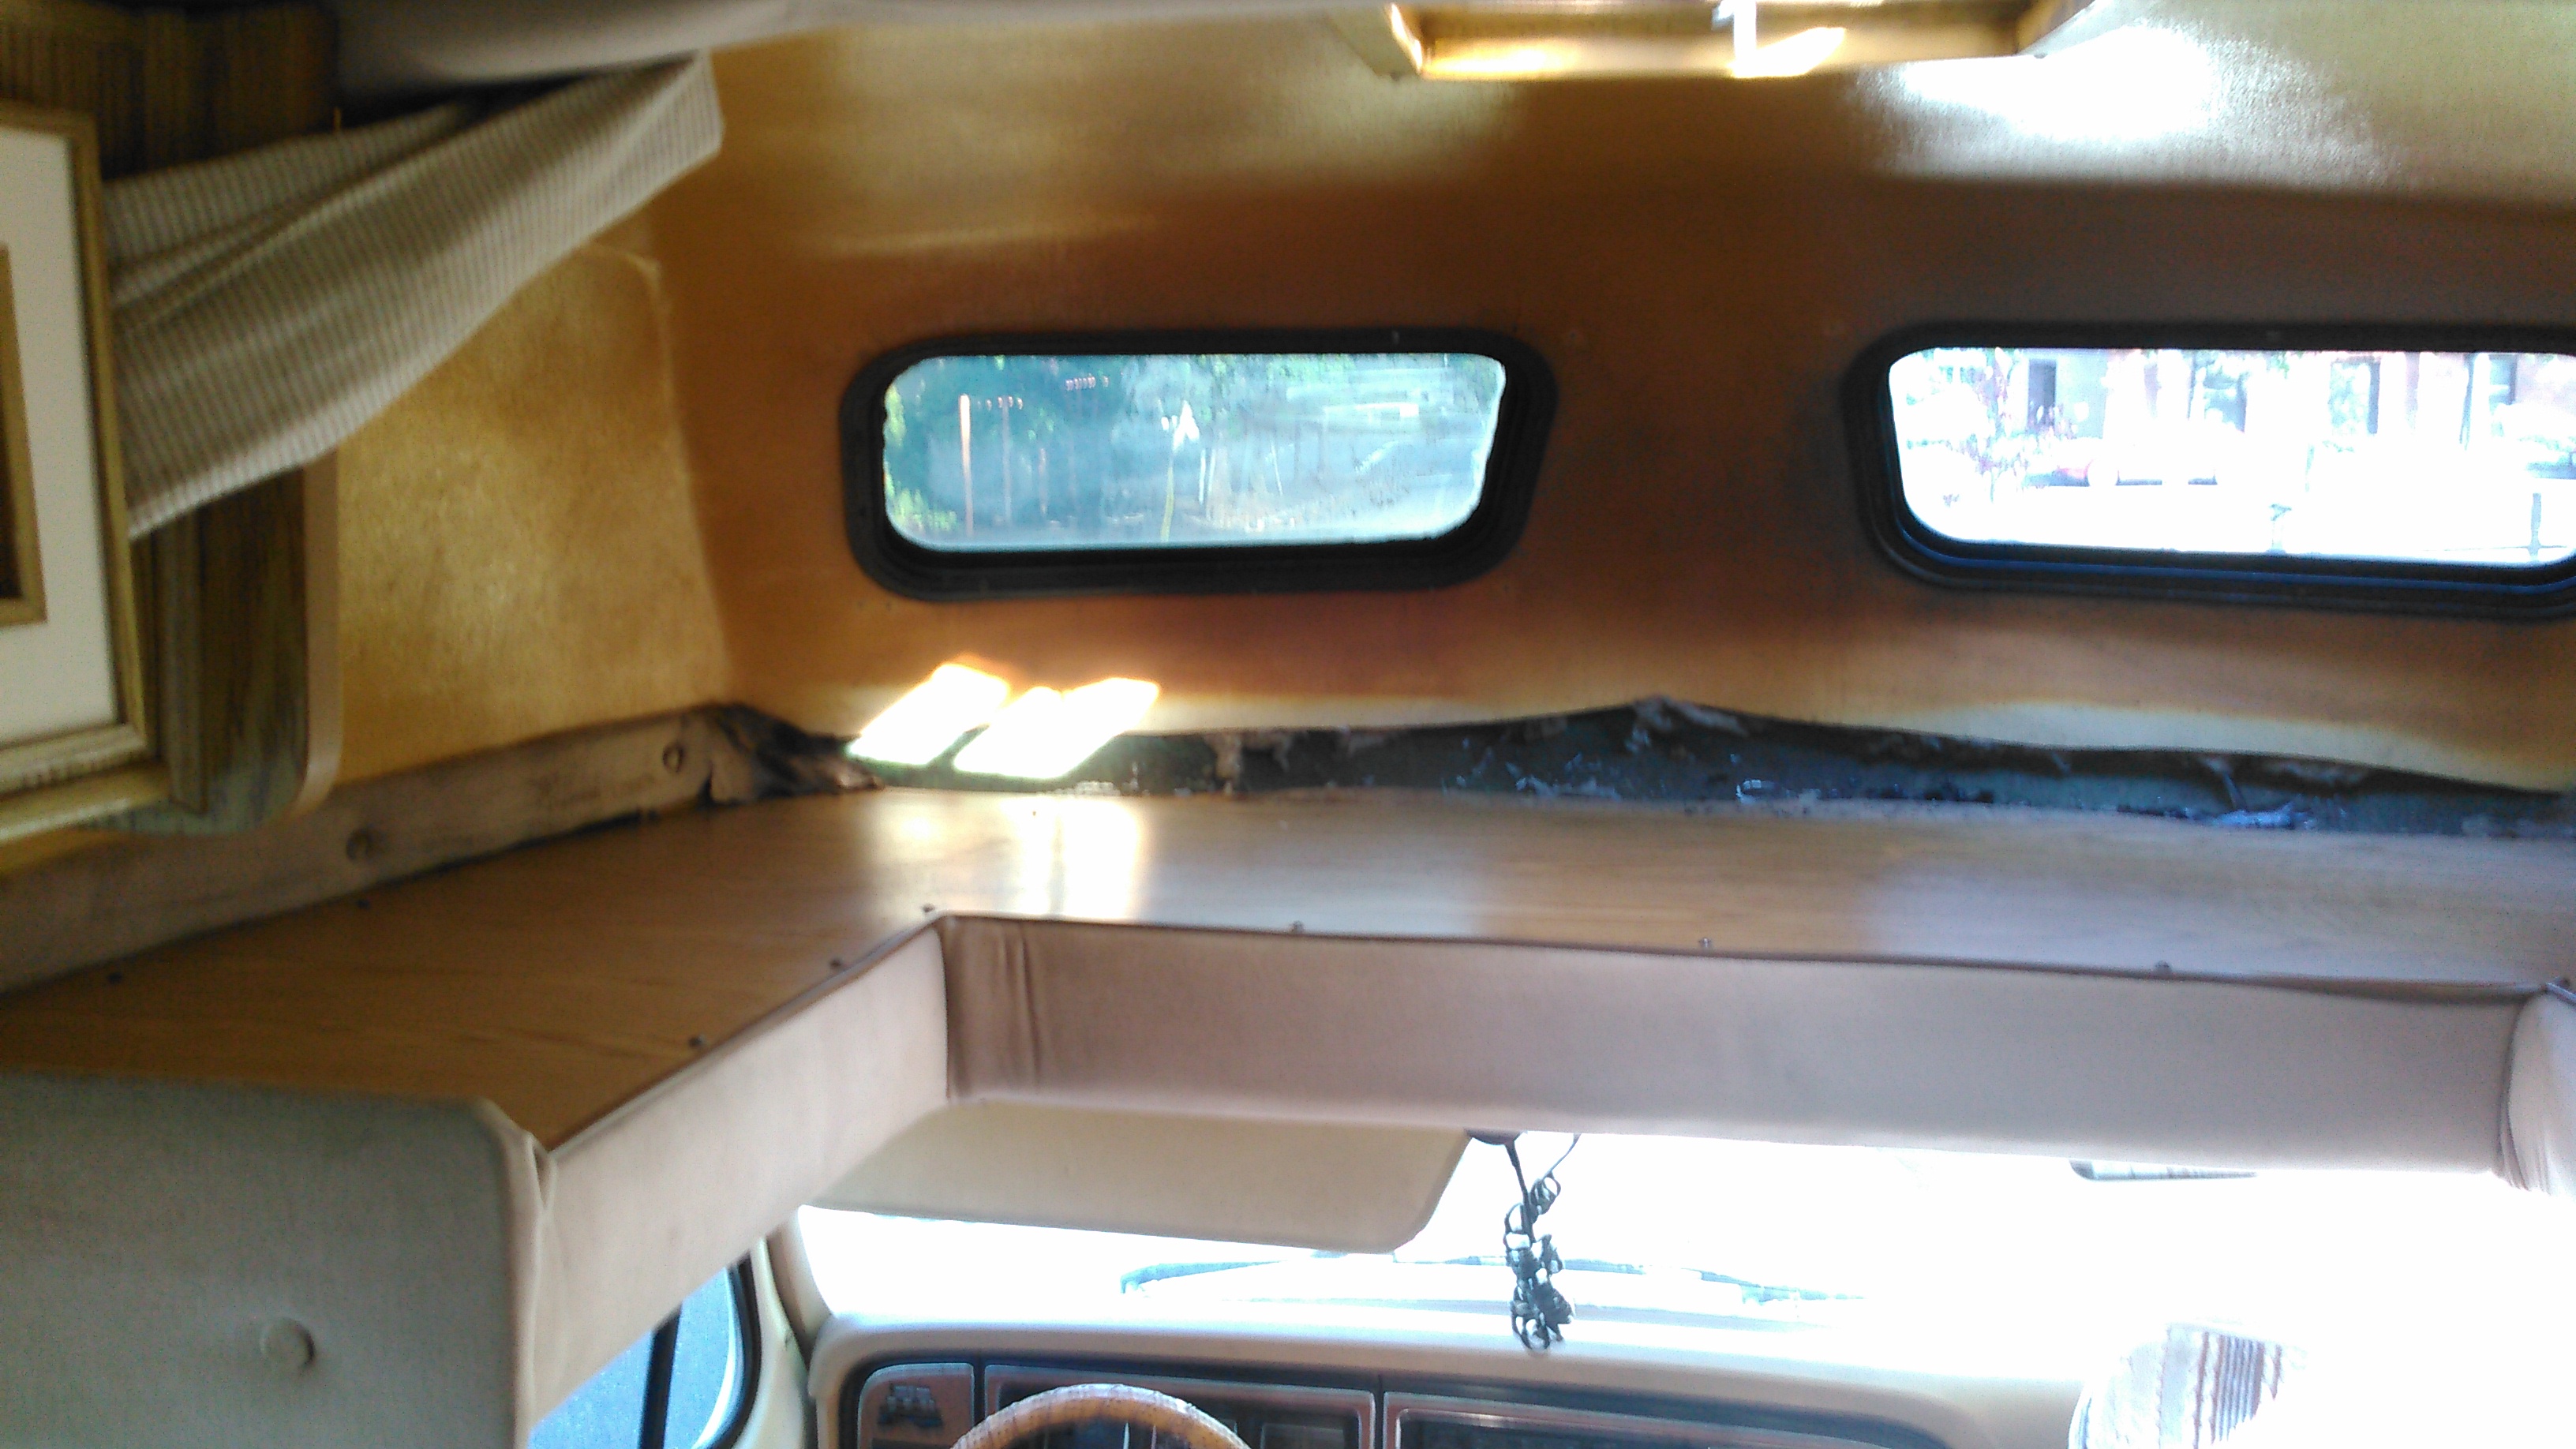
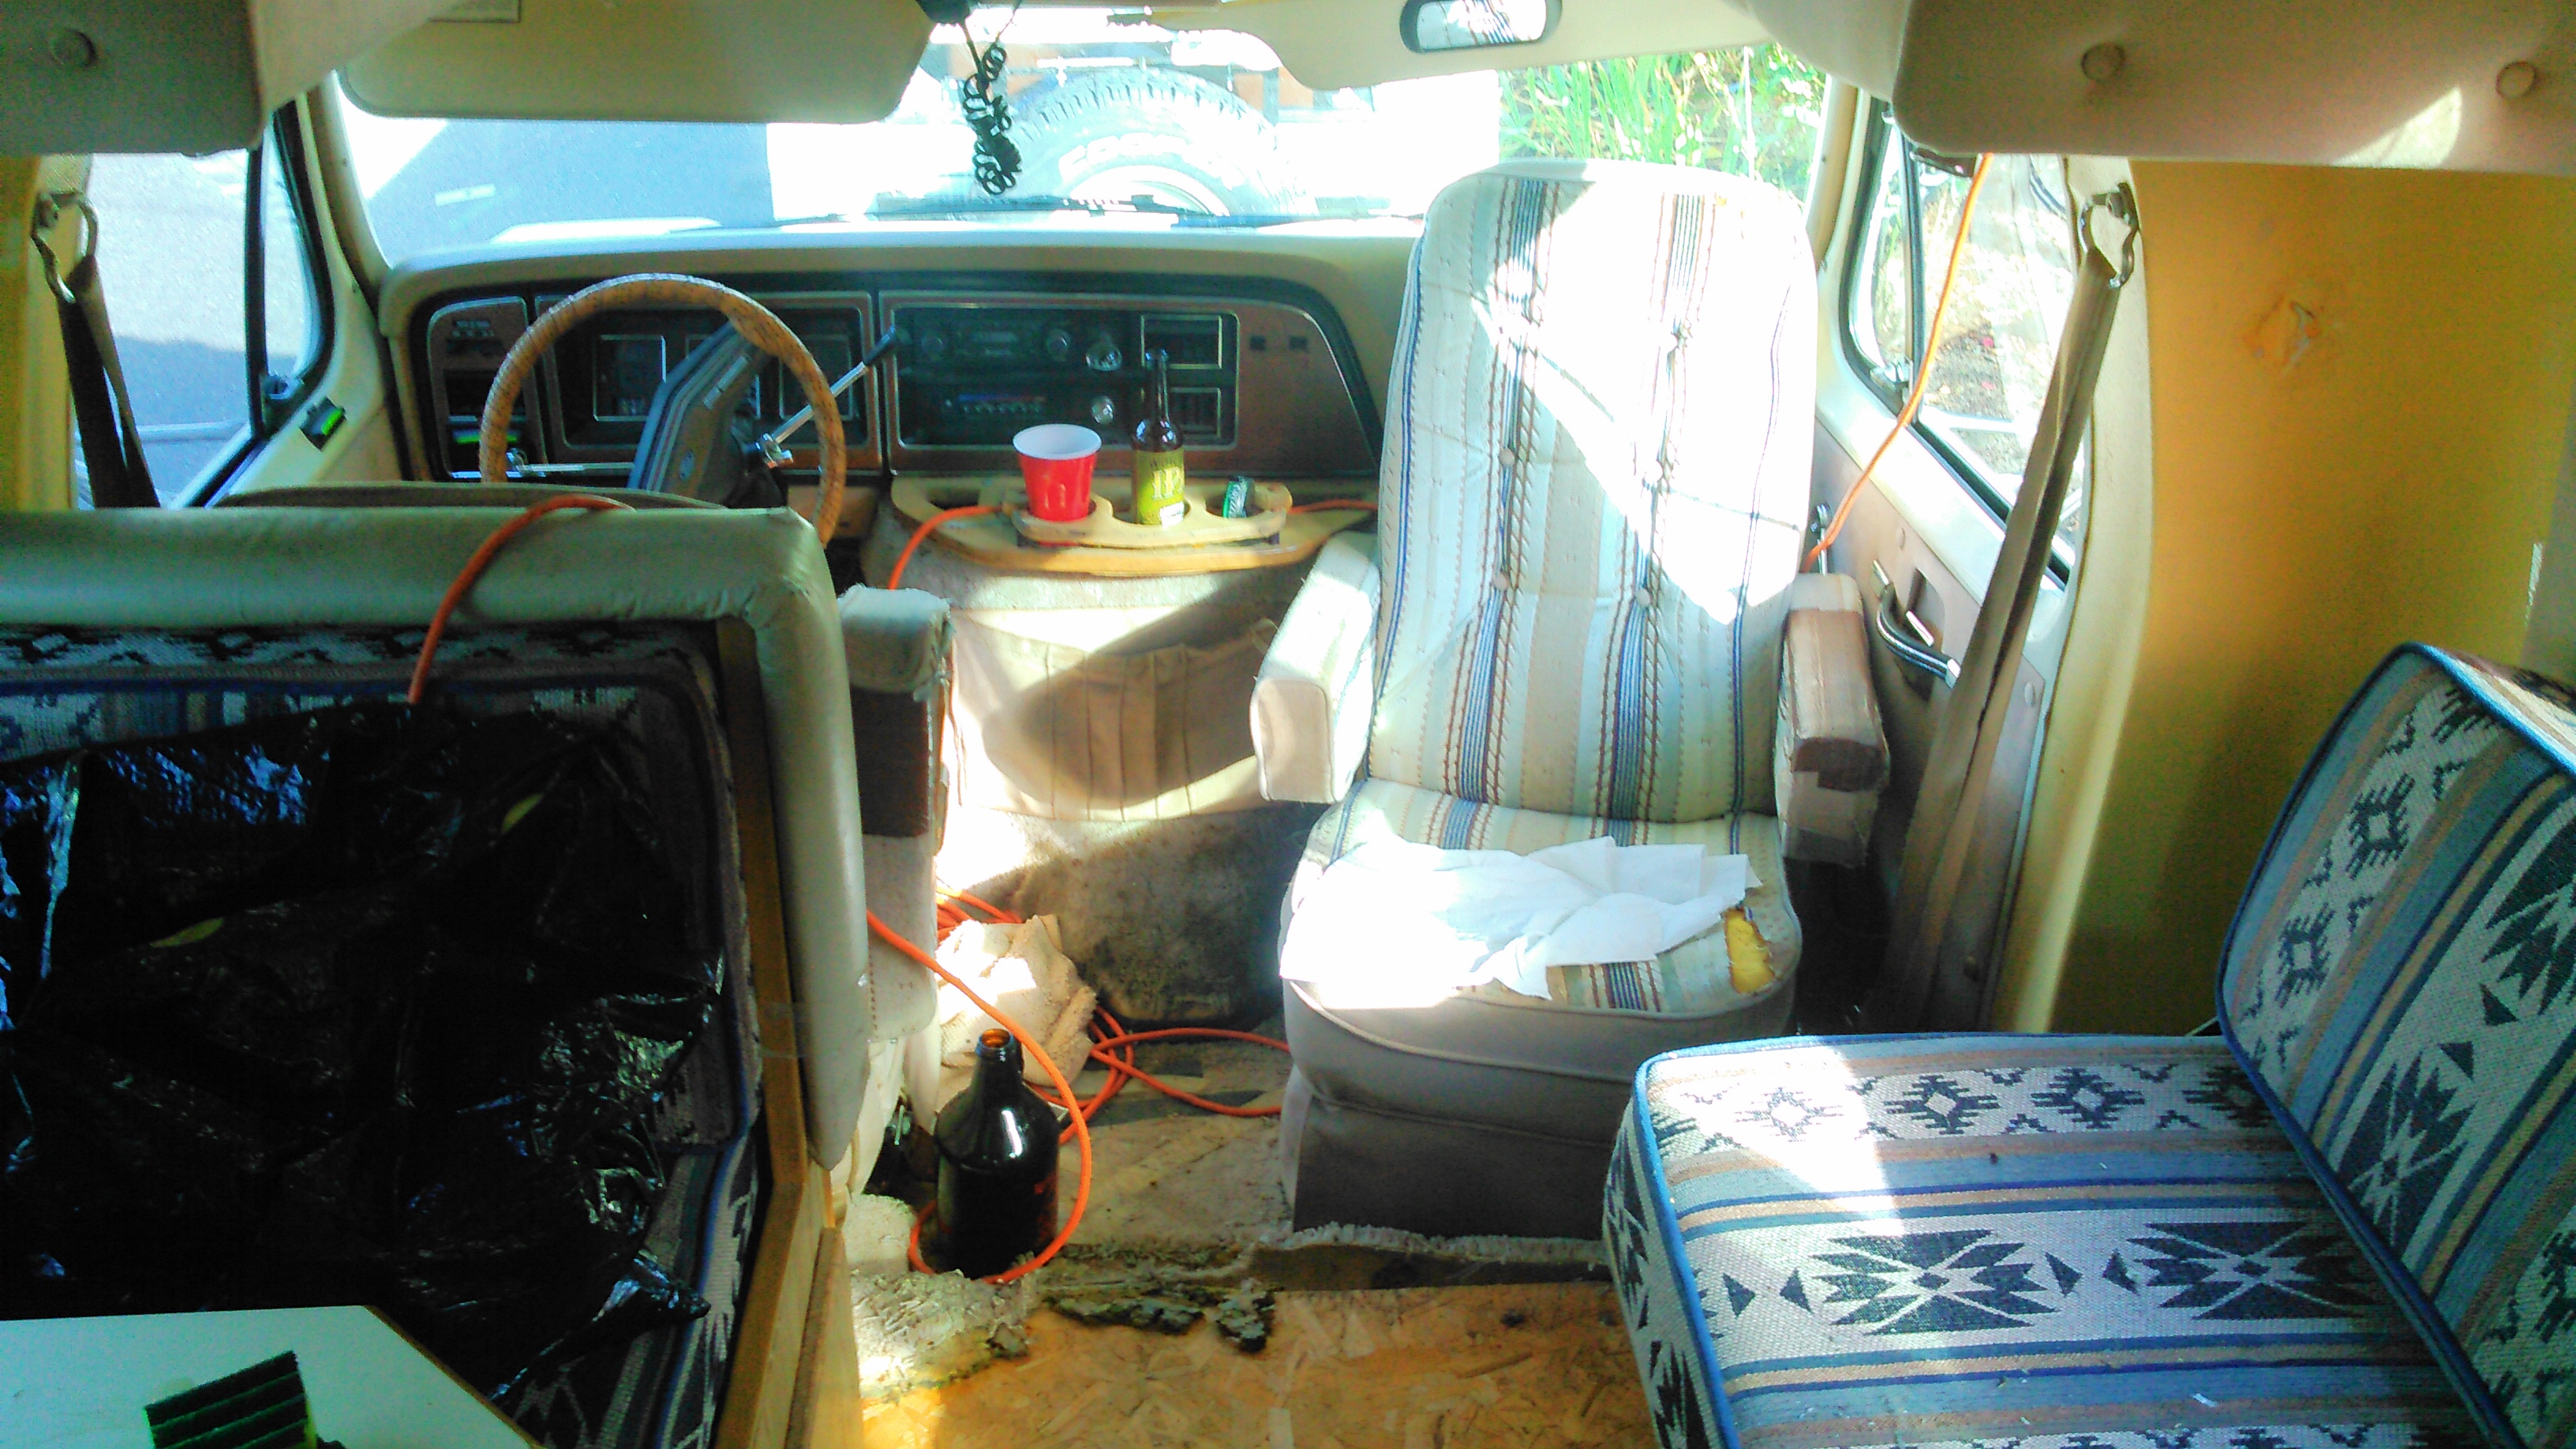
 This is one of the only photos we have of the carpet before Andy pulled it out – just a teeny slice visible in the bottom left corner. But you get the idea.
  A bit more carpet shown here. We just got so excited to get started, we didn’t get a whole lot of “before” photos before things started changing!
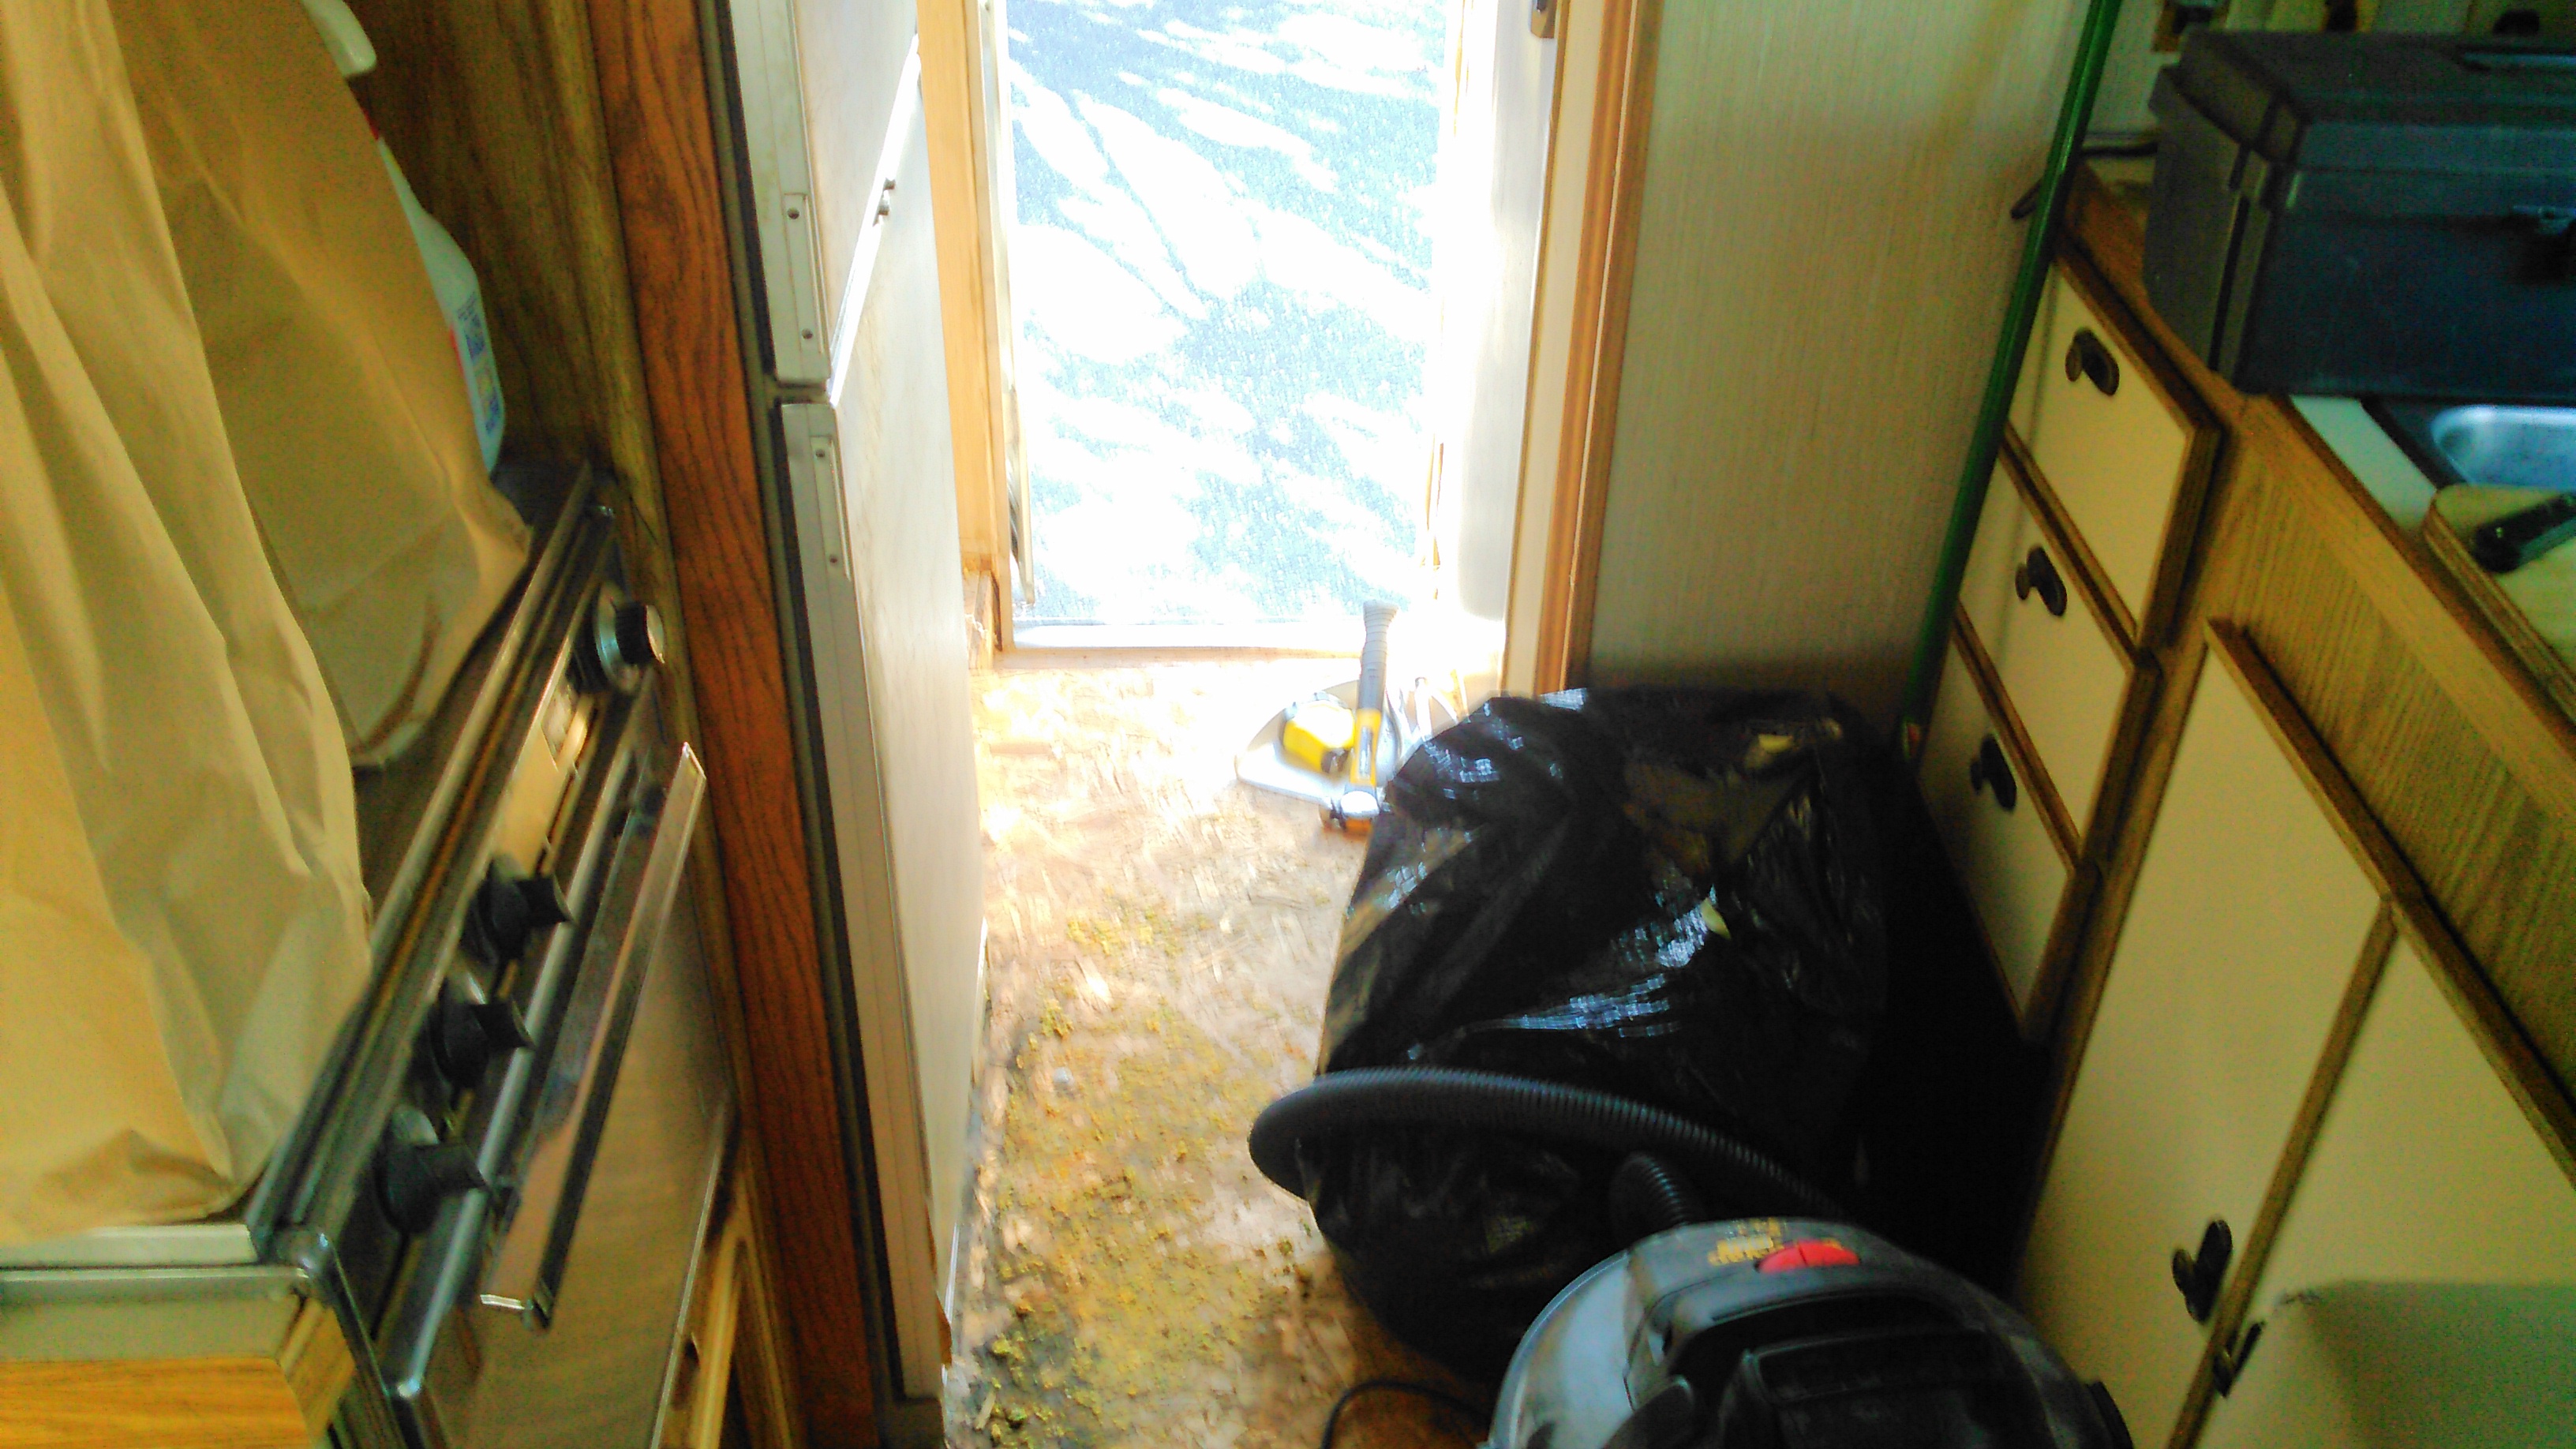


 Halfway epoxied. (Guess which half!)
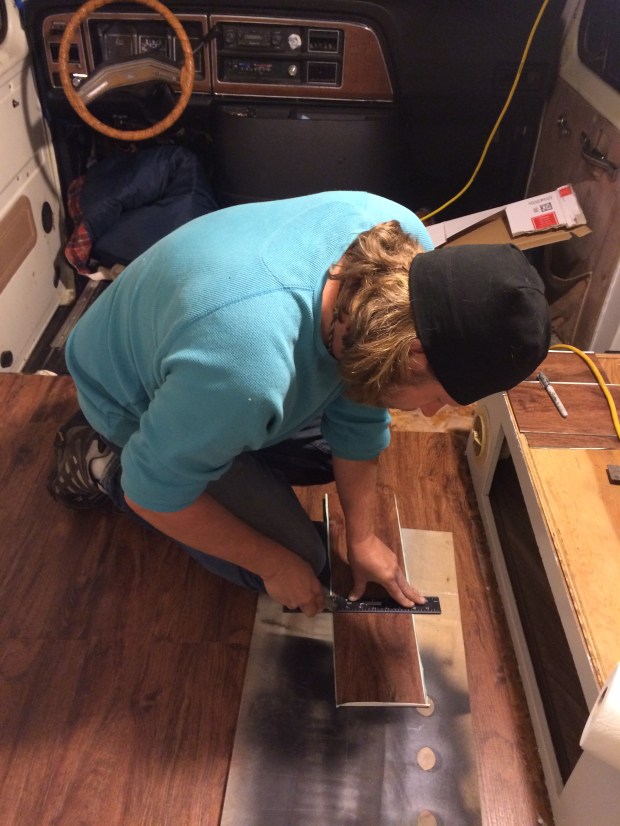


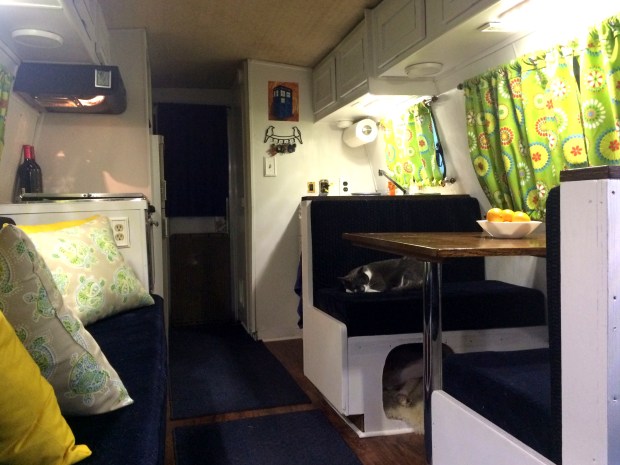
 It kind of feels like a boat. I like that.
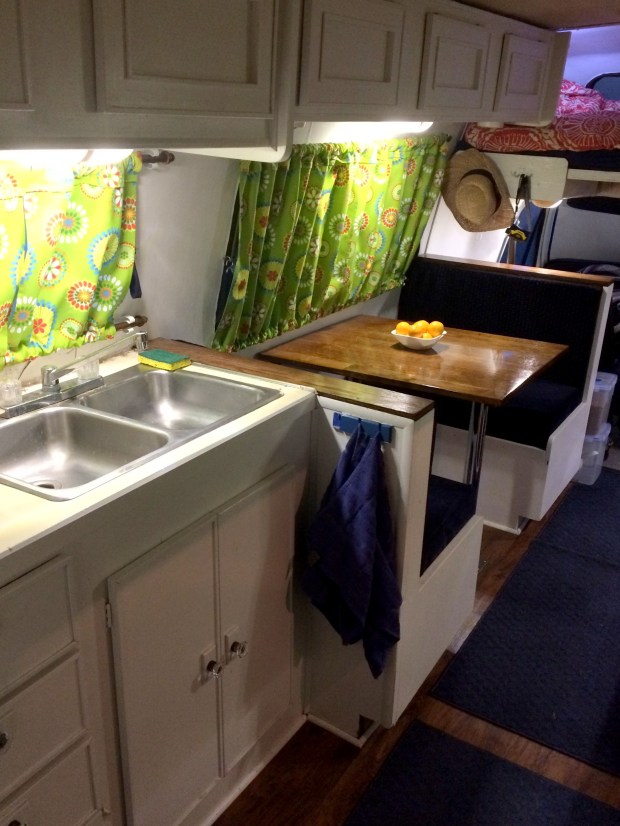 Kitchen and Dining Room
 Bunk beds!
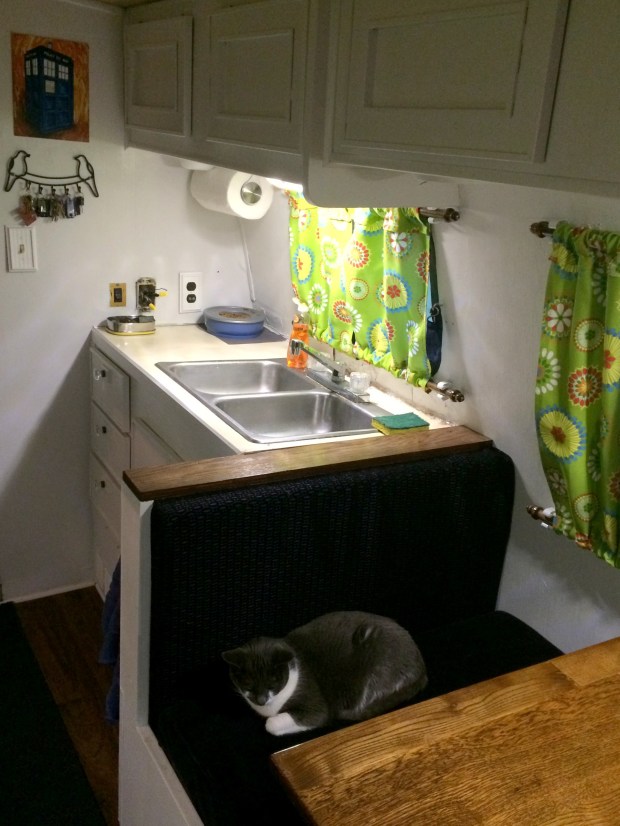 Love the Tardis painting by my talented brother-in-law David
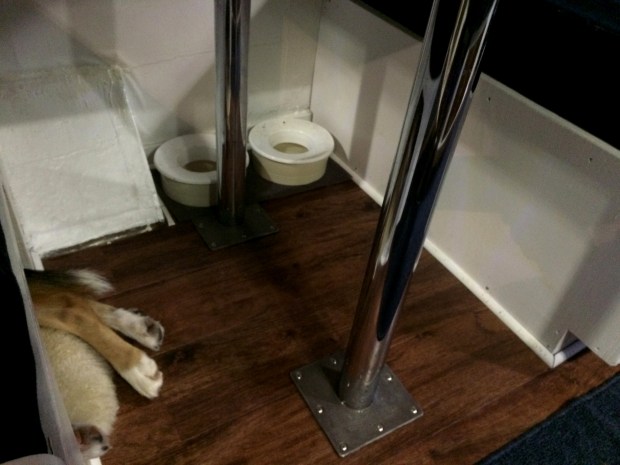 We love the no-spill bowls for the pets
 Andy picked this fabric! We promise not to over-do the turtle references, but it was super cute and coordinated nicely with the other prints
 Maximizing the limited closet space
 Nothing we own can be larger than 10″H x 9″D
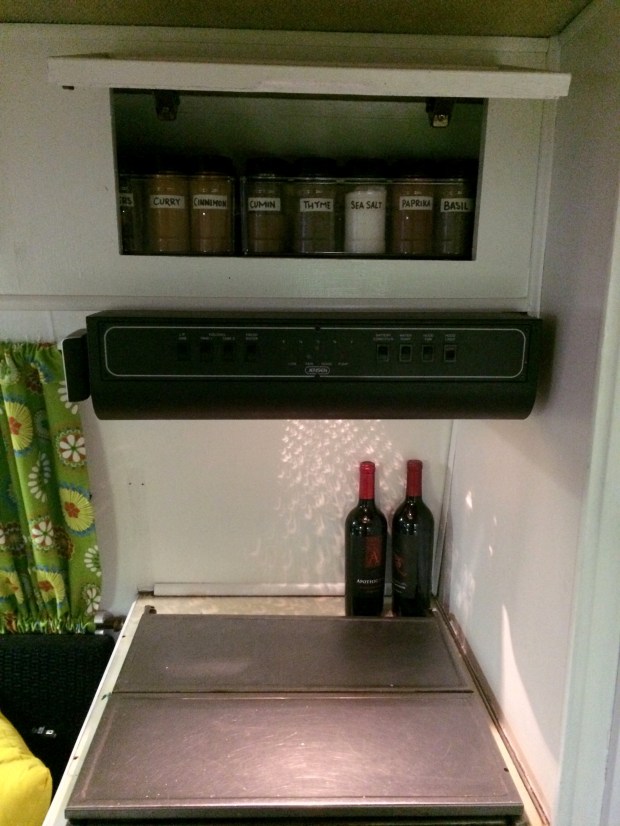

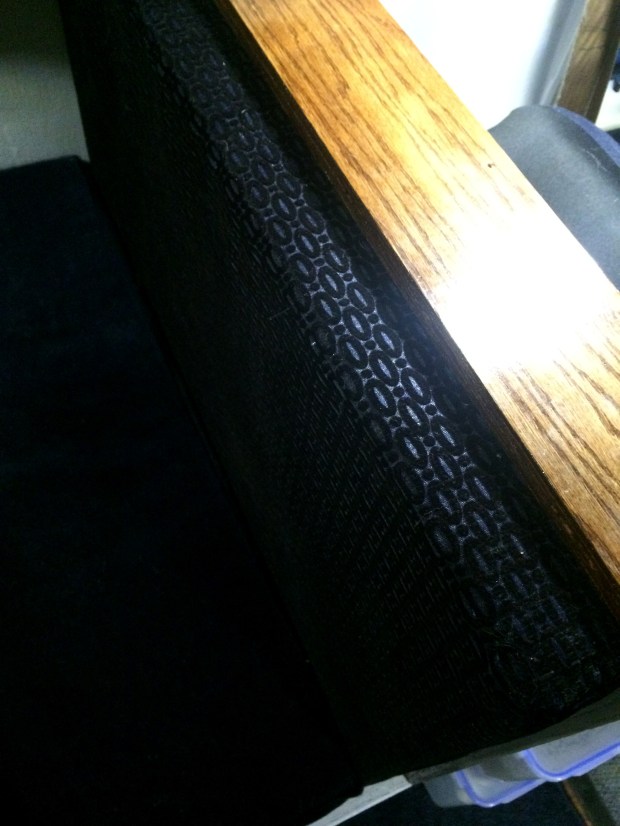 I love the wood Andy installed next to the new upholstery pattern.
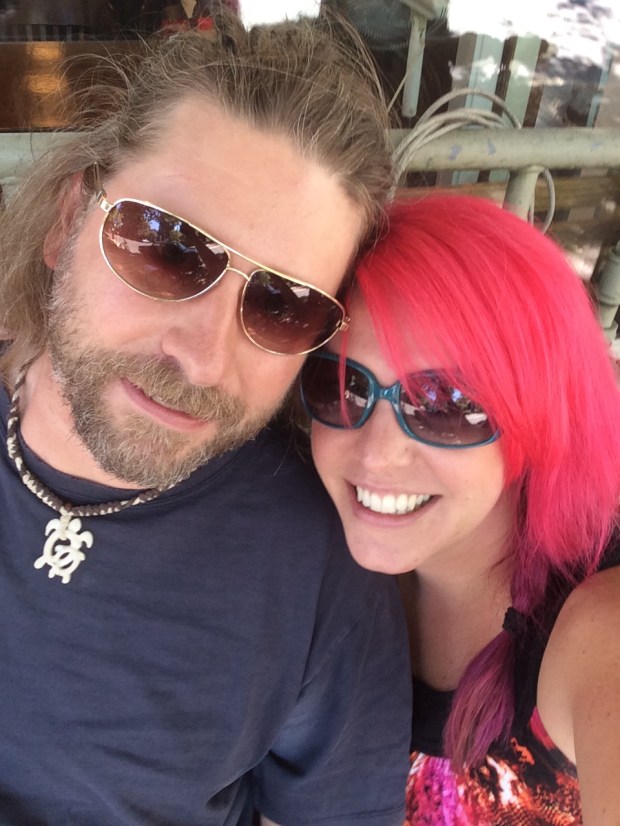
 Gracie adventuring.
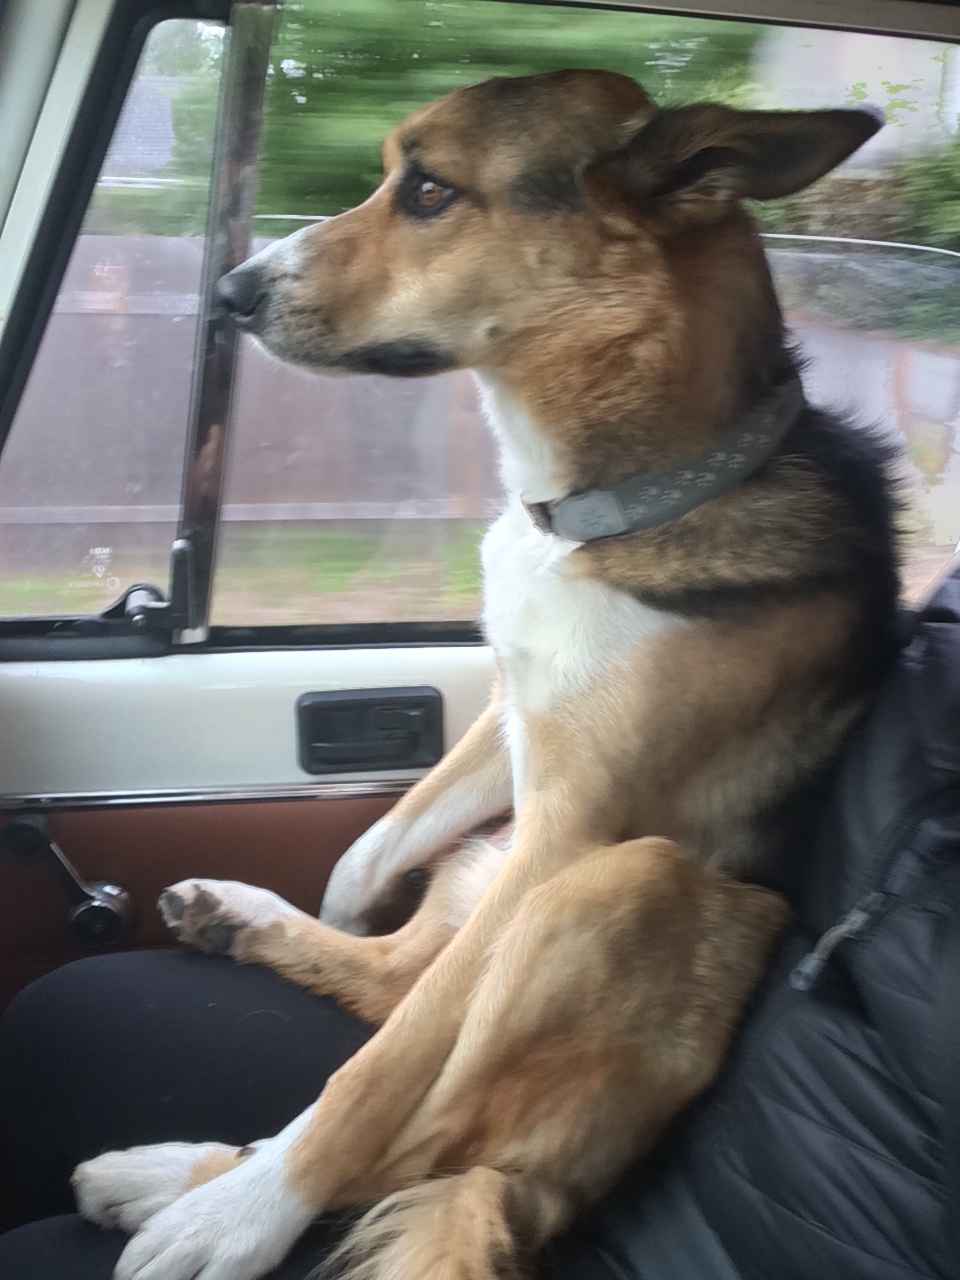
 Scout adventuring.
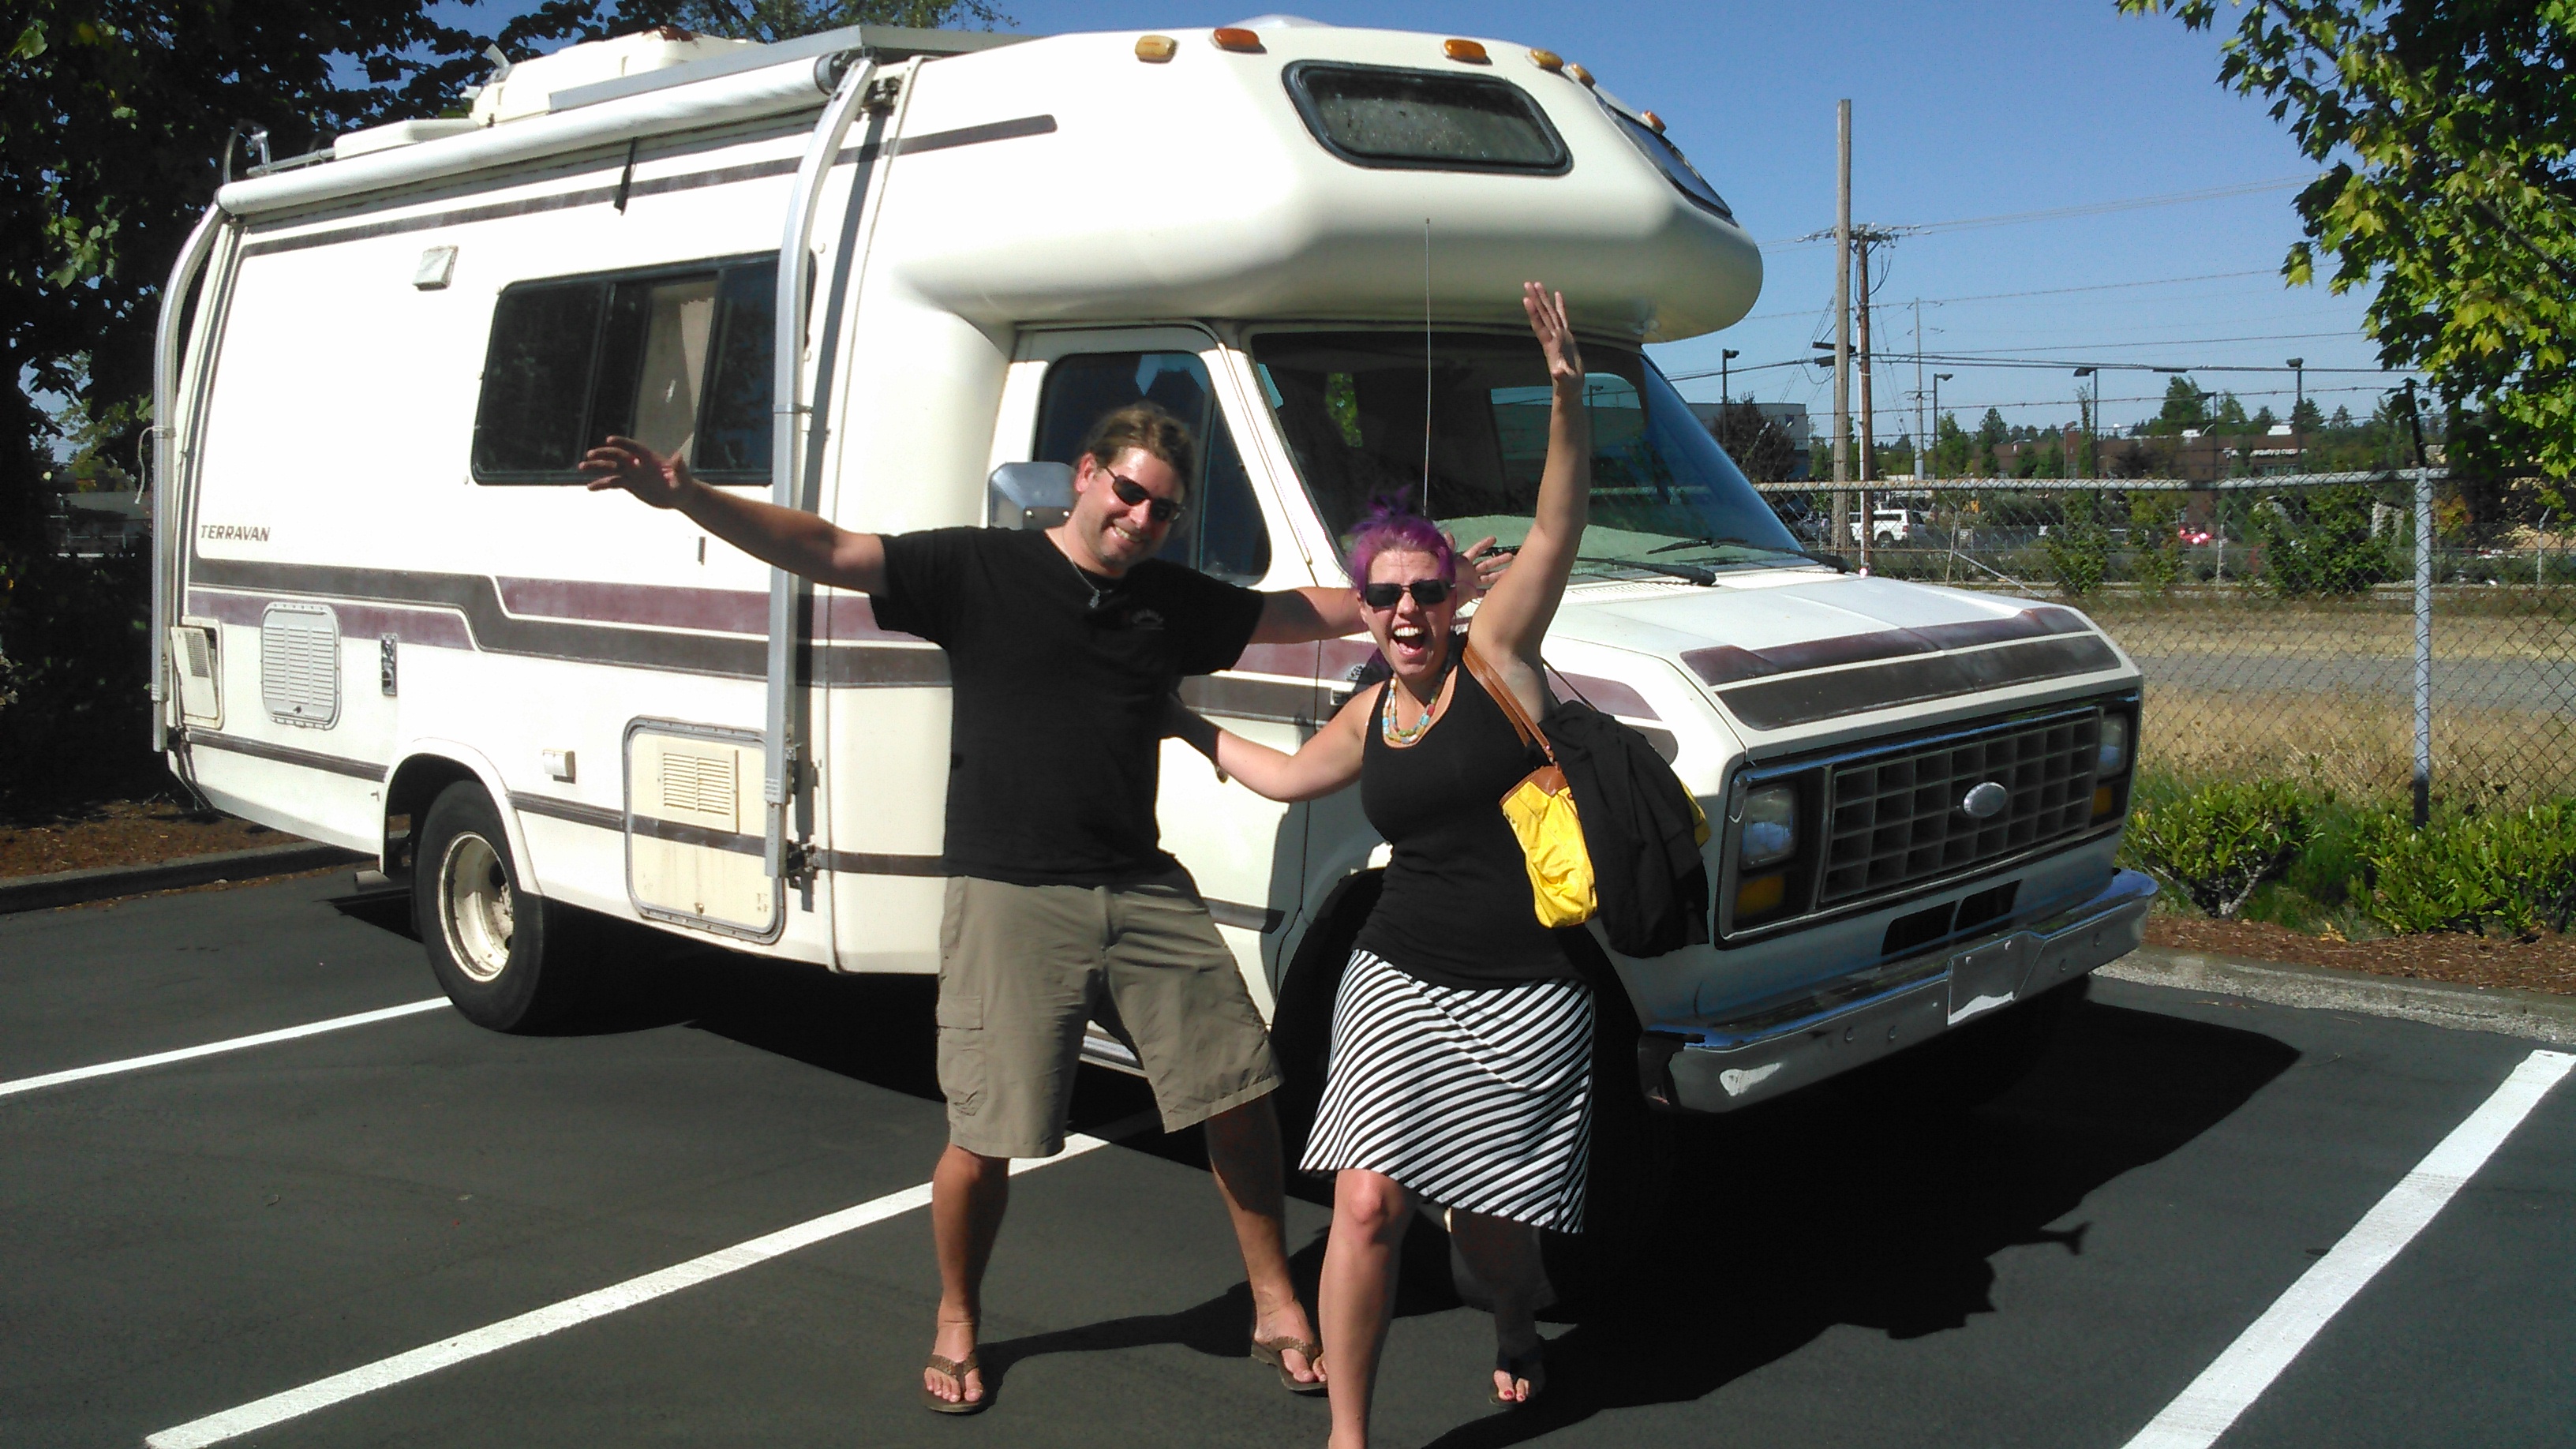
 Amy adventuring.


 \
\


